
Power goes out. Stores get picked clean. Deliveries pause. And suddenly you’re doing mental math: How much water do we actually have… and how long would it last?
Most people start “emergency prep” by buying a random mix of items—flashlights, gadgets, batteries—then realize the one thing that dictates comfort, hygiene, cooking, and basic health is the one thing they didn’t anchor first.
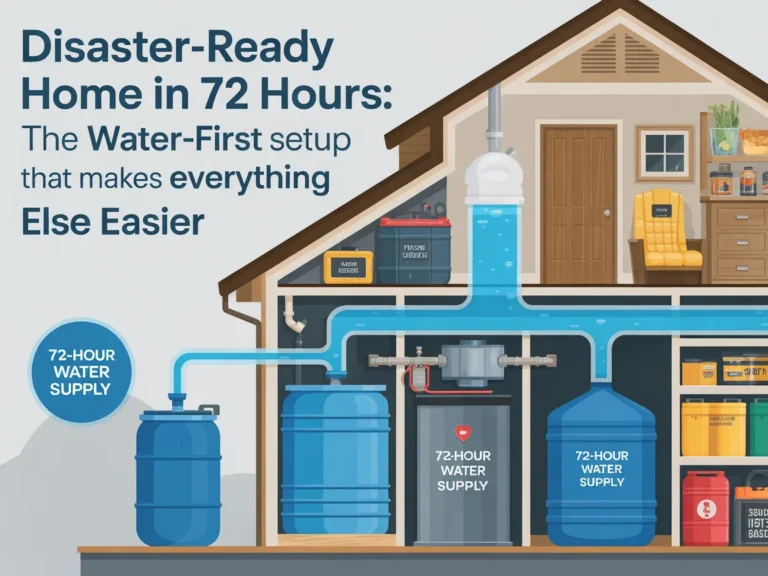
This guide gives you a calm, practical way to get a Disaster-Ready Home in 72 Hours: The Water-First Setup That Makes Everything Else Easier—without turning your garage into a warehouse.
Basics first, upgrades second.
Here’s what you’ll learn:
- How to build a simple water-first foundation that supports food, sanitation, and everyday life
- A 72-hour step-by-step plan you can follow even if you’re starting from zero
- The common mistakes that cause people to waste money or end up with “supplies” they can’t truly use
Next: a quick reality check so you can stop guessing and start setting up.
Quick Reality Check
It’s common to feel “kind of prepared” until you look closely at water.
Not because you’re careless—because water prep is oddly easy to put off. It’s heavy, it takes space, and the advice online ranges from overly casual to overcomplicated.
Here are a few familiar scenarios:
- You have food in the pantry… but most of it requires water to cook, rinse, or rehydrate
- You have a few bottles… but no plan for a longer disruption or a boil-water notice
- You bought “emergency items”… but nothing is organized, labeled, or easy to use fast
You’re not behind—you just need a simple plan.
Next: the framework that makes the rest of home readiness feel lighter.
The Core Framework
If your goal is a Disaster-Ready Home in 72 Hours: The Water-First Setup That Makes Everything Else Easier, you don’t need a thousand tactics.
You need a framework you can reuse anytime.
What matters most
In real-life disruptions, a few variables decide whether your plan works:
- Water availability (stored, sourced, treated, and accessible)
- Time and simplicity (can you follow it when tired or stressed?)
- Storage and rotation (can you keep it usable without constant fuss?)
The basics
These are the core actions that cover most households:
- Store a practical amount of water you can actually access
- Have a way to treat water if the supply is questionable
- Make it easy to use for drinking, cooking, and hygiene—without improvising
The next layer
This is what people skip because it feels “extra,” but it’s what makes the basics stick:
- A written, step-by-step setup you can follow
- A checklist so you don’t miss small but critical items (containers, backups, sanitation)
- A simple system for maintenance so the plan stays ready
Example: If you store water but can’t pour it cleanly, track it, or replenish it easily, the storage exists—but the system doesn’t.
Example: If you have a filter but haven’t tested it, don’t know where your “source water” would come from, and didn’t plan for family hygiene, the tool exists—but the plan doesn’t.
Next: the 72-hour step-by-step plan you can do without overwhelm.
The Step-by-Step Plan
This tutorial is designed for homeowners and families who want a reliable baseline fast—without getting lost in gear reviews.
Step 1: Do a 10-minute home water audit
Start by getting clear on what you already have and what’s missing. This keeps you from buying duplicates or skipping essentials.
Checklist
- Count drinkable water currently on hand (bottles, cases, jugs)
- Identify non-drinkable water sources (rain barrel, pool, nearby creek—if applicable)
- Note your storage spaces (closet, under-bed, garage corner)
- Pick one “water station” spot where supplies will live
- Write down household count (adults, kids, pets)
Do this now: Grab a paper or notes app and write: “People + pets, water on hand, storage spot.”
Step 2: Set a 72-hour water baseline you can actually store
A good plan fits your space and routine. The goal is not “perfect prep.” The goal is usable water stored where you can reach it quickly.
Think in terms of:
- Drinking
- Basic cooking
- Minimal hygiene (handwashing, brushing teeth)
Checklist
- Choose your primary water containers (what you’ll store in)
- Decide where they will sit (stable, cool, out of direct sunlight)
- Plan for easier handling (smaller containers are often more usable)
- Label containers with fill date (simple masking tape works)
- Keep a small “grab-first” amount in an easy-access spot
Do this now: Pick the exact shelf/floor space where your water will live.
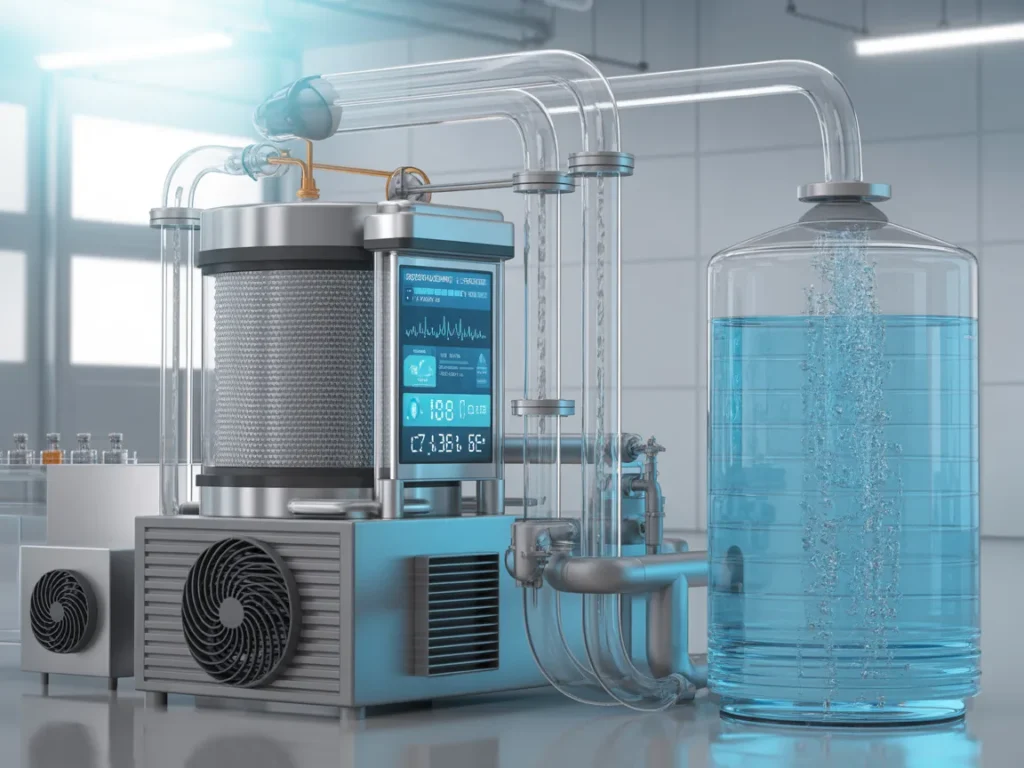
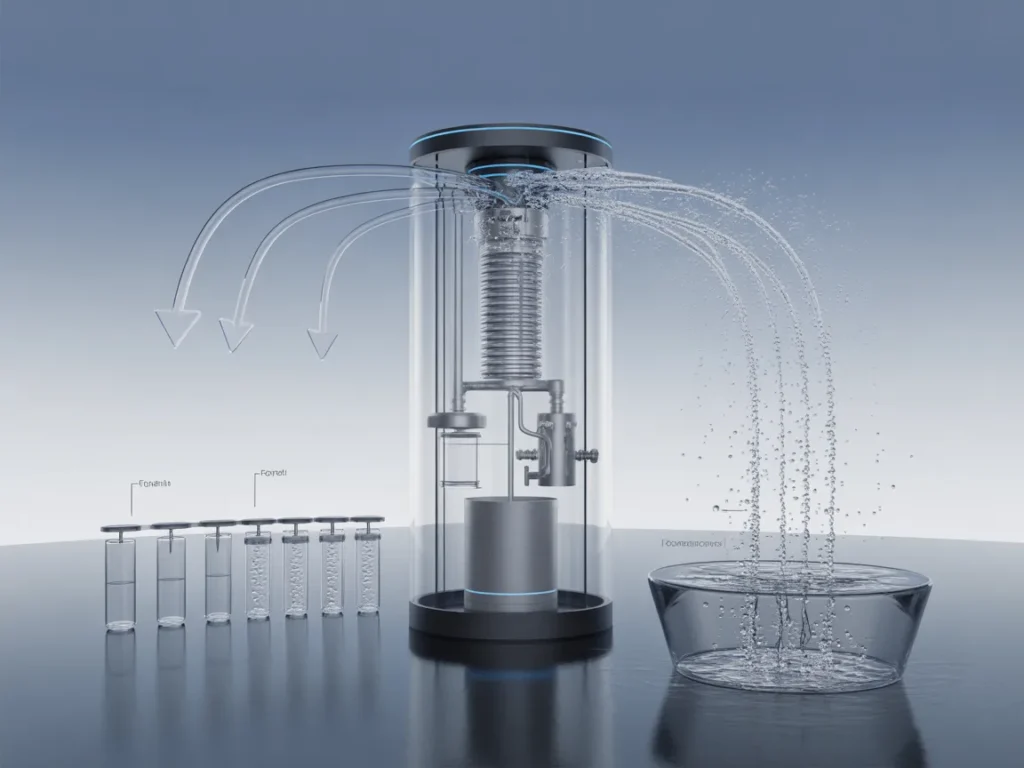
Step 3: Add a practical water treatment plan (not just storage)
Storage covers you until it doesn’t. A water-first setup includes a way to handle uncertainty—like boil-water notices, questionable supply, or needing to source water.
You’re aiming for a simple, repeatable method you’ll remember.
Checklist
- Decide your treatment approach (filter/purification method you understand)
- Keep it stored next to your water station (not in a random drawer)
- Include basic instructions (printed or written)
- Plan a “source water” option if tap water becomes unreliable
- Do a dry run so you know the steps before you need them
Do this now: Choose one treatment method and write down the exact steps you’d follow.
Step 4: Build the water-first support kit (the pieces people forget)
This is the difference between “we have water” and “we can live normally.”
Small items reduce mess, confusion, and friction—especially with kids, older relatives, or drained energy.
Checklist
- Clean pouring method (funnel or spout option)
- Basic sanitation supplies (hand hygiene support)
- Paper towels or cleaning cloths for spills
- Trash bags for waste management
- Simple container labeling system
Do this now: Put all water-related items in one bin/box next to your water station.
Step 5: Make it usable in minutes with a simple rotation routine
Most households don’t fail at preparedness because they “did nothing.”
They fail because supplies get scattered, expire, or become a mystery box no one wants to touch.
A rotation routine keeps your Disaster-Ready Home in 72 Hours: The Water-First Setup That Makes Everything Else Easier plan ready without turning it into a hobby.
Checklist
- Pick a rotation trigger (monthly reminder, season change, daylight savings)
- Update labels when you refill/replace
- Keep a quick checklist in the bin (what’s inside, what to replace)
- Do one small test run occasionally (pouring, using your treatment method)
- Teach one other person in the home where it is and how it works
Do this now: Set a repeating calendar reminder for “Water station check.”
Common Mistakes
Buying random supplies before setting a water baseline
Why it happens: Water feels boring, and gear feels productive.
Simple fix: Set your 72-hour water baseline first, then let everything else support that.Storing water but not making it accessible
Why it happens: People stash containers “out of the way” and forget handling matters.
Simple fix: Use containers you can lift/pour, and keep a small grab-first amount nearby.Assuming “we can just boil water” without planning
Why it happens: Boiling feels like an automatic solution—until fuel, time, and safe storage become issues.
Simple fix: Write down your exact steps and keep your treatment method with the water station.Ignoring hygiene water needs
Why it happens: People only think “drinking water,” but handwashing and basic cleaning matter.
Simple fix: Add a minimal hygiene plan and the small support items that reduce waste and mess.No labels, no rotation, no confidence
Why it happens: Labeling feels optional—until you’re staring at mystery containers later.
Simple fix: Label fill dates and set a light, repeating rotation reminder.Overcomplicating the plan with too many methods
Why it happens: Research rabbit holes, conflicting advice, and fear of missing the “best” option.
Simple fix: Choose one simple approach you’ll actually use—then upgrade later if you want.
Options Comparison
Below are common ways people approach a water-first home setup. None are “wrong”—it depends on your space, budget, and how hands-on you want to be.
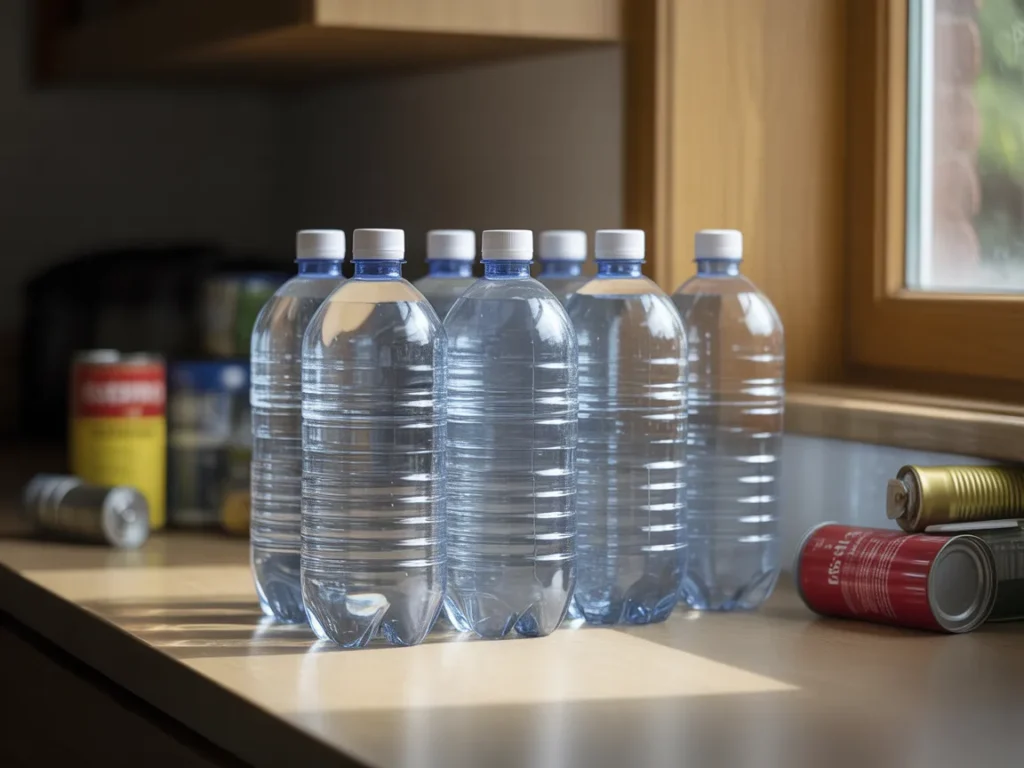
Option 1: Bottled water cases only
Best for: Ultra-simple starters, small households, short disruptions
Pros
- Easy to buy and store
- Simple to understand and use
- Good as a quick baseline
Cons
- Bulky and can run out quickly
- Doesn’t solve treatment or sourcing
- Rotation can be neglected
Option 2: Large container storage (jugs/barrels)
Best for: People with garage/basement space who want larger capacity
Pros
- Stores more water in fewer containers
- Good for households planning beyond just a day or two
- Can reduce store runs
Cons
- Heavy and harder to move
- Requires a pouring/dispensing plan
- Needs labeling and rotation discipline
Option 3: Filtration/treatment-first approach (minimal storage)
Best for: DIY-minded households near reliable source water options
Pros
- Can reduce how much you need to store
- Helps during boil-water notices or questionable supply
- Useful for travel/outdoors too
Cons
- Still needs a plan for access and containers
- Requires you to know your steps ahead of time
- Doesn’t automatically cover hygiene volume needs
Option 4: Mixed approach (modest storage + simple treatment + support kit)
Best for: Most families and homeowners who want balance
Pros
- Covers immediate needs and uncertainty
- More usable day-to-day
- Easier to adapt as your household changes
Cons
- Requires a bit of organization upfront
- Still needs basic rotation and upkeep
Option 5: A guided system/checklist-based setup
Best for: People who want clarity, fewer mistakes, and a fast, organized plan
Pros
- Reduces guesswork
- Helps you avoid missing small but critical items
- Easier to follow under stress
Cons
- You’ll still need to do the setup work
- You must follow the steps to get results
Which option should you pick?
If you’re a homeowner or family trying to get ready quickly, the best fit is usually a mixed approach—modest storage, a simple treatment method, and a small support kit—organized in one place. If time is tight and you don’t want to piece together advice from ten sources, a guided checklist-style setup can help you move faster with fewer do-overs.
Next: a resource that walks through the water-first setup in a more structured way.
Resources
If you like the idea of a Disaster-Ready Home in 72 Hours: The Water-First Setup That Makes Everything Else Easier, the hardest part isn’t effort—it’s deciding exactly what to do in what order.
That’s why some people prefer using a dedicated walkthrough rather than stitching together tips from blogs and videos.
One option I looked at is WaterSmartBox. It’s presented as a step-by-step resource focused on getting your home set up around water first—so the rest of your emergency readiness becomes simpler to build on.
You can watch/read the presentation just to understand the approach. You’ll see how it works, what’s included, and whether it fits you—no pressure to decide anything beyond getting the full picture.
SEE THE FULL PRESENTATION HERE
If you want a clearer walkthrough you can compare against the plan above, the next logical step is to view the WaterSmartBox presentation and see the full method in context.
In the presentation, you’ll see:
- How the water-first setup is structured step-by-step
- What’s included in the WaterSmartBox approach
- How it’s meant to help you organize water readiness without overcomplicating it
FAQ
Fit and difficulty
Is this beginner-friendly if I’ve never done emergency prep?
Yes—the entire water-first idea is about starting with the simplest, most useful base instead of complex gear.
How long does it take to set up a water station?
You can do the first version in an afternoon, then improve it with small upgrades over the next couple of days.
Do I need special tools or DIY skills?
No. Most of the work is organizing, labeling, and choosing practical containers and a treatment method you understand.
Space and household realities
What if I live in a smaller home or don’t have a garage?
A water-first setup can be scaled to closets, under-bed storage, and a single bin-based “water station.”
What if I’m prepping for a family with kids?
That’s exactly why organization matters—clear labels, easy pouring, and a simple routine reduce chaos.
What about pets?
Include pets in your baseline and keep their water accessible; don’t assume they can “make do” with less.
Confidence and next steps
What if I’m worried I’ll choose the wrong approach?
Start with basics first, upgrades second. A simple baseline beats a perfect plan you never finish.
If I watch the presentation, do I have to buy anything?
No—you can simply use it to understand the method and decide if it matches how you want to prepare.
Mini Summary + Action Plan
Store a practical 72-hour baseline of usable water in a spot you can access fast
Add one simple water treatment method you understand and can repeat
Create a single “water station” bin/area so nothing gets scattered
Label containers and set a light rotation reminder so your setup stays ready
Do a quick dry run so you’re not learning under pressure
Add the small support items that make water usable (pouring, sanitation, cleanup)
Upgrade later only after the basics are locked in and easy
Basics first, upgrades second—that’s how you build a Disaster-Ready Home in 72 Hours: The Water-First Setup That Makes Everything Else Easier without turning it into a stressful project.
Conclusion
A calm kind of readiness comes from knowing your essentials are handled—especially water. When you build a water-first setup, food gets easier, hygiene gets manageable, and the rest of your home preparedness stops feeling like a scattered shopping list.
If you want a more structured walkthrough to compare with the plan in this article, take a few minutes to view the WaterSmartBox presentation. It’s a straightforward way to see the full water-first method laid out step-by-step and decide whether it fits your home, your space, and your schedule.
SEE THE FULL PRESENTATION HERE