
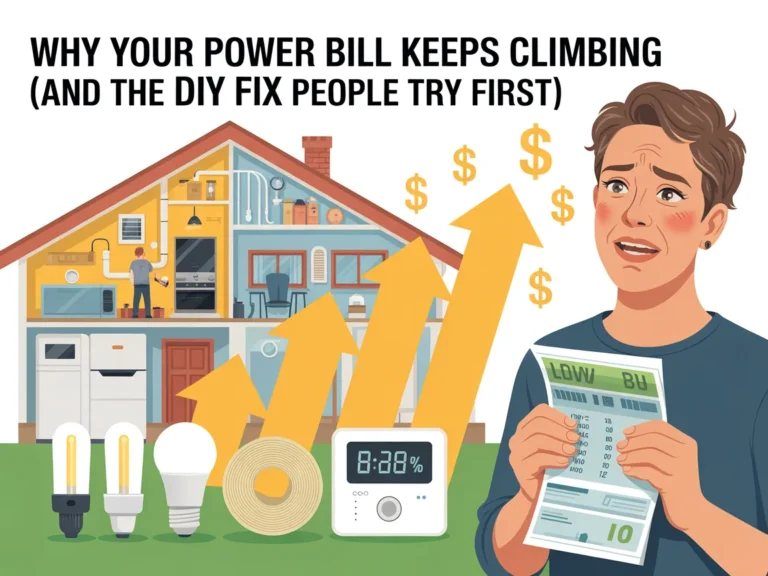
Opening your latest utility bill shouldn’t feel like a surprise pop quiz.
But lately it does: the total creeps up, month after month, even when you swear you’re being careful. You turn off lights. You nudge the thermostat. You run appliances at “better” times. And somehow, the number still climbs.
If that’s you, this article will give you a clear, realistic plan to figure out what’s actually driving your costs—and what the most common DIY “first fix” gets wrong.
One Big Idea: Basics first, upgrades second.
Here’s what you’ll learn (without overwhelm):
- The common reasons a power bill rises even when your habits “seem fine”
- A simple 3-part framework to identify your biggest energy drains fast
- A step-by-step checklist you can use this week to lower waste and make smarter next moves
Next: a quick reality check so you know you’re not imagining it.
Quick Reality Check
Rising electricity costs are common—even for people who are genuinely trying.
Why? Because your bill isn’t just about “usage.” It’s also about when and how your home uses energy, what equipment is aging quietly in the background, and whether you’re chasing small wins while missing the big levers.
If you’ve been dealing with any of these, you’re in familiar territory:
- Your bill jumps even though you didn’t change your routines much
- You “did the obvious stuff” (LED bulbs, unplugging chargers) but savings feel tiny
- Seasonal swings hit harder than they used to, and you can’t pinpoint why
You’re not behind—you just need a simple plan.
Next: let’s get the framework right before you spend time or money on the wrong fix.
The Core Framework
When you’re trying to stop rising utility bills, it helps to think in three layers. Most people skip the middle and jump straight to “upgrades,” then wonder why results are inconsistent.
1) What matters most (the variables that move the needle)
A handful of factors usually drive most home energy costs:
- Heating and cooling behavior (even slight inefficiencies add up)
- Major appliances and “always-on” loads
- Insulation/air leaks that make everything work harder
- Timing and duration of high-draw devices (dryers, ovens, space heaters)
2) The basics (core actions that reduce waste immediately)
These are the boring wins that actually work:
- Finding hidden “on” devices and standby loads
- Tightening the thermostat habits that create big spikes
- Fixing airflow and filter issues that force systems to run longer
3) The next layer (the upgrade people skip or misunderstand)
Here’s where many DIYers go first: gadgets, big purchases, or ambitious projects.
But the “next layer” only works well after the basics are handled, because:
- Upgrades can’t compete with ongoing waste
- You can end up sizing changes incorrectly
- You might optimize the wrong thing
Example: Installing a smart thermostat can help—but if your HVAC filter is clogged or your home leaks air badly, you’re still paying for inefficiency.
Example: Cutting back on lights helps a little—but if an aging fridge or a “mystery” standby load runs nonstop, that’s where your money is going.
Next: let’s turn this into a simple step-by-step plan you can follow.
The Step-by-Step Plan (Checklist Guide)
This checklist guide is designed for homeowners and budget-conscious readers who want clarity first—without turning their weekend into a construction project.
Step 1: Stop guessing and identify your biggest drivers
Most people start with what they see (lights), not what actually costs the most (heating/cooling and major loads). You don’t need perfect data—you need a short list of suspects.
Start by scanning your bill history and matching it to weather and household changes. Then you’ll know if this is seasonal load, equipment drift, or “always-on” creep.
Checklist
- Pull the last 6–12 months of bills (or log into your utility portal)
- Note the highest months and what was happening (heat wave, cold snap, guests, work-from-home)
- Check if your “baseline” month is rising year-to-year
- List your top energy users: HVAC, water heater, dryer, oven, fridge/freezer, space heaters
- Write down anything new in the home (dehumidifier, second fridge, gaming PC, aquarium, EV charger)
Do this now: Circle the one category you suspect most: HVAC, hot water, or “always-on.”
Step 2: Find the DIY fix people try first (and make it actually work)
The DIY fix most people try first is “unplug things and turn off lights.”
That’s not wrong—it’s just often too small to matter unless you do it strategically. The goal is to target real standby loads and hidden constant draws, not stress about every charger.
Checklist
- Identify “always-on” devices: routers, modems, DVRs, smart speakers, amplifiers, game consoles
- Look for 24/7 appliances: extra fridge/freezer, wine fridge, dehumidifier, air purifier
- Check power strips behind entertainment centers (these are common energy leak zones)
- Set a simple rule: shut down the whole cluster when not in use (TV + console + speakers)
- Turn off “instant on” mode on devices where it’s optional (TVs/consoles)
- Pay attention to portable heaters (small device, big draw)
Do this now: Pick one room and eliminate standby load for 7 days—then compare your habits, not just the bill.
Step 3: Make heating and cooling behave (without suffering)
For most homes, heating and cooling is the heavyweight. Even small improvements here can have outsized impact—especially if your system is running longer than it should.
This isn’t about being uncomfortable. It’s about removing inefficiency so your system hits the same comfort level with less work.
Checklist
- Replace or clean HVAC filters (and set a recurring reminder)
- Make sure vents/registers aren’t blocked by rugs or furniture
- Check door and window seals for obvious drafts
- Use curtains/blinds strategically for sun exposure
- Avoid extreme thermostat swings that cause long recovery runs
- If you use space heaters, treat them as short-duration tools, not “background heat”
Do this now: Change your filter and clear airflow paths today—no tools, no drama.
Step 4: Reduce hot water waste you don’t notice
Hot water costs hide well because you don’t “see” the energy, and the habits feel normal. But long showers, hot cycles, and constant reheating can quietly inflate your total.
This step focuses on the easy reductions that don’t feel like sacrifice.
Checklist
- Shorten shower time by a small, realistic amount (consistency beats intensity)
- Run full loads for dishwashers and laundry when possible
- Use cold or warm cycles when the load allows
- Fix dripping hot-water faucets (small drip, ongoing reheating)
- If your water heater is accessible, check for unusual sounds or frequent cycling
- Don’t leave hot water running during long tasks (cleaning, shaving)
Do this now: Choose one hot-water habit to tighten for the next 10 days.
Step 5: Audit your “quiet culprits” (fridge, freezer, and forgotten devices)
Aging appliances don’t always “break.” They just get less efficient and run longer. A fridge that runs constantly, a freezer in a hot garage, or a second fridge you barely use can add steady cost to every month.
Your job here is to spot what’s running too often.
Checklist
- Listen: does your fridge run constantly or cycle normally?
- Clean dust from coils/vents if accessible (follow manufacturer guidance)
- Check door seals for gaps (paper test: does it slip out easily?)
- Make sure freezers/fridges aren’t overpacked or underfilled in a way that blocks airflow
- Unplug and remove “temporary” devices that became permanent (extra fans, old chargers, spare mini-fridge)
- If you have a garage fridge/freezer, note the temperature conditions around it
Do this now: Decide whether the “extra fridge” (if you have one) is worth the monthly baseline cost.
Step 6 (Optional): Track one simple metric for 14 days
You don’t need a spreadsheet lifestyle. But you do need feedback—otherwise every change feels invisible.
Pick one metric: daily thermostat behavior, space heater use, or “shutdown routine” adherence.
Checklist
- Choose ONE target behavior for two weeks
- Note it on a calendar (yes/no is enough)
- Keep everything else normal so you can actually learn
- After 14 days, keep only what felt easy and meaningful
- Repeat with the next biggest driver
Do this now: Pick one behavior you can repeat without willpower battles.
Next: let’s cover the mistakes that make people work hard for small results.
Common Mistakes
Focusing on light bulbs while ignoring HVAC and hot water
Why it happens: Lights are visible and easy to change, so they feel like progress.
Simple fix: Keep LEDs, but put most attention on heating/cooling runtime and water heating habits.Buying gadgets before fixing basics
Why it happens: A new device feels like a clean solution.
Simple fix: Lock in airflow, filters, drafts, and standby load first—then upgrades make more sense.Overcorrecting the thermostat
Why it happens: People chase savings with extreme settings, then “rebound” later.
Simple fix: Make small, consistent adjustments and reduce system strain (filters, vents, sun control).Letting standby loads multiply
Why it happens: Each device seems tiny, so it doesn’t feel worth managing.
Simple fix: Use a “one-switch” shutdown approach for clusters (entertainment center, office corner).Assuming an appliance is fine because it still runs
Why it happens: Inefficiency doesn’t look like failure.
Simple fix: Watch for constant cycling, heat buildup, poor seals, and heavy garage conditions.Trying to do everything in one weekend
Why it happens: Motivation spikes, then life returns to normal.
Simple fix: Follow “Basics first, upgrades second,” and tackle one high-impact area per week.
Options Comparison
Below are five realistic approaches people use when their bill keeps rising. None are “bad”—they just fit different budgets, skills, and timelines.
Option 1: Habit and baseline cleanup (the basics-first approach)
Best for: Homeowners who want results without buying new equipment
Pros
- Low cost and quick to start
- Builds awareness of what actually drives your bill
- Improves comfort by reducing system strain
Cons
- Requires consistency
- Some savings take time to show up on the bill
Option 2: Smart devices and monitoring tools
Best for: Tech enthusiasts who like dashboards and automation
Pros
- Helps you see patterns more clearly
- Can automate temperature or device schedules
- Convenience can improve consistency
Cons
- Doesn’t fix underlying inefficiency by itself
- Can become “set it and forget it” without follow-through
Option 3: Home sealing and insulation improvements
Best for: Energy efficiency seekers willing to do hands-on work
Pros
- Can reduce heating/cooling workload
- Often improves comfort noticeably
- Long-term structural benefit
Cons
- Takes time and planning
- Results depend on doing the right areas correctly
Option 4: Appliance upgrades and replacements
Best for: Households with aging equipment and room in the budget
Pros
- Can reduce constant baseline draw
- More reliable performance
- May reduce maintenance headaches
Cons
- Higher upfront cost
- Hard to choose what to replace first without clarity
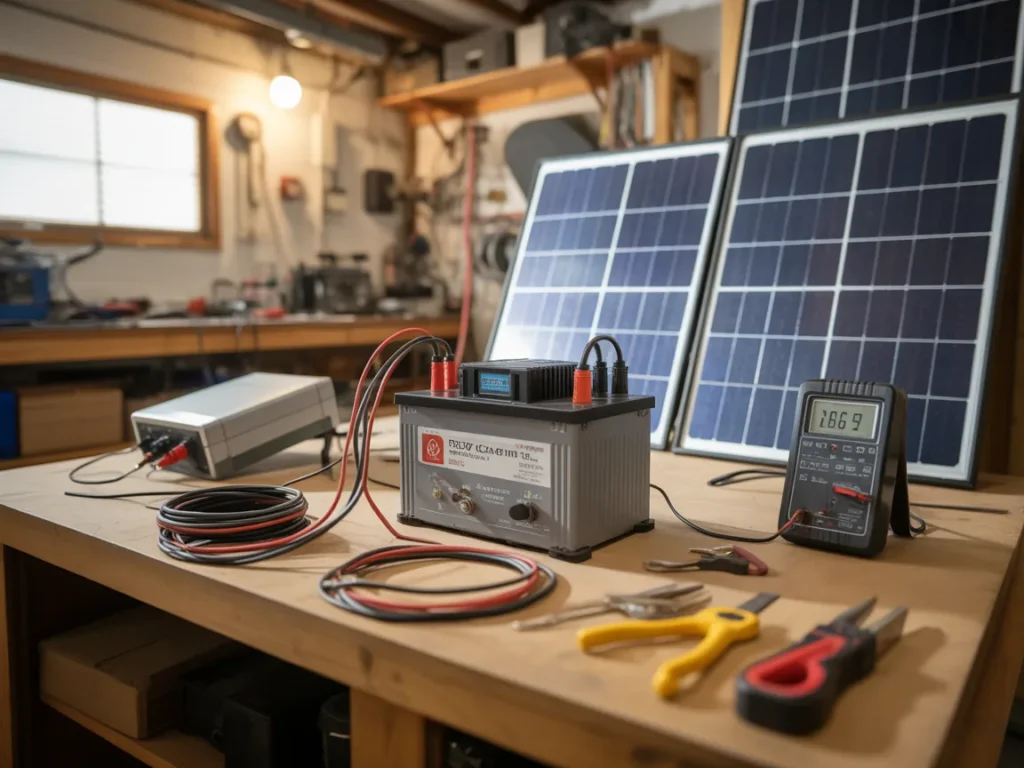
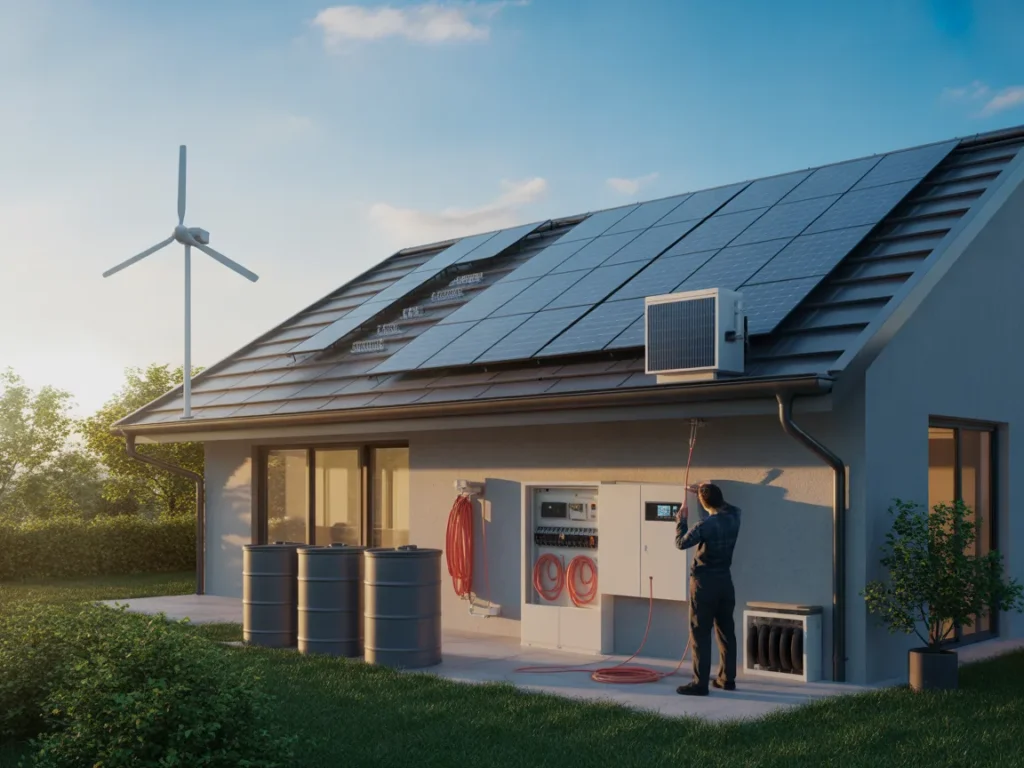
Option 5: Alternative power/backup power education (learning systems)
Best for: Self-sufficiency seekers and renewable energy curious readers
Pros
- Helps you understand energy independence concepts
- Useful for preparedness and resilience thinking
- Can broaden your options beyond “just reduce usage”
Cons
- Not always a quick fix for next month’s bill
- Requires learning to separate practical steps from noise
Which option should you pick?
If you’re a homeowner trying to get control fast, start with Option 1 for two weeks: reduce waste, tighten the big drivers, and identify your baseline. If you enjoy tech, layer in Option 2 to make consistency easier. If comfort is a big issue, Option 3 may be a smart next move. If you suspect an old appliance is quietly draining you, consider Option 4—but only after you know which appliance is truly the culprit. And if you’re drawn to self-sufficiency, Option 5 can be worth exploring as education.
Next: a helpful resource that organizes the “energy independence” side into a clearer walkthrough.
Resources
If your power bill keeps climbing and you’re the type who wants a clearer “system” (not random tips), it can help to watch a structured presentation that explains an alternative approach in plain language.
One resource that many people look into is the Energy Revolution System presentation. It walks through the concept step-by-step so you can understand the idea, the components, and the overall approach before deciding what you think.
Even if you don’t end up using it, the presentation can be useful as an educational overview—especially if you’re renewable-energy curious or thinking longer-term about relying less on the grid.
You’ll see how it works, what’s included, and whether it fits you.
SEE THE FULL PRESENTATION HERE
If you want to see that walkthrough for yourself, the next logical step is to view the presentation and get a clear picture of what the Energy Revolution System is describing.
In the presentation, you’ll see:
- What the Energy Revolution System is and the core idea behind it
- How the approach is explained step-by-step (so you can follow along)
- What’s included in the system so you can judge if it matches your goals
FAQ
Beginner-friendly expectations
Is this beginner-friendly if I’m not “handy”?
Yes—start with the basics-first checklist in this article. If you watch the Energy Revolution System presentation, it’s designed to be a walkthrough so you can understand the concept without jumping into complicated work immediately.
How long does it take to start feeling more in control?
Usually within a week you’ll feel clearer because you’ve identified your biggest drivers and stopped guessing. Bill results can lag, but clarity comes faster.
Do I need special tools to do the steps in this article?
No. Most steps are behavior, airflow, and simple checks. If you choose to go deeper later, you can add tools—but you don’t need them to start.
Practical homeowner concerns
My bill is high, but I don’t know what changed—what should I check first?
Check HVAC behavior, hot water habits, and “always-on” devices first. Those are common drivers that change without you noticing.
I already use LED bulbs and turn things off—why is my bill still high?
Because the biggest costs are often heating/cooling runtime, hot water, and major appliances. Small visible changes help, but they don’t always touch the main drivers.
Is the Energy Revolution System about reducing usage or something else?
The presentation explains the overall concept and what the system includes, so you can understand the approach in context and decide whether it’s relevant to your goals.
Fit and decision comfort
Do I have to decide anything right after watching the presentation?
No—watch it to understand the idea and what’s included. You can decide later whether it fits.
What if I’m mainly interested in resilience or self-sufficiency, not just saving money?
Then the educational angle can be especially useful. The presentation is a way to explore energy independence concepts without trying to piece everything together from random sources.
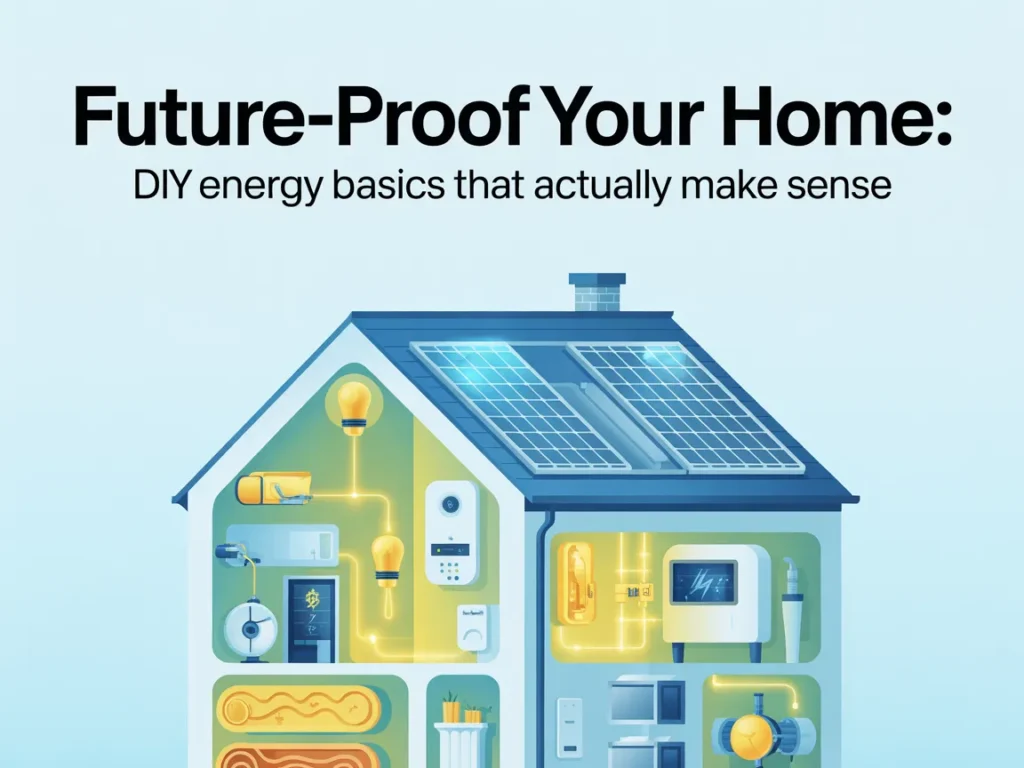
Mini Summary + Action Plan
Use this as your simple reset when you feel stuck:
- Basics: Identify your top drivers (HVAC, hot water, always-on loads) from your bill history
- Basics: Target standby loads strategically (clusters, not individual chargers)
- Basics: Improve HVAC efficiency with filters, airflow, and draft reduction
- Maintenance: Track one behavior for 14 days (consistency beats intensity)
- Maintenance: Re-check baseline loads every month (devices creep back in)
- Next layer: Only after basics, consider smart monitoring to reinforce habits
- Next layer: If you’re renewable-energy curious, watch a structured walkthrough to understand alternative approaches
Basics first, upgrades second—because clarity beats random effort.
Conclusion
If you’ve been searching for answers to Why Your Power Bill Keeps Climbing (And the DIY Fix People Try First), the best move is to stop chasing tiny fixes and start working a simple order: big drivers first, then consistency, then upgrades.
Imagine two weeks from now: your home feels the same, but you’re no longer guessing. You know what’s driving your baseline. You’ve eliminated a few quiet energy leaks. And you have a calmer plan for what to do next—without turning your life into a constant “energy policing” routine.
If you want to explore an alternative, more structured walkthrough that explains an energy independence approach, you can watch the Energy Revolution System presentation here:
SEE THE FULL PRESENTATION HERE