
A “quick weekend project” sounds simple… until you’re standing in the garage with a board that’s 1/8″ too short, a sketchy online diagram, and the creeping feeling that you’re about to waste your Saturday.
If you’ve been there, you’re not alone.
The good news: you don’t need more motivation or fancier tools. You need clearer plans and a calmer process you can repeat.
One Big Idea: Clarity beats confusion.
In this guide, you’ll learn:
- How to choose easy woodworking projects that match your time, tools, and skill
- A repeatable step-by-step build process that prevents the most common “oops” moments
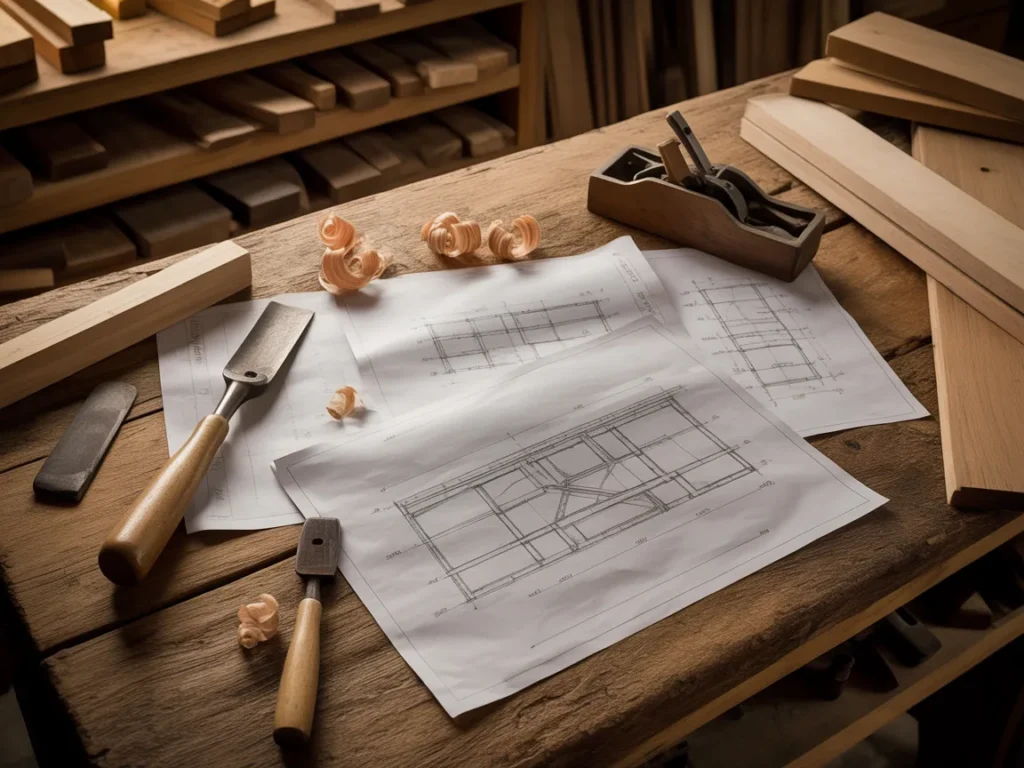
- A practical way to find plans that actually work (and what to look for before you cut)
Next: let’s make sure you’re solving the real problem—not just powering through it.
Quick Reality Check
Most weekend woodworking fails aren’t caused by lack of talent. They’re caused by unclear instructions, missing measurements, and trying to “figure it out” mid-build when you’re already committed.
That’s why the headline—**16 Easy Woodworking Projects to Build This Weekend (With Plans That Actually Work)**—matters. The “easy” part is rarely the issue. The “plans that work” part is.
Common frustrations look like this:
- You find a “free plan,” but it’s missing cut lists, angles, or hardware details
- You start building, then realize the project quietly assumes a table saw, router, or jig you don’t have
- Your final piece wobbles, racks, or doesn’t sit flush—despite careful effort
You’re not behind—you just need a simple plan.
Next: I’ll show you a framework that makes nearly any small build feel predictable.
The Core Framework
When you’re trying to knock out one of those 16 easy woodworking projects to build this weekend (with plans that actually work), the build becomes dramatically easier if you keep three things in order:
What matters most (the key variables)
These are the biggest drivers of a smooth, accurate build:
- Accurate measurements (and a plan that doesn’t leave you guessing)
- Square cuts and square assemblies (so everything lines up)
- Material choice (stable wood and sensible thickness for the job)
If your plan is vague on any of those, “easy” gets hard fast.
The basics (core actions)
The basics aren’t glamorous, but they prevent 90% of weekend frustration:
- Measure, mark, and cut with consistency
- Pre-drill where needed to avoid splitting
- Dry fit before you glue or fasten permanently
The next layer (the upgrade people skip)
This is where “it works” becomes “it looks good and lasts”:
- Smart joinery choices (not overcomplicated—just appropriate)
- Proper sanding sequence and edge treatment
- A finish that fits the project (indoor/outdoor, wear level, etc.)
Example 1: A simple shelf becomes sturdy when you plan for wall attachment, load direction, and square assembly.
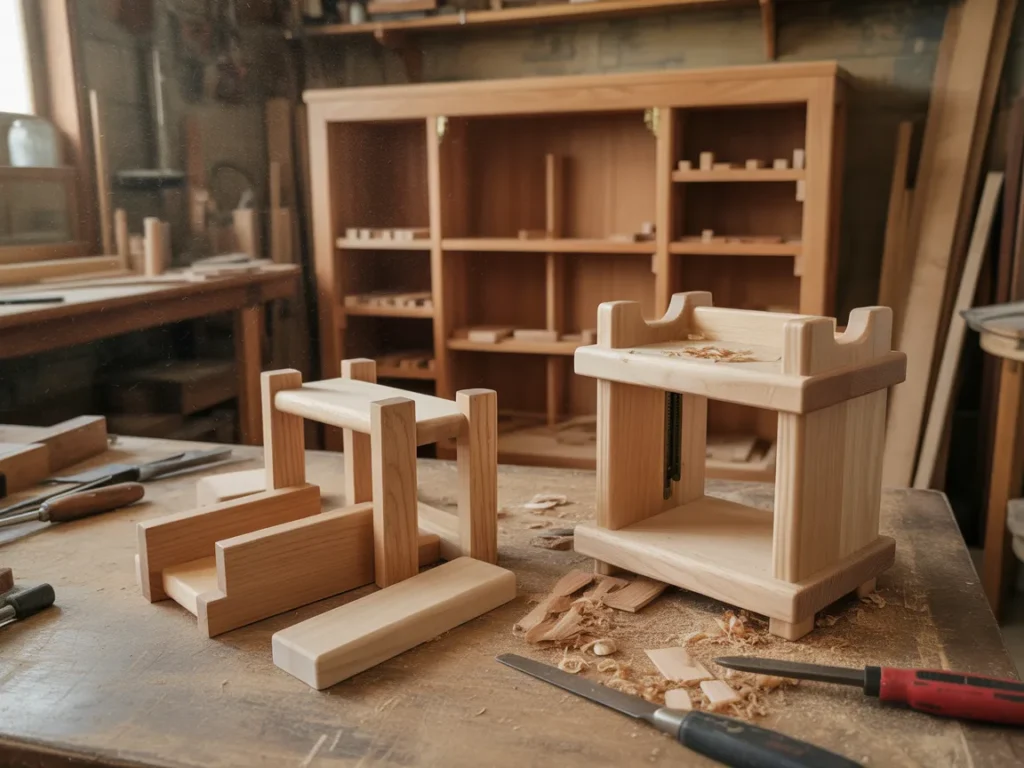
Example 2: A small bench becomes “rock solid” when you add basic bracing and use a plan that shows exact placement.
Next: let’s turn that framework into a clean weekend checklist you can follow.
The Step-by-Step Plan (Beginner’s Guide)
Below is a beginner-friendly process you can apply to almost any of the **16 easy woodworking projects to build this weekend (with plans that actually work)**—from a small organizer to a simple side table.
Step 1: Pick a project that matches your weekend (not your ambition)
Most people choose a project based on looks, then get trapped by tool requirements and time creep. Instead, pick based on time, tools, and tolerance for precision.
Checklist
- Choose a build with straight cuts if you’re new
- Limit yourself to 1–2 types of joinery (screws + glue is fine)
- Avoid builds that require perfect symmetry on your first weekend
- Confirm the plan includes a materials list and cut list
- Check for dimensions for every part—not just “overall size”
Do this now: Write down your available build time (in hours) and pick a project that fits that number.
Step 2: Gather materials and hardware before you touch a saw
Weekend projects derail when you’re making three store runs mid-build. Even a simple birdhouse, planter box, or shop organizer is smoother when everything is staged.
Checklist
- Buy a little extra lumber for mistake margin
- Confirm fasteners: screws, nails, or both
- Add wood glue, sandpaper, and filler if needed
- Make sure you have clamps (or a workaround)
- If painting/staining, grab finish supplies now (rags/brushes)
Do this now: Lay every piece of hardware and tool on a table—if anything’s missing, fix it before cutting.
Step 3: Mark, cut, and label like you’re building from a kit
This is where clarity beats confusion. Your goal is to turn raw boards into clearly identified parts—so assembly feels almost automatic.
Checklist
- Mark all boards with pencil lines you can see
- Use a square to keep lines true
- Cut “slightly long” if you’re uncertain, then trim to fit
- Label each part (A, B, C…) to match the plan
- Stack parts in assembly order
Do this now: Label every cut piece immediately after cutting—before it leaves your workbench.
Step 4: Dry fit first, then assemble in the right sequence
Dry fitting is your stress reducer. It helps you catch misalignment while you still have options.
Checklist
- Test-fit major parts without glue first
- Confirm everything is square before fastening
- Pre-drill to avoid splitting (especially near edges)
- Clamp if possible while fastening
- Wipe glue squeeze-out right away
Do this now: Dry fit the full frame (or main structure) and check squareness before adding any final fasteners.
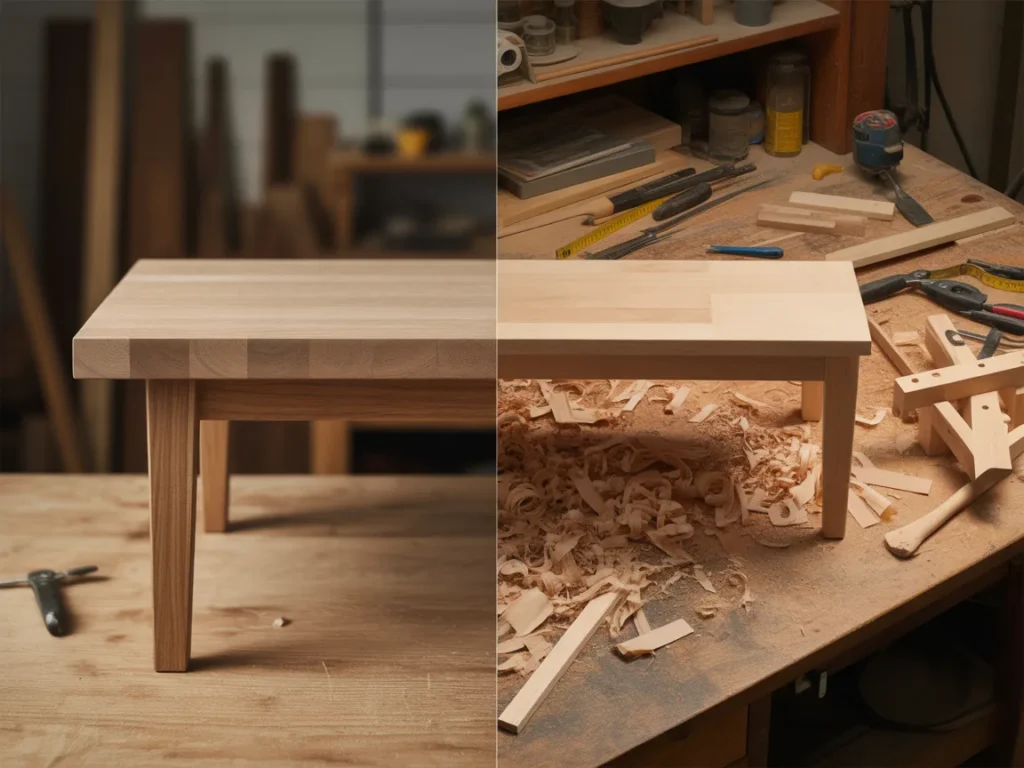
Step 5: Sand and finish for real-world durability
A weekend project should survive real use—especially if it’s outdoor furniture, garage storage, or something that gets handled daily.

Checklist
- Break sharp edges (quick pass with sandpaper)
- Sand in stages (coarse → medium → fine as needed)
- Remove dust before finishing
- Pick a finish that matches use: indoor/outdoor, water exposure, wear
- Let it cure properly before heavy use
Do this now: Decide the finish before you start sanding so you don’t redo work later.
Step 6 (Optional): Make it “yours” without changing the structure
Customization is great—just don’t alter load-bearing parts unless you know the plan’s intent.
Checklist
- Change dimensions only after confirming what parts support weight
- Customize with trim, rounding edges, or finish choices
- Add simple features: hooks, dividers, handles
- Keep the joinery the same if you’re new
Do this now: Choose one cosmetic change (finish, edge, handle) and leave the structure as designed.
Next: even with good steps, a few mistakes show up again and again—let’s prevent them.
Common Mistakes
Mistake 1: Starting with a plan that skips key details
Why it happens: Free diagrams often look nice but leave out cut lists, part labels, or assembly order.
Simple fix: Use plans that include clear measurements, a full cut list, and step-by-step instructions.
Mistake 2: Ignoring wood movement and grain direction
Why it happens: Beginners assume wood behaves like plastic or metal. It doesn’t.
Simple fix: Follow plans that specify material thickness and orientation, and use stable boards.
Mistake 3: Measuring “close enough” on repeated cuts
Why it happens: It’s easy to mark each piece separately, drifting a little each time.
Simple fix: Use a stop block or measure once and repeat cuts consistently.
Mistake 4: Assembling before checking for square
Why it happens: You want progress fast, and “it looks fine” is tempting.
Simple fix: Use a speed square or framing square during dry fit and assembly.
Mistake 5: Skipping pre-drilling and splitting boards
Why it happens: Screws feel faster than glue-ups or joinery.
Simple fix: Pre-drill near edges and use the correct screw size for the board thickness.
Mistake 6: Choosing a finish after the build is done
Why it happens: Finishing feels optional—until the piece stains, absorbs moisture, or looks rough.
Simple fix: Decide early and match the finish to the project’s use (indoor/outdoor).
Next: let’s compare your options for finding plans that actually work.
Options Comparison
Here are five realistic ways people approach **16 easy woodworking projects to build this weekend (with plans that actually work)**—and what each approach is best for.
Option 1: Sketch it yourself from memory or inspiration photos
Best for: Experienced builders who enjoy problem-solving.
Pros
- Total creative control
- Flexible dimensions for your space
- No waiting—start immediately
Cons
- Easy to miss structural details (bracing, spacing, fastener choice)
- Requires confidence in measurement and joinery
Option 2: Free plans found online (blogs, forums, downloads)
Best for: DIYers willing to verify details and adjust.
Pros
- Usually free
- Lots of variety (shelves, benches, planter boxes, picnic tables)
- Good for inspiration and quick builds
Cons
- Quality varies a lot
- Often missing cut lists, part labels, or clear steps
Option 3: Video-only tutorials (YouTube builds)
Best for: Visual learners who can pause and rewatch.
Pros
- You can see sequencing and tool handling
- Helpful for technique (sanding, assembly, squaring)
- Great for beginners who want to “watch first”
Cons
- Measurements may be incomplete
- Hard to reference during cutting without written plans
Option 4: Buying individual project plans (one-off PDFs)
Best for: Someone who wants one specific piece (like a coffee table) done well.
Pros
- Often more detailed than free plans
- Can include cut lists and diagrams
- Focused on one outcome
Cons
- Adds up if you build often
- Still varies by creator quality
Option 5: Using a structured woodworking plan library
Best for: DIY enthusiasts and beginners who want multiple projects ready to go.
Pros
- Many project options in one place
- Easier to find plans matched to your skill level
- More consistent format when you build repeatedly
Cons
- You still need to pick the right project for your tools/time
- You’ll want to review a plan before starting (always)
Which option should you pick?
If you’re a Woodworking Beginner, choose the option that reduces decision fatigue: clear measurements, a cut list, step-by-step assembly, and projects that don’t assume specialty tools. If you’re limited on time, pick a smaller build with straight cuts. If your budget is tight, choose plans that use standard lumber sizes and simple hardware.
Next: if you want a straightforward way to browse lots of projects without guessing, there’s a resource worth looking at.
Ressoures
If your main struggle is finding plans that actually work, it helps to see a complete system that lays out projects clearly—materials, measurements, and build steps—so you can spend your weekend building instead of decoding.
One resource many DIYers look at is Ted’s Woodworking Plans, which presents a large collection of woodworking projects and plans in one place.
Even if you don’t buy anything, the presentation is useful because it shows how the plans are organized, what’s included, and what the projects look like—so you can decide if it matches your style and your workshop reality.
You’ll see how it works, what’s included, and whether it fits you.
In the presentation, you’ll see:
- A walkthrough of Ted’s Woodworking Plans and what the plan package contains
- Examples of the project plans included and how they’re laid out
- How the system is meant to help you move from idea → plan → build with less guesswork
FAQ
Beginners can use this approach without advanced skills
Yes—if you stick to straight-cut builds, dry fit first, and follow clear step-by-step plans, weekend projects become much more predictable.
Plans matter more than “talent”
Most frustration comes from missing measurements, unclear diagrams, or skipped steps—not from your ability to use tools.
Tool requirements stay manageable
Many weekend-friendly woodworking projects can be built with common tools, especially when the plan doesn’t assume specialized jigs or machines.
You can build something useful in a weekend
If you choose the right project size and stage materials first, it’s realistic to finish a simple shelf, organizer, small table, or outdoor piece in a couple days.
FAQ: Is this beginner-friendly?
If you choose beginner-level projects with clear cut lists and step-by-step assembly, yes. The key is picking plans that don’t leave gaps.
FAQ: How long does a weekend project actually take?
Many simple builds can fit into a weekend when you pre-buy materials, cut and label parts, then assemble in a clean sequence.
FAQ: Do I need special tools to start?
Not necessarily; many easy woodworking projects rely on basic measuring, cutting, drilling, and sanding. The plan you choose should match the tools you have.
FAQ: What if I’ve been burned by “bad plans” before?
That’s common. Look for plans that show measurements clearly, include a cut list, and explain assembly steps so you’re not guessing mid-build.
FAQ: Are these projects only furniture?
Not at all—weekend woodworking often includes storage, shop projects, outdoor items, and small builds that improve your space quickly.
FAQ: Can I customize sizes for my space?
Usually yes, but it’s safest to keep the structure the same and adjust non-structural dimensions first (like length/width) unless the plan explains load paths.
FAQ: What’s the point of watching the presentation if I’m not sure?
It gives you a clearer view of what’s in the plan library and how the projects are laid out, so you can decide from an informed place.
FAQ: Will this help me avoid wasting lumber?
Clear plans and a consistent cut/label/dry-fit process reduce avoidable mistakes, which is the main cause of wasted material in weekend builds.
Mini Summary + Action Plan
If you want 16 easy woodworking projects to build this weekend (with plans that actually work) to feel doable (not stressful), keep it simple and repeatable:
Pick a project that matches your time + tools
Use plans with clear measurements + a cut list
Cut and label every part before assembly
Do a dry fit and check square before final fastening
Finish with a simple routine: sand, clean dust, apply finish
Upgrade with smart joinery (appropriate, not fancy)
Upgrade with edge treatment + a practical finish for durability
Clarity beats confusion—especially when you’re building on a weekend clock.
Next: bring it home with one calm next step.
Conclusion
If you’ve been searching for 16 Easy Woodworking Projects to Build This Weekend (With Plans That Actually Work), you don’t need a perfect workshop or years of experience. You need a small project with clear steps, then a process you can repeat: stage materials, cut and label, dry fit, assemble square, and finish for real life.
Imagine next weekend: you walk into your workspace already knowing the measurements, the cut list is printed, and you’re simply following the build—no scrambling, no guessing, no “how is this supposed to attach?”
If you want to see a structured plan library presentation that shows what’s included and how the projects are laid out, you can view it here:
SEE THE FULL PRESENTATION HERE