
The first sign is usually small: the tap sputters, the toilet won’t refill, the shower pressure drops to nothing.
You tell yourself it’s probably a quick interruption… until you check your phone and see neighbors posting the same thing. Now it’s not just “annoying”—it’s suddenly everything: drinking water, cooking, hygiene, pets, and basic cleanup.
If you’ve never handled a real outage before, the hardest part isn’t the lack of water. It’s the uncertainty: What should I do first so I don’t accidentally make things worse?
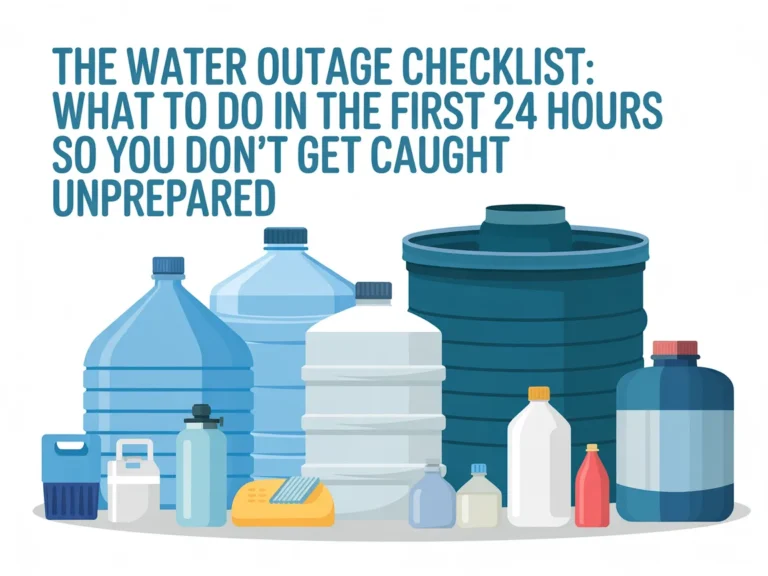
This is The Water Outage Checklist: What to Do in the First 24 Hours So You Don’t Get Caught Unprepared—a calm, practical plan you can follow step by step.
One Big Idea: Basics first, upgrades second.
In the next few minutes, you’ll learn:
- The first 3 moves that prevent “small outage” from turning into a messy day
- A simple 5-step checklist for the first 24 hours (even if you’re busy)
- The most common mistakes people make—and easy fixes
Next: start with a quick reality check so you know what’s normal and what’s urgent.
Quick Reality Check
Water outages are more common than most people think—and not just from big storms. They can happen from routine maintenance, a burst main, local construction, pressure problems, or contamination advisories.
The reason they feel stressful is simple: modern homes depend on pressurized water for dozens of “invisible” tasks.
Here’s what people typically run into within the first few hours:
- You can’t confirm what’s safe (Is it a pressure issue? A boil notice? A full shutoff?)
- Basic household systems stall (toilets, dishwashing, laundry, cleaning)
- You start rationing without a plan (and waste what you do have)
You’re not behind—you just need a simple plan.
The Core Framework
When water is out (or threatened), you don’t need complicated tactics. You need a clear framework you can reuse.
What matters most (the key variables)
A good first-24-hours plan depends on a few variables:
- Duration: minutes, hours, or multiple days
- Safety: normal outage vs. “do not drink” / “boil water” advisory
- Household needs: kids, older adults, medical needs, pets
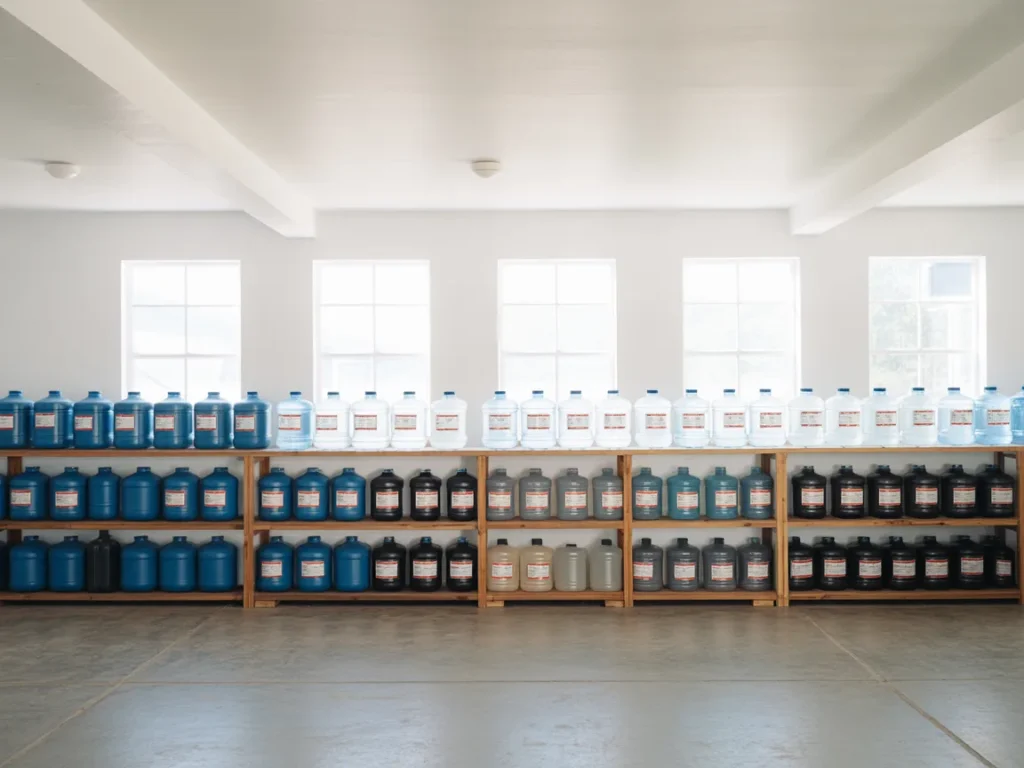
- Storage & access: what you already have (bottles, tubs, buckets), and what you can quickly gather
- Sanitation: toilets and handwashing often become the real bottleneck
The basics (core actions)
The essentials don’t change:
- Confirm what’s happening (without guessing)
- Secure drinking water first
- Set up “minimum-viable” hygiene and toilet flushing
- Protect plumbing from pressure surprises and backflow risks
- Communicate and conserve
The “next layer” (the upgrade people skip)
Once the basics are handled, the next layer is about becoming less dependent on fragile systems:
- Creating a repeatable home water plan (not improvisation)
- Setting up a reliable way to have water on hand—even if the outage lasts longer than expected
Example: If you only focus on candles and batteries but forget water storage, you’re “prepared” for comfort—yet still stuck for the essentials.
Example: If you store water but never plan sanitation, you’ll burn through your water fast.
Next: let’s turn this into a first-24-hours checklist you can follow without thinking too hard.
The Step-by-Step Plan
(Style: Checklist Guide — designed for homeowners, families, and anyone who wants clear steps.)
Step 1: Confirm the situation and set a “household baseline”
Before you start filling containers or driving to the store, take 10 minutes to confirm what’s actually going on.
The goal is to avoid overreacting or underreacting—both lead to mistakes.
Checklist
- Check your utility/municipal site or alert system for outage updates
- Look for any boil water / do not drink / pressure notices
- Ask a neighbor: “Do you have water?” (helps isolate local plumbing issues)
- Turn on a cold tap briefly to confirm pressure is truly gone/low
- Set a simple baseline: “We’ll act as if this lasts 24 hours unless we hear otherwise.”
Do this now: Write down the latest official update and the time you checked it.
Step 2: Lock in drinking water first (before everything else)
“Water” is not one category in an outage. You have drinking water, cooking water, and sanitation water.
Start with drinking water because it’s the hardest to replace safely when you’re stressed and time is tight.
Checklist
- Gather existing drinkables first: bottled water, pantry drinks, emergency supplies
- If water is still trickling: fill clean bottles, pitchers, and food-grade containers
- Avoid questionable containers (anything that held chemicals or isn’t food-safe)
- Set a simple ration plan so you don’t accidentally burn through it early
- Keep drinking water separate from “utility water” (label if needed)
Do this now: Designate one spot as “drinking only” water storage.
Step 3: Build a quick sanitation setup (toilets + hand hygiene)
In many homes, the biggest quality-of-life issue isn’t thirst—it’s sanitation.
If your household can still wash hands and manage toilet flushing, everything feels more stable and less chaotic.
Checklist
- Fill the bathtub (if water is still available at all) for utility use
- Gather buckets/bins for “flush water” (separate from drinking water)
- Set up hand hygiene: soap, sanitizer, wipes, a small pour container
- Use disposable plates/cutlery temporarily to reduce dishwashing needs
- Plan trash: extra bags for wipes, paper products, and cleanup
Do this now: Create one “hygiene station” in a bathroom or kitchen and keep it stocked.
Step 4: Protect your home’s plumbing and prevent messy surprises
Pressure changes and restoration surges can cause odd problems—especially if faucets were left open, appliances were mid-cycle, or you have filtration systems.
You’re trying to avoid two common headaches: sudden flooding when service returns, and contamination/backflow concerns.
Checklist
- Turn off or close faucets you had opened to “check”
- Don’t run appliances that rely on water (dishwasher, washer, ice maker)
- If you have a water heater: avoid draining or adjusting it unless you know what you’re doing
- If you have a home filter system: follow the manufacturer’s advice during low-pressure events
- When water returns, flush cold lines first before using for drinking (follow local guidance)
Do this now: Do a quick walk-through and ensure no taps or hoses are left running.
Step 5: Communicate, conserve, and plan the next 12–24 hours
Once the immediate scramble is over, the secret is simple: reduce unnecessary water use and make a “morning plan.”
This is where families win back calm—because everyone knows what to do next.
Checklist
- Message household members: “Here’s the plan for drinking/toilet/handwashing”
- Check on nearby family/neighbors who may need help
- Decide what meals look like: no-cook foods, minimal dishes
- Track updates at set times (e.g., every 4 hours), not constantly
- Make a short list of supplies you’d want if the outage extends
Do this now: Set a reminder to re-check official updates in 4 hours—then stop doom-refreshing.
Common Mistakes
Treating all water the same
Why it happens: In a rush, people use bottled water for dishes and flushing.
Simple fix: Separate “drinking water” from “utility water” immediately (label or store in different places).Waiting too long to fill containers
Why it happens: You assume it’ll be back soon—until it isn’t.
Simple fix: If you have any water flow, fill safe containers early while you can.Ignoring sanitation until it’s urgent
Why it happens: Drinking feels like the main issue… until toilet flushing becomes the problem.
Simple fix: Set up a basic hygiene/toilet plan within the first hour.Leaving taps open to “see when it’s back”
Why it happens: It seems harmless—until pressure returns while you’re distracted.
Simple fix: Check once, then close taps and use update alerts instead.Over-buying random items without a plan
Why it happens: Store runs feel productive when you’re anxious.
Simple fix: Use a short checklist: drinking, sanitation, storage, and simple meals.Not having a repeatable system for next time
Why it happens: After water returns, people move on and forget the lessons.
Simple fix: Write down what you used and what you wished you had—then build a simple, reusable plan.
Options Comparison
There are a few common ways people try to prepare for water outages. Each can work—depending on your home, schedule, and comfort level.
Option 1: Store bottled water only
Best for: Small households, short outages, renters, quick start
Pros
- Easy to buy and rotate
- No setup or learning curve
- Portable and predictable
Cons
- Takes space
- Can run out faster than expected (drinking + cooking adds up)
- Doesn’t solve sanitation needs well
Option 2: Fill bathtubs and containers when an outage is coming
Best for: Storm warnings, planned shutoffs, short-term coverage
Pros
- Fast and low-cost
- Helps with flushing and cleaning
- No special equipment required
Cons
- Only works if you have warning/time
- Not ideal for drinking unless containers are food-safe and clean
- Heavy and awkward to move
Option 3: Use local distribution points or emergency water deliveries
Best for: City-supported responses, larger outages, community support
Pros
- Can provide consistent supply during extended outages
- Sometimes includes verified safe drinking water
Cons
- Requires travel and waiting
- Availability varies
- Harder with kids, older adults, or limited mobility
Option 4: Rely on “outage improvisation” (melting ice, buying last-minute, borrowing)
Best for: True one-off events when you got caught off guard
Pros
- No prep required
- Can bridge a very short interruption
Cons
- Stressful and time-consuming
- Often wastes money and water
- Easy to miss sanitation and safety basics
Option 5: Build a home-based water readiness plan (storage + a practical system)
Best for: Homeowners, families, self-sufficiency seekers who want calm readiness
Pros
- Less scrambling during outages
- Clear roles and routines for the first 24 hours
- Can scale from short outages to longer disruptions
Cons
- Requires upfront planning
- Needs basic maintenance (rotation, organization)
- You must choose the right approach for your home
Which option should you pick?
If you’re a family or homeowner who wants less stress, the best approach is usually a simple plan you can repeat, plus enough stored water to cover the basics. If your time is limited, start small (drinking + sanitation), then build the next layer later. If budget is tight, focus on organization and smart storage before buying anything fancy.
Next: once you know which approach fits your household, it helps to see a clear walkthrough of a complete home-water plan.
Resource
If you’re reading The Water Outage Checklist: What to Do in the First 24 Hours So You Don’t Get Caught Unprepared, you’re probably not looking for “prepper extremes.”
You want something practical: a way to keep normal life working when the tap doesn’t.
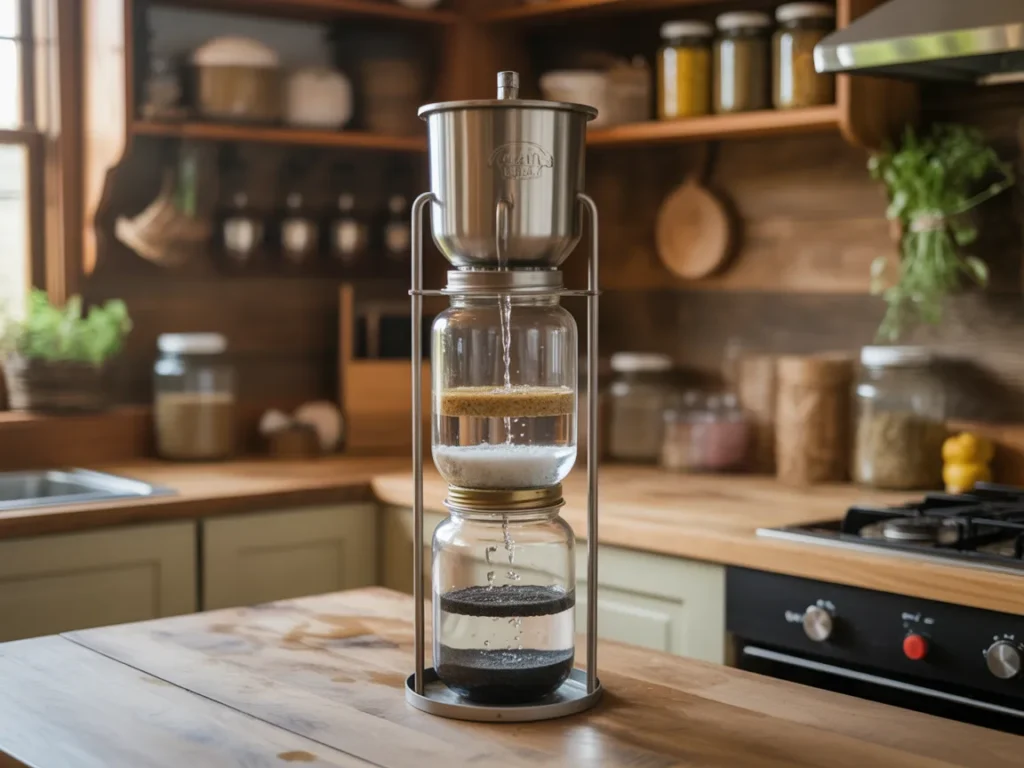
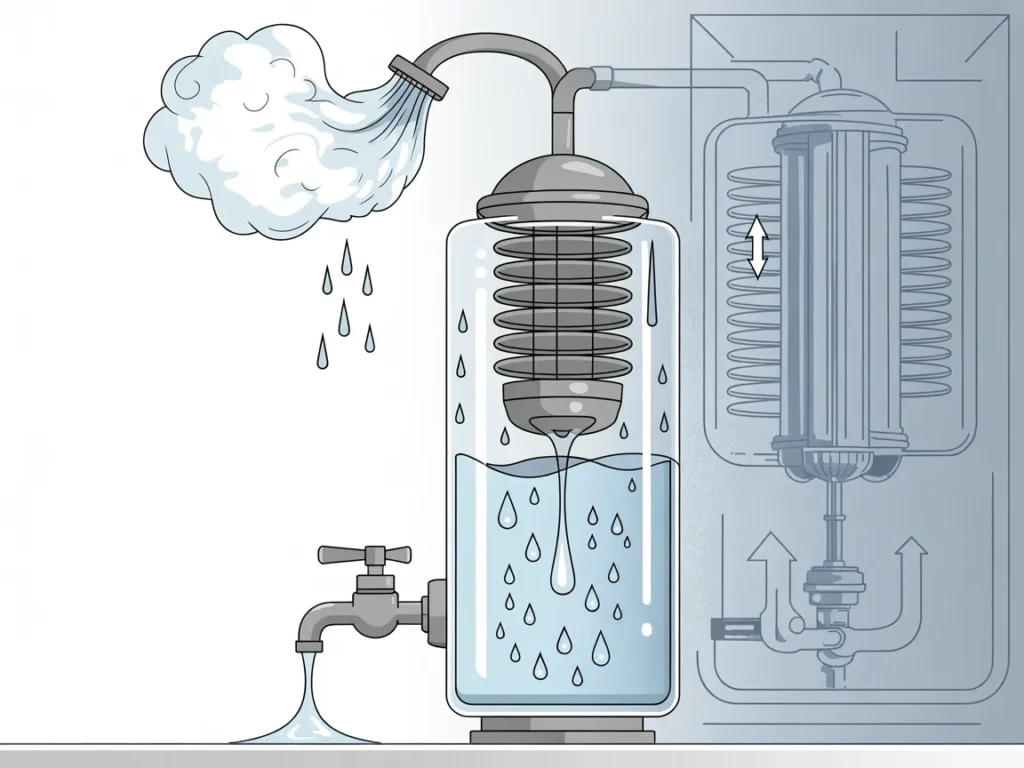
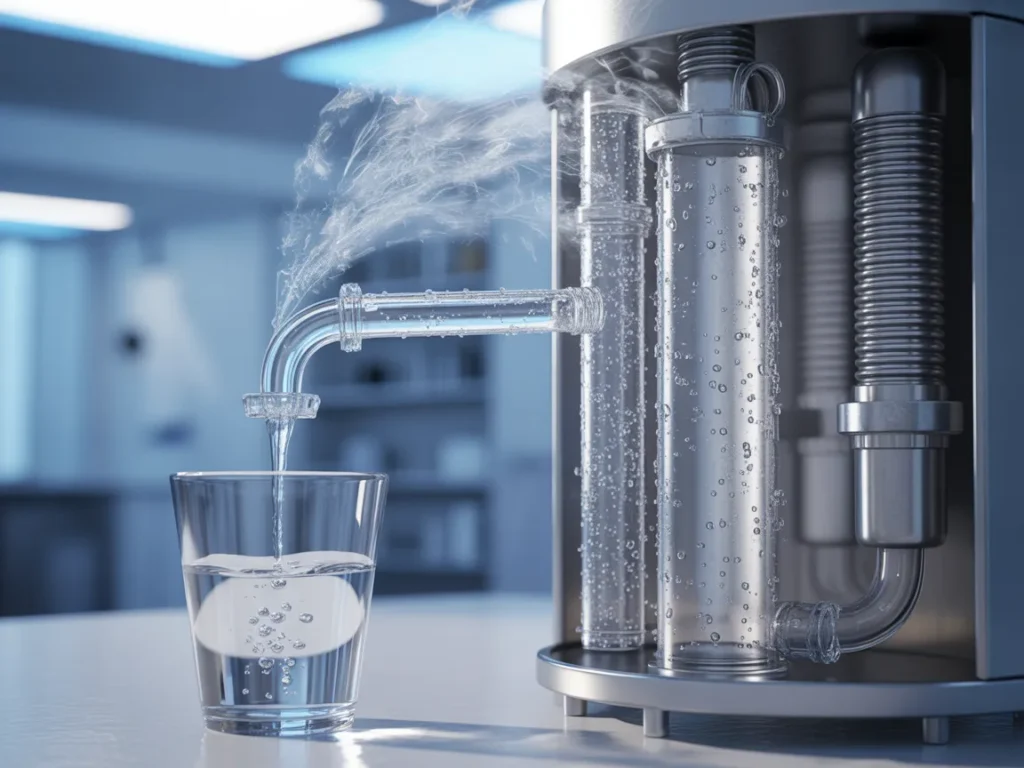
One resource that’s been getting attention is Aqua Tower, which presents a specific home-oriented approach centered on having a dependable water plan when outages hit.
It’s worth watching/reading the presentation even if you’re just comparing options, because you’ll be able to see the method, what it involves, and whether it matches your comfort level—without guessing.
In the presentation, you’ll see a walkthrough you can evaluate at your own pace:
- How the Aqua Tower approach is explained and how it’s intended to work
- What’s included in the system/training described on the page
- How it’s positioned for home use during water disruptions
FAQ
Who this is best for
If you’re a homeowner or parent and you want a calmer response plan for water interruptions, this checklist (and the presentation above) is aimed at your situation: practical, home-based, and repeatable.
Beginner-friendly readiness
Yes—start with the checklist steps in this article. Then, if you want a more structured walkthrough, the Aqua Tower presentation is designed to show you the approach in a clear, follow-along way.
Time required in the first 24 hours
Most of the work is front-loaded into short bursts: confirm, store, set up sanitation, protect plumbing. After that, it’s mostly conserving and checking updates on a schedule.
Special tools and gear
For the checklist: no. You can get a lot done with containers you already have. The presentation is useful if you want to see a more organized system described end-to-end.
Apartment vs. house differences
Apartments often have less storage space and less control over plumbing. The checklist still applies—especially drinking and sanitation planning—but you may need smaller, stackable containers and a tighter routine.
Kids and pets
Plan “minimum water needs” early and keep drinking water separate. Sanitation planning matters more with kids because messes happen, and pets need predictable water access.
Water safety during advisories
Always follow local guidance for boil/do-not-drink notices. This article is general education, not water-safety certification—if officials say boil, treat water accordingly.
Feeling overwhelmed by all the variables
That’s normal. Return to the One Big Idea: Basics first, upgrades second. Handle drinking, sanitation, and home protection first, then decide what you want to improve later.
Disclaimer: This article is for general educational purposes and isn’t a substitute for official municipal guidance or professional plumbing advice. Follow local advisories about water safety and usage.
Mini Summary + Action Plan
If you only remember one thing from The Water Outage Checklist: What to Do in the First 24 Hours So You Don’t Get Caught Unprepared, make it this: control the basics first, then build the next layer once you’re stable.
Here’s your simple action plan:
Basics (do these first):
- Confirm the situation and any boil/do-not-drink notices
- Secure drinking water and keep it separate
- Set up a basic sanitation routine (toilet + hand hygiene)
Maintenance (keep it steady):
- Conserve with simple meal choices and fewer dishes
- Check updates on a schedule (not constantly)
Next layer (after you’re stable):
- Write down what worked and what ran short
- Build a repeatable home water plan so next time feels routine
Basics first, upgrades second—because calm beats chaos.
Conclusion
A water outage doesn’t have to turn your day upside down. With The Water Outage Checklist: What to Do in the First 24 Hours So You Don’t Get Caught Unprepared, you’re not relying on guesswork—you’re following a simple sequence: confirm, secure drinking water, handle sanitation, protect your home, then settle into a steady routine.
The real win is how it feels the next time it happens: less scrambling, fewer messy surprises, and a household that knows what to do without debating every step.
If you want to see a more complete, home-focused walkthrough of a water readiness approach, the Aqua Tower presentation is a useful next stop. You can watch/read it and decide if it fits your situation.
SEE THE FULL PRESENTATION HERE