
You start noticing it in small ways.
A higher electric bill than expected. A “quick” YouTube rabbit hole that turns into 17 tabs about solar panels, batteries, inverters, and wiring diagrams. A moment where you think: I’m not trying to become an engineer—I just want a simple way to understand DIY energy and take a first step without messing anything up.
If that sounds familiar, this guide is for you.
You don’t need to learn everything at once. You need a clear, beginner-friendly path that helps you make sense of the basics, avoid common mistakes, and choose a starting option that matches your home, budget, and comfort level.
One Big Idea: Simple beats complicated.
Here’s what you’ll learn in this “DIY Energy for Non-Engineers: A Simple Step-By-Step Starting Point” guide:
- How to think about home energy in a way that’s practical (not overly technical)
- A step-by-step plan to start small and build confidence
- How to compare your options without getting pressured into the “biggest” setup
Next: a quick reality check so you know you’re not the only one feeling stuck.
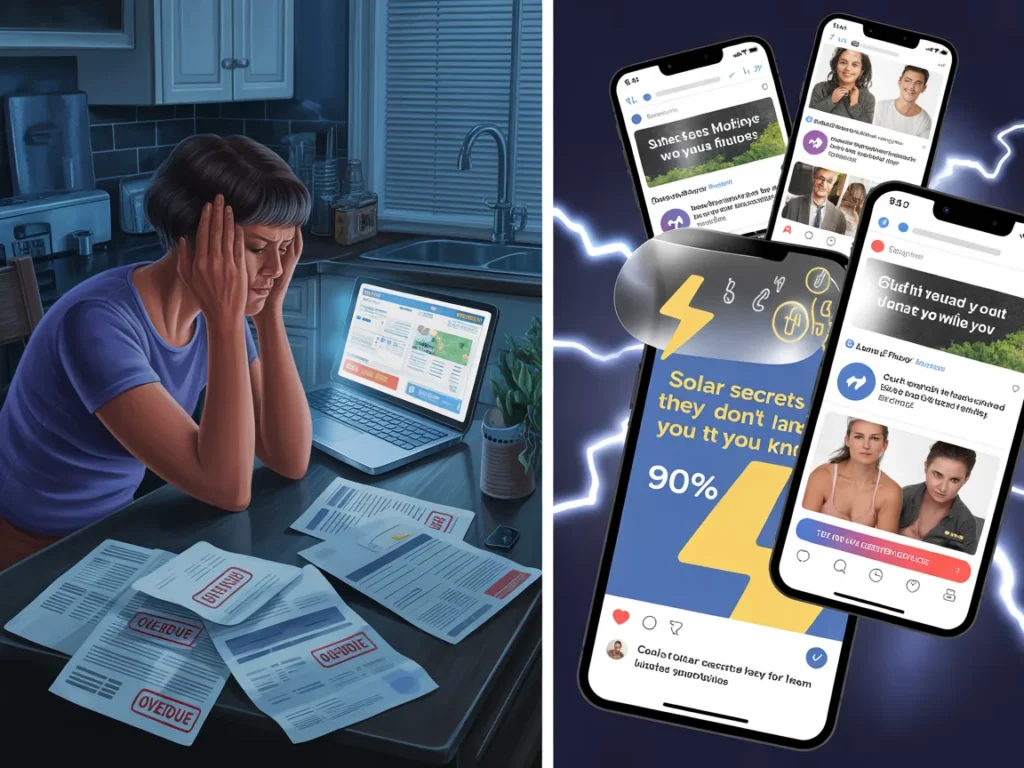
Quick Reality Check
DIY energy sounds straightforward until you try to “just research it.”
The problem isn’t that you’re behind. It’s that most beginner resources assume you already know the language—watts vs. watt-hours, AC vs. DC, loads, surge, storage, and all the choices that come with renewable energy and backup power.
Most people hit the same frustrations:
- You want lower reliance on the grid, but the options feel endless (solar, batteries, generators, hybrids)
- You want something safe and reliable, but you don’t want to overbuild or overspend
- You want a simple home power backup plan, but every explanation turns into a technical deep dive
You’re not behind—you just need a simple plan.
Next: the framework that keeps you grounded no matter which direction you go.
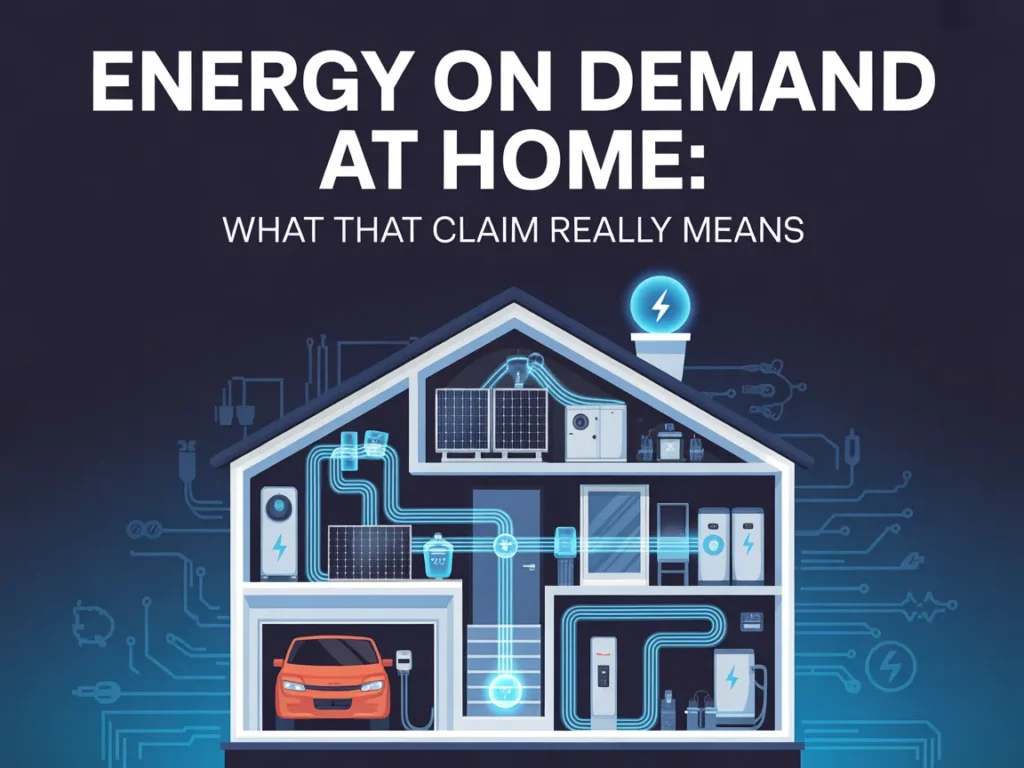
The Core Framework
When DIY energy gets confusing, it’s usually because people skip the order of operations.
Here’s a simple 3-part framework that works whether you’re thinking about solar power, battery backup, emergency power, or just basic energy independence.
1) What matters most (the key variables)
You don’t need to “learn everything.” You need clarity on a few variables:
- Your use case: backup power for outages vs. day-to-day energy savings
- Your loads: what you actually want to run (and for how long)
- Your constraints: budget, space, noise tolerance, sunlight, rules, comfort with DIY
If you know those, you can make smart decisions even as a beginner.
2) The basics (core actions)
This is the non-negotiable foundation:
- measure your energy needs
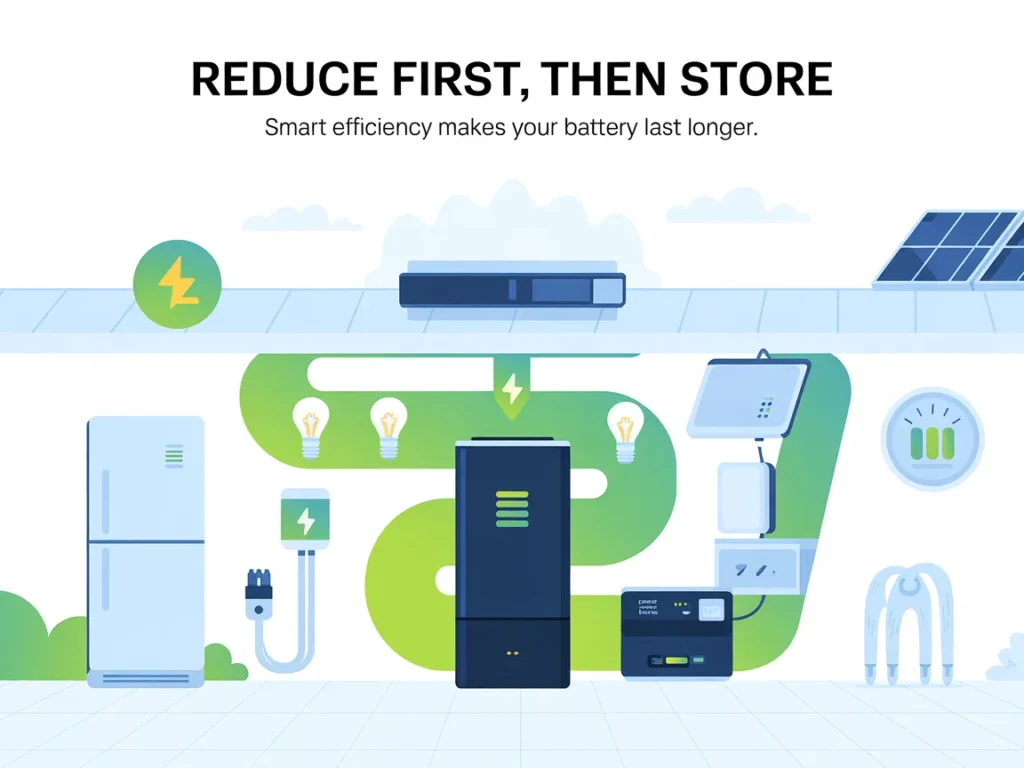
- reduce waste first (efficiency is the cheapest “power source”)
- choose a starter system you can actually maintain and understand
3) The “next layer” (the upgrade people skip)
Once the basics are working, then you layer on:
- better storage planning (battery capacity matching your real loads)
- redundancy (a backup for your backup)
- scaling without rebuilding everything
Example: A lot of people jump straight to a big solar setup, then realize they sized the battery wrong for their goal. Or they buy gear that doesn’t play well together. The upgrade layer is where compatibility and expansion planning matter.
Simple beats complicated—when you build in the right order.
Next: the step-by-step plan you can use this weekend.
The Step-by-Step Plan
This “DIY Energy for Non-Engineers: A Simple Step-By-Step Starting Point” plan is meant to be calm, realistic, and beginner-friendly. You’ll start by getting clear, then choosing a small, sensible first build that you can expand later.
Step 1: Define your “must-run” list (not your whole house)
The easiest way to get overwhelmed is trying to power everything.
Start by listing the few devices that matter most—especially for an outage plan or an off-grid light setup. You’ll reduce complexity and make a starter system achievable.
Checklist:
- Identify 5–10 “must-run” items (lights, phone charging, router, small fan, etc.)
- Note whether each item must run all day or only occasionally
- Decide what you’re solving: short outages, long outages, daily use, or a mix
- Think in categories: communication, lighting, food safety, comfort
Do this now: Write your “must-run” list on one page in plain language.
Step 2: Get a rough energy estimate you can actually use
You don’t need perfect math to make progress.
A rough estimate is enough to avoid the most common DIY energy mistakes—like buying storage that’s too small or building something that can’t handle your basic devices.
Think in two simple ideas:
- Power (watts): how “hard” something pushes while running
- Energy (watt-hours): how much you’ll use over time
Checklist:
- For each “must-run” item, find watts on the label or manual
- Estimate daily hours of use (even approximate is fine)
- Multiply watts × hours to get a basic daily watt-hour estimate
- Add a little buffer for real life (you won’t use it perfectly)
Do this now: Make a simple table: Device / Watts / Hours / Watt-hours.
Step 3: Reduce the load before you build the system
This is where you get easy wins.
DIY energy becomes dramatically simpler when your needs are smaller. Cutting waste means:
- you need less storage
- you need less generation
- your starter system can be smaller, cheaper, and easier to manage
Checklist:
- Swap high-draw bulbs for LEDs where possible
- Choose one efficient “core light” area for evenings
- Use power strips to cut standby draw
- Consider DC-friendly options (USB lights, USB fans) for small setups
- Prioritize efficiency upgrades you’ll keep using
Do this now: Pick one “must-run” item and reduce its energy use by 20–30% through a simple change.
Step 4: Pick a starter approach that matches your comfort level
For DIY Energy for Non-Engineers: A Simple Step-By-Step Starting Point, the “right” first system is the one you will actually set up, test, and maintain.
A practical starter path often looks like one of these:
- a small backup setup for communication + lighting
- a battery-based setup with manageable loads
- a solar-assisted setup where you learn generation slowly
The goal is confidence and clarity—not bragging rights.
Checklist:
- Decide your starter goal: “power essentials for X hours” or “support a small daily load”
- Choose a simple form factor you can place safely and access easily
- Avoid mixing too many new variables at once (new battery + new inverter + new wiring + new solar all at the same time)
- Plan for expandability (so your first step doesn’t get wasted)
Do this now: Choose one starter goal you can realistically complete in 1–2 weekends.
Step 5: Build in testing and a “calm checklist” for real use
Most DIY energy failures aren’t dramatic. They’re small.
A setup that “works” in theory can fail in the moment because it wasn’t tested: cords are wrong, a device draws more than expected, or you forget a key step.
You want a system you can use confidently—when you’re tired, busy, or the power is out.
Checklist:
- Test each must-run device one at a time
- Check for heat, noise, or unexpected behavior
- Note what works and what doesn’t (create a simple “use list”)
- Keep necessary cables/adapters in one labeled container
- Create a 60-second startup checklist you can follow
Do this now: Write a 5-line “startup checklist” you can follow without thinking.
Step 6 (optional but smart): Document your system so you can scale later
This is the “next layer” that saves you from starting over.
When you’re ready to expand—more storage, solar input, more devices—you’ll be glad you recorded what you did.
Checklist:
- Record what you’re powering and the estimated total load
- List your main components and notes about compatibility
- Write down what you’d upgrade next (storage, generation, efficiency)
- Save product manuals in one folder
- Keep photos of your setup
Do this now: Take 3 photos of your current setup and store them in a labeled folder.
Next: the mistakes most beginners make (and how to avoid them without overthinking).
Common Mistakes
Mistake 1: Trying to power “the whole house” first
Why it happens: It feels like the standard goal, and it sounds simpler than prioritizing.
Simple fix: Start with a must-run list and build from essentials outward.
Mistake 2: Skipping energy estimation
Why it happens: The math feels intimidating, so people guess.
Simple fix: Do a rough estimate using watts × hours; perfect accuracy isn’t required.
Mistake 3: Buying components before you choose a use case
Why it happens: Gear looks appealing and “future-proof.”
Simple fix: Decide your goal (backup vs. daily use) and constraints before buying anything.
Mistake 4: Ignoring compatibility and expansion planning
Why it happens: Beginners assume everything “just plugs in.”
Simple fix: Choose a starter approach with a clear upgrade path and avoid mixing too many new variables.
Mistake 5: Overbuilding complexity too early
Why it happens: People want to avoid upgrading later, so they leap to advanced setups.
Simple fix: Keep v1 simple; you can expand after your first stable test cycle.
Mistake 6: Not testing under realistic conditions
Why it happens: If it turns on once, it feels done.
Simple fix: Test with your actual devices, your actual cords, and a simple checklist you can repeat.
Next: let’s compare your main options so you can pick a starting lane.
Options Comparison
Below are five practical approaches that people consider when starting DIY energy. None are “perfect”—each fits a different goal, budget, and comfort level.
Option 1: Efficiency-first (reduce usage before adding power)
Best for: Budget-conscious homeowners and anyone overwhelmed by gear choices.
Pros:
- Low complexity and easy to start
- Reduces the size of any future system
- Builds good habits for long-term energy control
Cons:
- Doesn’t create power on its own
- Won’t solve outages without a backup source
Option 2: Small battery backup for essentials
Best for: Emergency preparedness readers and homeowners who want quiet, quick backup for key devices.
Pros:
- Simple “must-run” coverage (lights, phones, router, small devices)
- Quiet indoors compared to many alternatives
- Easier to test and maintain
Cons:
- Runtime is limited by storage
- Can be undersized if you don’t estimate loads first
Option 3: Portable solar + battery starter setup
Best for: Renewable energy curious readers who want a scalable first build.
Pros:
- Lets you learn both storage and generation step-by-step
- Can reduce reliance on the grid for small daily loads
- Helps you understand solar basics without committing to a big install
Cons:
- Performance depends on sunlight and setup
- More variables than battery-only
Option 4: Fuel-based generator backup
Best for: People who need higher power quickly in outages (within their comfort and local rules).
Pros:
- Can handle higher loads than many small setups
- familiar concept for many households
- Works regardless of sunlight
Cons:
- Noise, maintenance, and fuel storage considerations
- Not as “set-and-forget” as it sounds
Option 5: Hybrid approach (efficiency + storage + some generation)
Best for: Homeowners and self-sufficiency seekers who want a balanced plan.
Pros:
- More resilience than a single-method approach
- Lets you start simple and expand strategically
- Matches real life: reduce usage, cover essentials, add generation later
Cons:
- Can become complex if you try to do it all at once
- Requires a bit more planning up front
Which option should you pick?
If you’re a homeowner who wants practical DIY energy without the technical overload, start with efficiency + a small essentials backup, then add generation only once you know your real needs. If your time is limited, pick the option with the fewest moving parts. If your budget is tight, reduce loads first. If you love hands-on projects, a solar-assisted starter build can be a satisfying learning path—just keep it small.
Next: a resource you can watch/read to see a full walkthrough, so you’re not piecing it together from scattered advice.
Resources
If you’ve been looking for a clearer way to understand DIY energy without needing an engineering background, it helps to see a complete system explained end-to-end—what it is, how it’s set up, and how the pieces fit together.
The Energy Revolution System presentation is designed as a walkthrough-style resource that focuses on a DIY energy approach in an easy-to-follow format.
Even if you’re not ready to build anything today, it can be useful just to watch and organize your thinking—so you can decide your next step with more confidence and less guesswork.
You’ll see how it works, what’s included, and whether it fits you.
In the presentation, you’ll see the full DIY energy walkthrough next
If you want the simplest way to connect the dots after reading this “DIY Energy for Non-Engineers: A Simple Step-By-Step Starting Point” guide, the presentation is the next logical step—so you can see the system explained clearly in one place.
In the presentation, you’ll see:
- How the Energy Revolution System approach is explained step-by-step
- What the system includes (so you can tell if it matches your goals)
- How it’s intended to help simplify DIY energy planning for beginners
FAQ
Beginner-friendly learning
Is this beginner-friendly if I’m not technical?
Yes—this “DIY Energy for Non-Engineers: A Simple Step-By-Step Starting Point” approach is about clarity first, and the presentation is structured to help you understand how the system works without needing an engineering background.
Do I need special tools to get started?
For the basic planning steps in this article, no. For any DIY build, tool needs depend on your chosen approach, but the goal is to start simple and avoid overcomplicating your first setup.
How long does it take to get a basic starter plan together?
You can do the planning steps (must-run list + rough estimate + starter goal) in an afternoon. Building and testing depends on your chosen option and comfort level.
Homeowner realities
Will this work for apartment renters too?
The planning framework applies to anyone. The specific DIY setup you choose should match your space rules and what you’re allowed to install.
Is DIY energy only about solar panels?
No. DIY energy can include load reduction, battery backup, and different ways of producing or storing power. Solar is one option, not the whole category.
Avoiding overwhelm
What if I’m worried about buying the wrong thing?
That’s exactly why you start with loads and a must-run list first. The presentation can also help by showing how the Energy Revolution System is structured so you can compare it to your needs.
Do I need to power my entire house for this to be “worth it”?
Not at all. Many people get real value from covering essentials reliably and building from there.
Can I watch the presentation and decide later?
Yes. Treat it like a walkthrough to help you understand the approach; you can decide what (if anything) you want to do after.
Mini Summary + Action Plan
If you only take one thing from this “DIY Energy for Non-Engineers: A Simple Step-By-Step Starting Point” guide, take this: start small, get clear, then expand.
Here’s your action plan:
List your must-run essentials (not your whole house)
Do a rough watts × hours estimate so you can size intelligently
Reduce energy use with easy efficiency wins
Test your setup in real conditions (devices + cords + routine)
Keep a simple startup checklist for repeatable use
Document components and results so you can expand without rebuilding
Add the “next layer” (storage/generation/upgrades) only after the basics are stable
Simple beats complicated—especially when you’re building something you want to trust.
Next: a calm closing and the best next step if you want to see the full walkthrough.
Conclusion
DIY energy doesn’t have to feel like a technical maze. When you approach it as a beginner—one clear goal, one small system, one round of testing—you stop guessing and start making steady progress.
That’s what “DIY Energy for Non-Engineers: A Simple Step-By-Step Starting Point” is really about: reducing the noise so you can build something practical, understandable, and useful in real life.
If you’d like to see a full explanation of the Energy Revolution System approach laid out as a walkthrough, the presentation is worth watching—no pressure, just a clearer view of how the system is intended to work and what’s included.
SEE THE FULL PRESENTATION HERE