
Most people don’t wake up thinking, “Today I’m going to build an energy plan.”
You usually start thinking about it after a surprise bill, a weird power outage, or that quiet realization that you don’t actually know what you’d do if the grid went down for a day… or longer.
If you’re a homeowner (or you’re responsible for the home’s budget), the idea of “energy freedom” can feel like a huge, expensive project—solar panels, batteries, electricians, permits, confusing jargon.
This guide is the calmer version: what the “Energy Freedom” plan actually means, and a clean place to start without overwhelm.
One Big Idea: Basics first, upgrades second.
Here’s what you’ll get in this beginner-friendly breakdown:
- What “energy freedom” really looks like in real life (not a fantasy setup)
- A step-by-step starting plan you can apply this weekend
- The main options people consider (and how to choose without regret)
Next: a quick reality check so you can stop second-guessing and start planning.
Quick Reality Check
Energy planning feels complicated because it spans everything: your appliances, your home’s efficiency, your backup plans, and your budget.
And most advice online jumps straight to upgrades—before you even know what your baseline is.
That’s why it’s common to feel stuck in one of these patterns:
- You want lower electricity costs, but you don’t know which changes actually matter
- You like the idea of emergency backup power, but you don’t want a loud/expensive setup
- You’re curious about solar or DIY power, but the information feels conflicting
You’re not behind—you just need a simple plan.
Next: let’s simplify energy freedom into a framework you can reuse.
The Core Framework
A practical “Energy Freedom” plan isn’t one purchase. It’s a sequence.
Think of it like building stability in three layers:
What matters most (the key variables)
If you ignore these, you’ll waste time and money.
- Your actual usage (what you run daily, what you could reduce, what you must keep)
- Your priorities (lower bills, backup power, off-grid readiness, self-sufficiency)
- Your constraints (budget, space, HOA rules, sunlight, noise tolerance, DIY skill)
The basics (core actions)
This is where most wins happen—and where most people skip ahead too soon.
- Reduce wasted energy
- Identify essential loads
- Create a realistic backup plan for the essentials
The next layer (the upgrade people skip)
Once the basics are handled, upgrades start to make sense.
- Expanding capacity
- Improving reliability and redundancy
- Adding smarter systems and long-term resilience
Example 1: If you want a home battery setup someday, you’ll get more out of it after you reduce unnecessary load.
Example 2: If your goal is emergency preparedness, you’ll feel calmer once you’ve defined what “must stay on” and what can wait.
Next: let’s turn that framework into a step-by-step plan you can actually follow.
The Step-by-Step Plan
This is a Beginner’s Guide style plan—designed to work even if you’re not technical and you’re not trying to become an electrician.
Step 1: Define what “energy freedom” means for your home
Most frustration comes from chasing someone else’s setup.
“Energy freedom” might mean:
- fewer surprises on your power bill
- the ability to keep essentials running during outages
- a path toward self-sufficiency and renewable energy
- confidence that your home can handle disruptions
Start by picking one primary goal for the next 30 days.
Checklist
- Write down your top goal: lower bills, backup power, or both
- Decide what “success” looks like (in plain language)
- Note any constraints: budget, noise, space, rules
- List your comfort level with DIY projects (beginner/intermediate/advanced)
Do this now: Write one sentence: “Energy freedom for me means ______.”
Step 2: Identify your “essential loads”
This is where planning becomes real.
Instead of thinking about powering your entire house, isolate the essentials—the items that keep life normal and safe when the power is unreliable.
Common essentials include refrigeration, lights, communications, and medical or work needs.
Checklist
- List your must-run items (refrigerator, Wi‑Fi, phone charging, lights)
- Add comfort essentials you’d miss most (fans, small heater, microwave, etc.)
- Mark what is “nice to have” vs “must have”
- Estimate when you’d need them most (night, workday, extreme heat/cold)
Do this now: Make a “Must Stay On” list of 5–10 items.
Step 3: Reduce waste before you add power
This is the unglamorous step that makes everything else easier.
Every wasted watt you remove is capacity you don’t have to buy, store, or generate later. It also helps whether your plan is solar, backup, or just lower electricity costs.
Checklist
- Replace high-use bulbs with efficient lighting
- Unplug or switch off idle electronics (or use a power strip)
- Check weatherstripping and obvious drafts
- Adjust thermostat habits slightly for consistency
- Run heavy appliances at smarter times when possible
Do this now: Pick one “always-on” energy drain and eliminate it today.
Step 4: Choose a practical backup strategy (not a perfect one)
Backup power planning often stalls because people think it has to be whole-home.
It doesn’t.
A good beginner plan is “essentials-first backup”: keep core needs running reliably, then expand later if you want.
Backup options can range from short-term battery power to longer-running solutions depending on your needs and comfort level.
Checklist
- Decide what you want to back up: essentials only or larger loads too
- Consider your environment: noise tolerance, ventilation, storage space
- Think through a 24-hour interruption scenario
- Think through a multi-day interruption scenario
- Write down the tradeoff you care about most (cost, simplicity, duration)
Do this now: Map one outage scenario: what you’d power, for how long, and why.
Step 5: Build your “next layer” roadmap
This is where you avoid wasted upgrades.
Instead of impulse-buying gear, create a simple roadmap: what comes next if you want more resilience, more savings, or more independence.
This “next layer” might include improving storage, adding renewable energy, or moving toward a more self-reliant setup.
Checklist
- List your next upgrade goal (more runtime, more savings, more independence)
- Decide a timeline: 30 days, 90 days, 12 months
- Note what knowledge you still need (capacity, installation, safety)
- Decide what you’ll measure (bill trend, outage readiness, reliability)
- Keep your plan flexible—your needs will change
Do this now: Write a 3-step roadmap: “Now / Next / Later.”
Common Mistakes
Mistake 1: Trying to solve everything at once
Why it happens: “Energy freedom” sounds like a total transformation, so people aim for perfect.
Simple fix: Pick a single goal (lower bills or better backup) and build from there.
Mistake 2: Buying upgrades before understanding usage
Why it happens: Gear is concrete; usage analysis feels abstract.
Simple fix: Start with essential loads and obvious waste—then decide what capacity you really need.
Mistake 3: Confusing “backup power” with “off-grid living”
Why it happens: The concepts overlap, but they’re not the same project.
Simple fix: Decide whether your goal is outage resilience, lower costs, or true self-sufficiency.
Mistake 4: Overcomplicating the plan with tech
Why it happens: It’s easy to fall down a rabbit hole of specs and accessories.
Simple fix: Keep it simple: essentials-first, then expand only when the basics are solid.
Mistake 5: Ignoring small efficiency fixes
Why it happens: People assume only big upgrades matter.
Simple fix: Treat efficiency as “free capacity”—it improves every other option you choose.
Mistake 6: Not planning for real-life constraints
Why it happens: Advice online rarely matches your home, budget, or rules.
Simple fix: Build a plan that fits your reality (space, noise, time, skill), not someone else’s setup.
Options Comparison
There isn’t one “right” approach to the Energy Freedom plan. There are tradeoffs.
Here are five common directions homeowners consider.
Option 1: Efficiency-first home tune-up
Best for: Budget-conscious homeowners who want immediate clarity and better control.
Pros
- Often the simplest starting point
- Reduces ongoing electricity use
- Makes future upgrades smaller and more affordable
Cons
- Doesn’t automatically solve outages
- Requires consistency and follow-through
Option 2: Minimal backup for essentials
Best for: Homeowners who want peace of mind during outages without rebuilding their entire system.
Pros
- Focuses on what matters most
- Less complexity than whole-home approaches
- A clear “starter” approach you can build on
Cons
- Not designed to run everything
- Requires choosing what you’ll prioritize
Option 3: Solar-based approach
Best for: Renewable energy curious homeowners exploring a longer-term path.
Pros
- Aligns with sustainability goals
- Can support long-term independence
- Works well when planned around actual usage
Cons
- Not always simple to size or design
- Depends on sunlight, roof/space, and rules
Option 4: Generator-based approach
Best for: People who want longer runtime during extended outages.
Pros
- Strong for longer interruptions
- Can handle bigger loads depending on setup
- Straightforward conceptually
Cons
- Noise, fuel logistics, and maintenance
- Not the most “set-and-forget” option
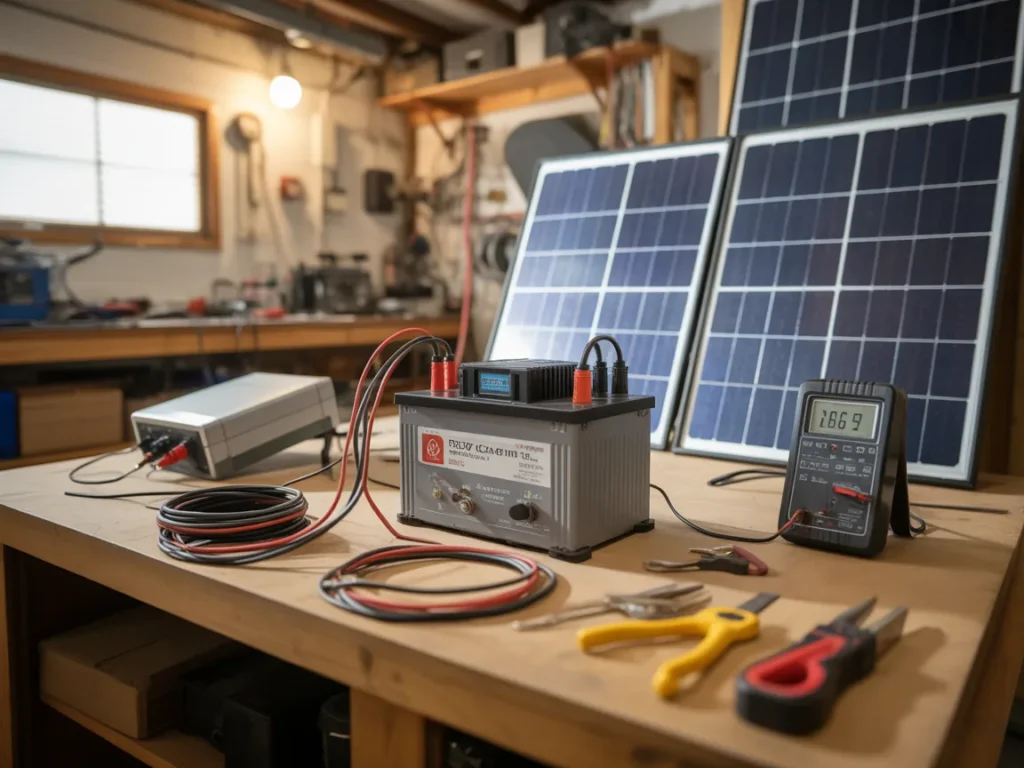
Option 5: DIY/self-sufficiency systems
Best for: DIY enthusiasts and self-sufficiency seekers who want hands-on control.
Pros
- Flexible and customizable
- Can be a learning-based path
- Appeals to long-term resilience planning
Cons
- Requires learning and safety awareness
- Easy to overcomplicate without a guide
Which option should you pick?
If you’re a homeowner trying to balance reliability, budget, and time, start with efficiency + essentials-first backup. It gives you control quickly, keeps complexity manageable, and helps you make smarter decisions later—whether you lean solar, generator, or a more DIY route.
Next: a resource that can help you see one complete approach end-to-end.
Resources
If you like the idea of an “Energy Freedom” plan but want to see a full walkthrough laid out clearly, the Energy Revolution System presentation is worth watching.
It’s not something you have to commit to just to learn from. The main value is seeing how the method is explained, how the pieces fit together, and what the system includes—so you can decide whether it matches your goals.
If you’re the kind of homeowner who prefers to understand the whole picture before taking action, the presentation helps you connect the dots without bouncing between scattered advice.
You’ll see how it works, what’s included, and whether it fits you.
SEE THE FULL PRESENTATION HERE
If you want a clearer view of one complete approach (instead of piecing things together from random tips), the next step is to watch the Energy Revolution System presentation.
In the presentation, you’ll see:
- How the Energy Revolution System is explained and laid out
- What’s included in the system
- How the approach is intended to work in real life
FAQ
Beginner-friendly learning curve
The ‘Energy Freedom’ Plan: What It Means + Where to Start doesn’t require you to be technical. The goal is a simple, usable plan—then you can decide how deep you want to go.
Time needed to get started
You can make meaningful progress in one weekend by defining essentials, cutting obvious waste, and choosing a basic backup direction. The rest is gradual improvement.
Special tools and equipment
For the early steps, you primarily need a list of essentials and a simple home check for waste. Any tools or gear decisions come later, after you know your priorities.
Renters vs homeowners
This guide is written for homeowners, but many basics—like reducing waste and defining essential loads—still apply if you rent. Structural upgrades may be limited by your lease.
Off-grid vs backup power
Off-grid living is a bigger lifestyle shift. A good energy freedom plan can start with essentials-first backup, then expand toward self-sufficiency if that becomes your goal.
Solar confusion and mixed advice
Solar advice varies because homes and goals vary. Start with your usage and essentials; that makes any solar conversation clearer and less overwhelming.
Safety and realism
Any energy setup should be approached carefully and responsibly. If you move beyond basics into installation or electrical work, use appropriate professional guidance where needed.
Whether the Energy Revolution System is worth watching
If you want to see a full explanation of one approach—how it’s structured and what’s included—the presentation can save you time even if you never buy anything.
Mini Summary + Action Plan
- Define what energy freedom means in your home (lower bills, outage readiness, or both)
- List your essential loads so you stop planning in the abstract
- Reduce obvious waste first to make every future upgrade easier
- Review your plan monthly and adjust based on what you actually use
- Keep your approach consistent—small improvements compound
- Add the next layer only after basics are stable (capacity, runtime, reliability)
- Upgrade based on constraints (space, noise, rules, budget), not someone else’s setup
Basics first, upgrades second—because clarity beats confusion every time.
Conclusion
The calm version of energy independence isn’t about building a perfect system overnight. It’s about knowing what matters, handling the basics, and making upgrades only when they actually fit your home and priorities.
If you’ve been looking for a grounded starting point, The ‘Energy Freedom’ Plan: What It Means + Where to Start is exactly that: define essentials, reduce waste, choose a realistic backup direction, then build your roadmap.
And if you’d like to see one complete approach explained end-to-end—so you can decide if it’s relevant for your situation—watch the Energy Revolution System presentation next. You can simply learn how it’s structured and whether it matches your goals.
SEE THE FULL PRESENTATION HERE