
Picture this: you’re making dinner, the laundry’s running, your phone is charging—then the lights flicker and everything goes quiet. Or maybe nothing dramatic happens… you just open your utility bill and wonder how “normal living” got so expensive.
If you’ve been trying to make sense of home energy, it’s easy to get stuck between two extremes: complicated tech talk or “quick hacks” that don’t actually move the needle.
This guide is meant to be neither.
Basics first, upgrades second.
In the next few minutes, you’ll learn:
- The simple framework that keeps DIY energy decisions clear (even if you’re not “handy”)
- A step-by-step plan to reduce waste, improve resilience, and make smart upgrades
- The most common mistakes that quietly erase savings—and how to avoid them
Next: a quick reality check so you know you’re not the only one feeling this way.
Quick Reality Check
Energy at home feels confusing because it’s not just one problem—it’s a bunch of small leaks stacked together: heat loss, inefficient habits, outdated equipment, and rising rates.

Most homeowners run into one (or all) of these:
- You’ve tried “energy-saving tips,” but the bill barely changes
- You want backup power or resilience, but the options feel overwhelming
- You’re not sure what’s worth doing first (or what’s a waste of time)
You’re not behind—you just need a simple plan.
Next: the core framework that makes the rest of “Future-Proof Your Home: DIY Energy Basics That Actually Make Sense” feel straightforward.
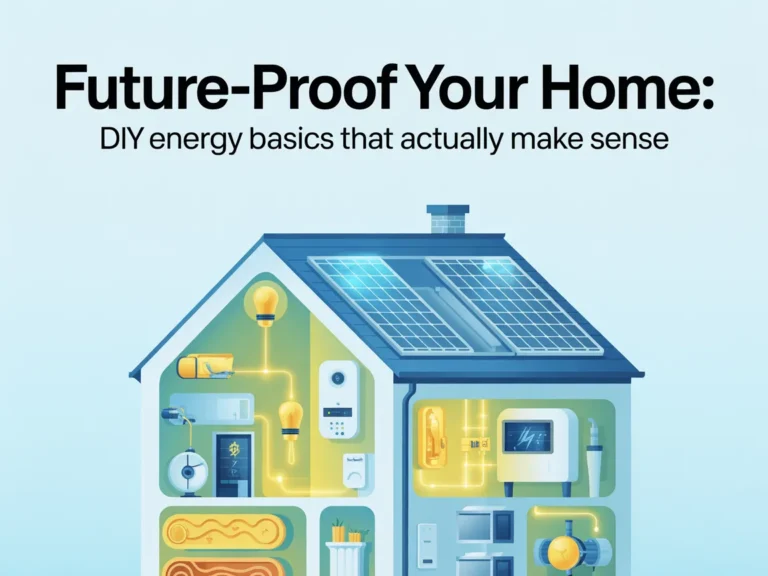
The Core Framework
When you want to future-proof your home, you don’t need to start by buying things. You need to see your energy system clearly—where power is used, where it’s wasted, and what improves reliability.
Here’s a simple, repeatable 3-part framework.
What matters most (key variables)
These are the variables that drive most outcomes, regardless of home size:
- Energy demand (how much you use)
- Energy waste (loss through drafts, poor insulation, inefficient routines)
- Energy reliability (what happens when the grid is unstable or rates spike)
If you don’t address demand and waste, any “upgrade” is forced to work harder than it should.
The basics (core actions)
The basics are the boring stuff that actually works:
- Reduce waste first (air sealing, insulation basics, weatherization)
- Improve efficiency (lighting, appliances, simple usage shifts)
- Know your loads (what actually draws power in your home)
The “next layer” (the upgrade people skip)
Once your basics are handled, the next layer is:
- A clear plan for resilience (backup power, essential-load strategy, simple home power priorities)
Example: If your home leaks heat in winter, adding new tech won’t feel impressive—you’ll still be “feeding” a loss.
Example: If you don’t know your biggest loads, you might overspend (or underbuild) a backup plan.
Next: turn the framework into a practical checklist you can actually follow.
The Step-by-Step Plan (Checklist Guide)
This checklist is designed for real life: limited time, limited budget, and no desire to become an energy engineer. Remember the principle: Basics first, upgrades second.
Step 1: Get clear on your real energy “hotspots”
Most people guess where their electricity goes—and guessing leads to random upgrades.
Start by identifying what matters in your home: heating/cooling, water heating, refrigeration, laundry, cooking, and electronics. A little clarity here prevents wasted effort later.
Checklist:
- Review your last 2–4 utility bills for seasonal patterns
- List your biggest “always-on” items (fridge, freezer, routers, etc.)
- Note comfort clues: cold rooms, hot upstairs, drafts near doors/windows
- Identify peak-use times (evenings, weekends, work-from-home days)
- Write down what you’d want powered in an outage (critical loads)
Do this now: Write a quick “top 10 energy users” list—no perfection required.
Step 2: Stop the easiest losses (weatherization basics)
This is where most DIY energy wins live. Air leaks and weak insulation quietly drain energy whether you’re heating or cooling.
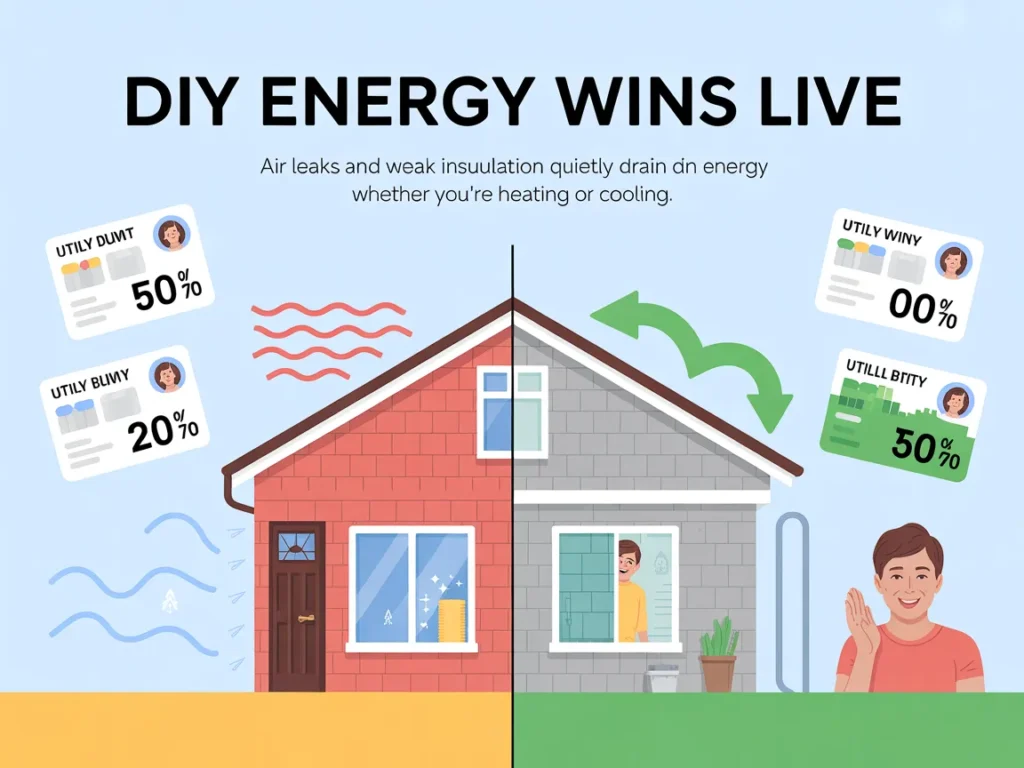
You don’t need a remodel. You need leak-stopping basics.
Checklist:
- Add/replace weatherstripping on exterior doors
- Seal obvious gaps around pipes/cable entries (safe, appropriate sealant)
- Use door sweeps where light/air shows under doors
- Check window locks (tight seals often start with proper closure)
- Cover or seal unused vents/openings where appropriate
- Address attic access/drafts if you have them
Do this now: Find one draft source today and seal it before the week ends.
Step 3: Reduce demand with simple efficiency upgrades
Efficiency is about getting the same comfort and function with less energy. This is where small changes stack.
Focus on upgrades that are reliable, easy to maintain, and don’t require constant attention.
Checklist:
- Switch frequently used bulbs to efficient lighting (where it makes sense)
- Use smart/programmable scheduling for heating/cooling if applicable
- Set your fridge/freezer to sensible temps (not “max cold”)
- Wash laundry in cold water when possible
- Unplug or switch off true “phantom load” culprits (if practical)
- Use power strips for entertainment stations to simplify shutoff
- Confirm HVAC filters are replaced on a regular schedule
Do this now: Pick one “set-and-forget” efficiency change you can keep for 30 days.
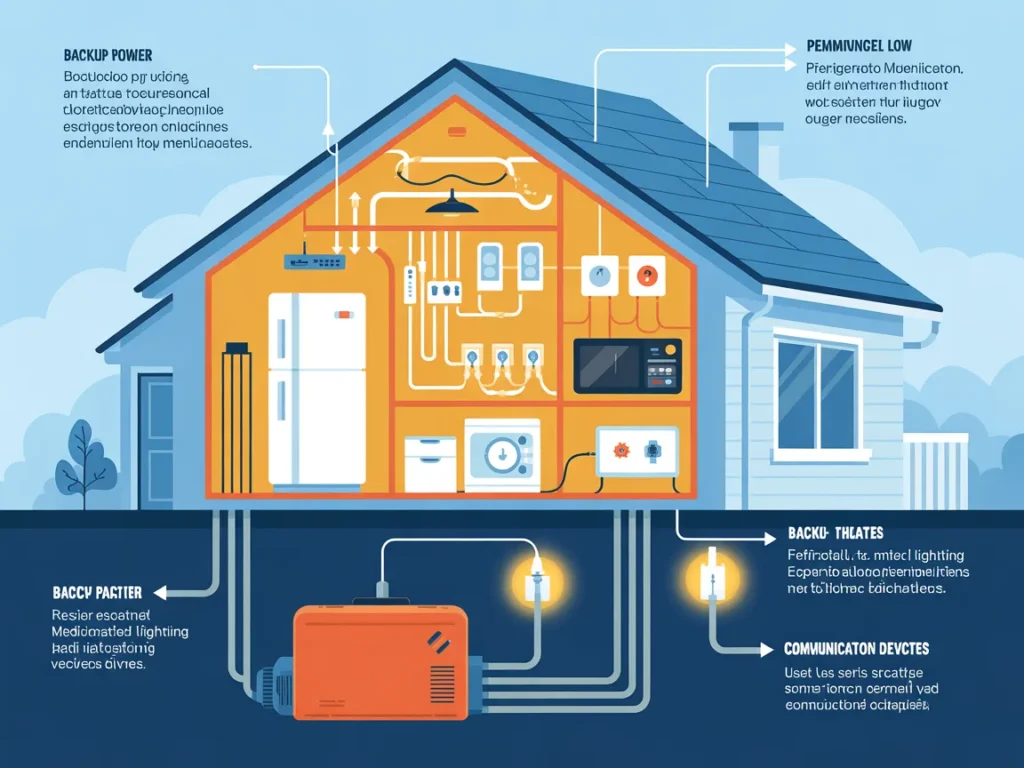
Step 4: Build a calm “essential power” plan
A future-proof home isn’t just cheaper to run—it’s easier to live in when things get unstable. That starts by deciding what truly needs power.
This is the step people skip—and it’s why they either overbuy or stay stuck.
Checklist:
- Define essential loads (medical devices, fridge, basic lighting, comms)
- Decide your “comfort minimum” (fan vs. full AC, space heat vs. whole home)
- Identify what you can operate manually (garage door, cooking alternatives)
- Plan for charging needs (phones, laptops, small batteries)
- Store basic lighting options (headlamps, lanterns) where you can find them
- Keep a written list of priorities where anyone in the home can follow it
Do this now: Write your outage “power priority list” in plain language and put it on the fridge.
Step 5: Make upgrades in the right order (so they actually pay off)
Here’s the trap: people jump to the “cool upgrade” before doing the boring basics. That often leads to disappointment.
Your order should match your goals:
- Stop waste
- Reduce demand
- Then consider bigger upgrades that improve resilience and control
Checklist:
- Handle the biggest comfort leaks first (drafts, insulation gaps)
- Confirm your top energy users (so you upgrade the right thing)
- Create a simple monthly “energy maintenance” routine
- Set a realistic budget range and timeline
- Keep your plan modular (improve one layer at a time)
Do this now: Choose one next upgrade that follows the order: waste → demand → resilience.
Step 6 (Optional): Document your plan so it’s repeatable
This is how you turn a one-time burst of motivation into a future-proof system.
Checklist:
- Keep a one-page “home energy notes” doc (paper or digital)
- Track what you changed and when (filters, seals, settings)
- Note what worked and what didn’t
- Add reminders for seasonal checks (heating/cooling transitions)
Do this now: Start a simple checklist page titled “Energy Basics” and update it once a month.
Next: the mistakes that make smart people feel like “nothing works.”
Common Mistakes
Starting with big purchases before fixing basic waste
Why it happens: Big upgrades feel decisive and exciting.
Simple fix: Do weatherization and demand-reduction first so any upgrade performs better.Confusing “lower usage” with “lower bills”
Why it happens: Rates and fees change, so bills don’t always track perfectly.
Simple fix: Track usage trends over time and focus on controllable improvements.Trying too many changes at once
Why it happens: Motivation spikes, then routines collapse.
Simple fix: Pick one or two “set-and-forget” improvements per month.Ignoring comfort clues (drafts, hot/cold rooms)
Why it happens: People assume discomfort is “just the house.”
Simple fix: Treat comfort as data—drafts and uneven temps often reveal the biggest losses.No plan for essential loads
Why it happens: Backup power feels complicated, so it gets postponed.
Simple fix: Write a simple essentials list first; it guides every resilience decision.Forgetting maintenance basics
Why it happens: Maintenance is invisible when it’s working.
Simple fix: Add recurring reminders for filters, seals, and seasonal checks.
Next: a neutral comparison of your main paths forward so you can choose without overwhelm.
Options Comparison
There are several reasonable ways to approach DIY home energy and resilience. Here’s a clear look at five common options.
Basic weatherization + efficiency first (DIY)
Best for: Homeowners who want practical wins without complexity.
Pros:
- Often the most cost-effective first step
- Improves comfort (draft reduction, steadier temperatures)
- Helps any future upgrade work better
Cons:
- Not as “exciting” as tech upgrades
- Requires some small ongoing maintenance/checks
Smart home energy management (thermostats, scheduling, monitoring)
Best for: Tech enthusiasts and busy households who want more automation.
Pros:
- Can reduce waste through better scheduling
- Helps you understand usage patterns
- Convenience can improve consistency
Cons:
- Doesn’t fix physical leaks (air sealing/insulation)
- Setup can be confusing if you add too many devices
Appliance-focused upgrades (HVAC, water heater, major replacements)
Best for: Homes with aging equipment and clear inefficiency.
Pros:
- Can improve performance and comfort
- Better reliability than failing older units
- Can reduce energy use in big-load categories
Cons:
- High commitment and planning
- Results vary if the home still leaks energy
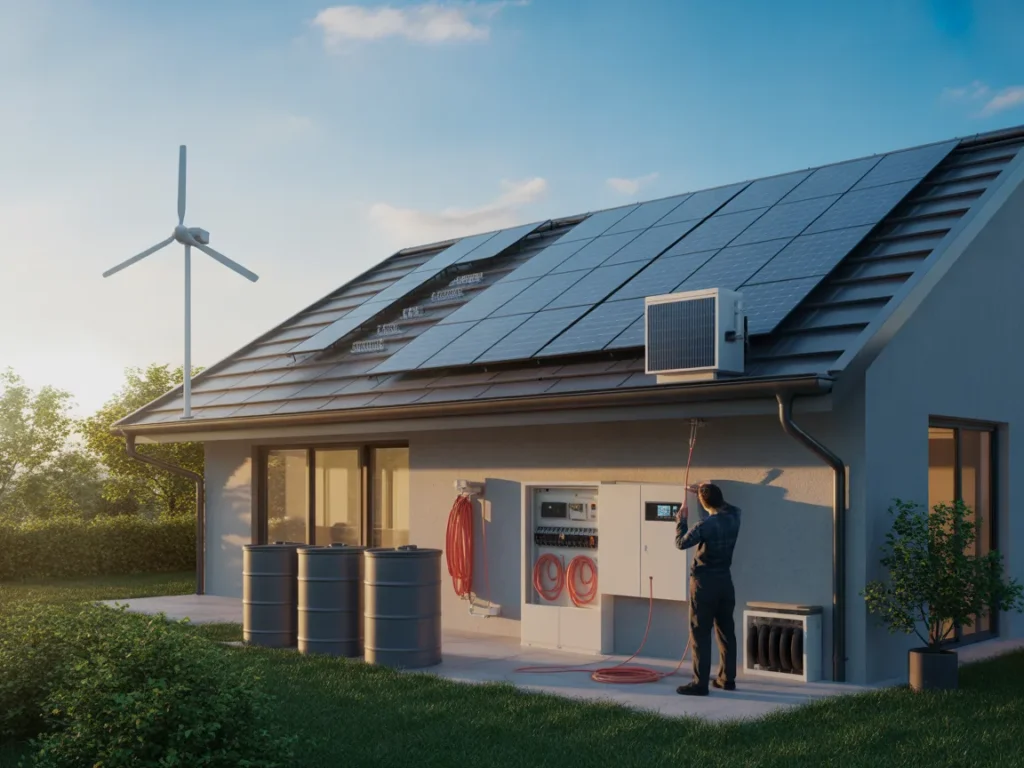
Solar or renewable generation (where appropriate)
Best for: Sustainability followers and renewable energy curious homeowners.
Pros:
- Can offset grid usage over time
- Supports a long-term resilience mindset
- Pairs well with efficient homes
Cons:
- Works best after reducing demand
- Requires planning, site suitability, and coordination
Backup power planning (essential loads, preparedness approach)
Best for: Emergency preparedness readers and self-sufficiency seekers.
Pros:
- Brings calm during outages
- Forces clarity on what matters most
- Helps you prioritize power needs realistically
Cons:
- Can feel complex without a clear walkthrough
- Easy to overbuild or underbuild without load clarity
Which option should you pick?
If you’re a homeowner who wants Future-Proof Your Home: DIY Energy Basics That Actually Make Sense without turning it into a second job, start with weatherization and demand reduction, then build an essential-load plan, and only then evaluate larger upgrades. Your best choice depends on your time (weekend DIY vs. ongoing projects), budget (small fixes vs. major replacements), and comfort with tools/tech.
Next: a helpful resource you can watch to see a complete system explained clearly.
Ressources
If you like the idea of a simple, step-by-step path—especially the “resilience next layer”—it helps to see a complete walkthrough presented in one place.
The Energy Revolution System presentation is designed to show you an organized approach, so you can understand how it works, what’s included, and whether it fits your home and your goals.
Even if you decide to do your own plan, watching a clear presentation can help you avoid the common trap of random upgrades and mismatched expectations.
You’ll be able to decide after watching—no pressure, just clarity.
Presentation
If you want to keep this momentum and see the full system laid out end-to-end, the presentation is the most logical next step.
In the presentation, you’ll see:
- How the Energy Revolution System approach is explained step-by-step
- What’s included in the system so you can evaluate it calmly
- How the method is meant to help you think about home energy in a more organized way
FAQ
Fit and difficulty
Is this beginner-friendly if I’m not “DIY skilled”?
Yes—start with the basics in this guide. The presentation is useful because it walks through the system in an organized way so you can follow the logic without guessing.
Do I need special tools to get started?
For the basics (draft stopping, small efficiency changes), you usually don’t need anything advanced. The presentation helps you understand the overall approach before you decide what tools or upgrades matter.
How long does it take to see progress?
You can make meaningful progress in a weekend by focusing on clarity and the easiest losses first. The presentation helps you see the full roadmap so your efforts stay focused.
Practical concerns
What if I rent or can’t do major upgrades?
You can still apply the “basics first” idea with low-impact steps (habits, small efficiency choices, draft reduction where allowed). Use the presentation to understand the bigger picture, then adapt.
Will this work for older homes?
Older homes often benefit a lot from basic weatherization and a clear essential-load plan. The presentation can help you think systematically, which is especially helpful when a house has quirks.
Do I have to buy anything after watching the presentation?
No—watching is simply a way to get clarity on how the system is structured and what it includes, then decide what you want to do next.
Decision clarity
I’ve seen conflicting advice online—how do I know what to trust?
A good sign is when information is presented as a coherent system (not scattered hacks). Use the presentation to compare the approach against your needs and common sense.
What if I’m mainly focused on lowering bills, not going off-grid?
That’s fine. The framework in Future-Proof Your Home: DIY Energy Basics That Actually Make Sense starts with reducing waste and demand—those basics matter regardless of how far you take resilience.
Mini Summary + Action Plan
Here’s your simple action plan to keep Future-Proof Your Home: DIY Energy Basics That Actually Make Sense practical and doable:
- Identify your biggest energy users and comfort “clues” (drafts, hot/cold rooms)
- Stop the easiest losses first (weatherization basics)
- Reduce demand with simple, repeatable efficiency changes
- Check one key maintenance item monthly (filters, seals, settings)
- Keep a one-page energy notes list so improvements don’t fade
- Build an essential-load plan (what matters in an outage, in order)
- Upgrade only after the basics are handled, so improvements actually compound
Basics first, upgrades second—because simple steps done in the right order beat complicated plans you won’t maintain.
Conclusion
A future-proof home isn’t about doing everything. It’s about doing the right basics consistently, so your comfort improves, your waste drops, and your next upgrade actually feels worth it.
That’s the heart of Future-Proof Your Home: DIY Energy Basics That Actually Make Sense: clarity, then action—one layer at a time. Imagine going into the next season (or the next outage) with a simple essentials list, fewer drafts, steadier comfort, and a plan you can explain in two minutes.
If you want to see a complete, structured walkthrough rather than piecing tips together, watch the Energy Revolution System presentation and decide if it fits your goals.
SEE THE FULL PRESENTATION HERE