
You finally get a free weekend, walk into your workshop (or clear a corner of the garage), and think: “This is the day I build something real.”
Then the usual happens.
You search for plans, open 14 tabs, bookmark a few PDFs, and realize half of them are missing measurements, steps, or a materials list. The ones that do look decent often sit behind yet another monthly membership.
If you’re tired of paying just to access ideas—or wasting time piecing together incomplete instructions—this article will give you a clean, beginner-friendly way to solve it.
One Big Idea: Clarity beats confusion.
Here’s what you’ll learn (without any hype):
- How to decide what a “good plan” actually includes (so you stop guessing mid-build)
- A simple system to build a personal library of woodworking plans you can reuse anytime
- How to evaluate the most common ways people get plans (free, memberships, books, bundles)
Next: a quick reality check so you know you’re not the only one dealing with this.
Quick Reality Check

This problem is common because woodworking plans are scattered everywhere—and most were never written to help a real person build smoothly from start to finish.
A few familiar frustrations:
- You start a project and realize the plan skips steps right when it matters
- The measurements don’t line up, or the cut list is incomplete
- You spend more time searching than building… and momentum dies
You’re not behind—you just need a simple plan.
Next: let’s lock in the core framework that makes any plan source work better for you.
The Core Framework
When you want unlimited woodworking plans without paying monthly memberships, the trick isn’t “finding more plans.”
It’s building a system that gives you clear, repeatable instructions—and a way to store what works so you’re not restarting from scratch every time.
Here’s the 3-part framework.
What matters most (the key variables)
No matter where a plan comes from, the best plans tend to include the same core pieces:
- Clear diagrams (you shouldn’t be guessing what a joint looks like)
- Exact measurements (with cuts that actually add up)
- Materials and cut lists (so you can buy once and build once)
- Step-by-step order (so you don’t paint yourself into a corner)
If any of those are missing, you end up “designing” while building—which is stressful if you’re a beginner or short on time.
The basics (core actions)
The goal is to make every project predictable:
- Pick projects matched to your tools and time
- Review a plan fully before buying lumber
- Organize parts and steps so assembly is smooth
The “next layer” (the upgrade people skip)
This is where “unlimited plans” becomes truly useful:
- Build a reusable personal plan library
- Save the versions that worked for you (notes, tweaks, lessons)
- Choose plans that help you build skill progressively (simple to advanced)
Example: You can start with a small bench or shelf, then move up to cabinets or furniture once you’ve got the rhythm—because you’re using plans that stay clear.
Next: let’s turn the framework into a practical, beginner-friendly plan you can follow this week.
The Step-by-Step Plan (Beginner’s Guide)

Step 1: Decide what “unlimited” should mean for you
For some people, “unlimited” means hundreds of options. For others, it means never getting stuck mid-project again.
Before you chase more plans, define what you actually need:
- Furniture projects?
- Outdoor builds?
- Small workshop items?
- A mix of everything?
Checklist
- Choose 2–3 project categories you actually want to build
- Decide your realistic build time (1 hour, a weekend, multiple weekends)
- List the tools you already own
- Note your current skill level (true beginner / comfortable / advanced)
- Pick one “next project” you want to complete soon
Do this now: Write down the next one project you want to build and the tools you’ll use.
Step 2: Use a “plan quality filter” before you commit
Most people waste time because they only evaluate a plan after they start cutting.
A quick filter upfront saves hours and prevents expensive mistakes.
Look for plans that make the build feel obvious—especially in the tricky parts (cuts, joinery, assembly order).
Checklist
- Does it include step-by-step instructions you can follow in order?
- Are there diagrams that match the written steps?
- Do you see measurements that look complete (not vague “cut to fit”)?
- Is there a materials list and a cut list?
- Does the plan show finished dimensions?
- Can you spot how the parts connect (screws, joints, etc.)?
Do this now: Before your next build, review the full plan from start to finish—no cutting until it passes your filter.
Step 3: Build a small “starter library” you can reuse
If you want the best way to get unlimited woodworking plans without paying monthly memberships, your goal is to stop depending on a single site’s paywall or a scattered set of bookmarks.
Instead, create a library you control.
You can do this digitally (folders) or physically (binder). The key is organization, not perfection.
Checklist
- Create 5 folders (or binder tabs): Furniture / Storage / Outdoor / Workshop / Small Projects
- Save only plans that passed your quality filter
- Store plans with the cut list and materials list together
- Add a simple note file: tools used, what to change next time
- Keep one “next build” folder with 1–3 ready-to-go projects
Do this now: Create your folder/binder structure today—even if you only have one plan to put in it.
Step 4: Pick projects that build skills in the right order
A lot of frustration comes from jumping from “I made a birdhouse once” to “I’m building a full dresser.”
Clarity beats confusion here, too: choose plans that progress your skills without overwhelming you.
Start with projects that teach straight cuts, basic assembly, and measuring—then move up.
Checklist
- Choose one small project (shelf, box, simple stool) to complete fast
- Choose one medium project (bench, table, cabinet-style storage)
- Avoid overly complex builds until you’ve finished 2–3 simpler ones
- Match joinery to your tools (don’t force fancy joints if you don’t need them)
- Pick plans with diagrams and clear step order
Do this now: Commit to one “confidence build” this week—something you can finish, not just start.
Step 5: Make each plan better with a simple pre-build ritual
Even great plans become easier when you add a 10-minute routine before you touch lumber.
This is the difference between “hoping it works” and building with calm momentum.
Checklist
- Read each step and highlight anything unclear
- Confirm measurements and finished dimensions
- Lay out your cut list grouped by lumber size
- Visualize the assembly order (dry fit in your head)
- Gather all hardware and fasteners before you begin
- Set aside safety gear and clamps so you’re not scrambling mid-build
Do this now: Before your next cut, spend 10 minutes doing a full pre-build review.
Common Mistakes
Mistake 1: Collecting plans instead of finishing projects
Why it happens: Browsing is easy; building requires a decision.
Simple fix: Keep only 1–3 “ready-to-build” plans in your active folder until you finish one.
Mistake 2: Starting with a plan that skips steps
Why it happens: Many free plans are incomplete or assume experience.
Simple fix: Use the plan quality filter—step order + diagrams + materials/cut list.
Mistake 3: Choosing projects that demand tools you don’t have
Why it happens: Photos make builds look simpler than they are.
Simple fix: Match the plan to your current tools, or pick a simpler build first.
Mistake 4: Buying lumber before reviewing the full plan
Why it happens: You want to “get going” and build momentum.
Simple fix: Review the cut list and finished dimensions before you shop.
Mistake 5: Not keeping notes for the next time
Why it happens: After finishing, you want to move on.
Simple fix: Write 3 quick notes: what worked, what didn’t, what you’d change.
Mistake 6: Relying on a monthly membership for ongoing ideas
Why it happens: It feels convenient in the moment.
Simple fix: Build a library you control so your access doesn’t end when you cancel.
Options Comparison
Below are five common ways people try to get “unlimited” woodworking plans—without constantly paying for access.
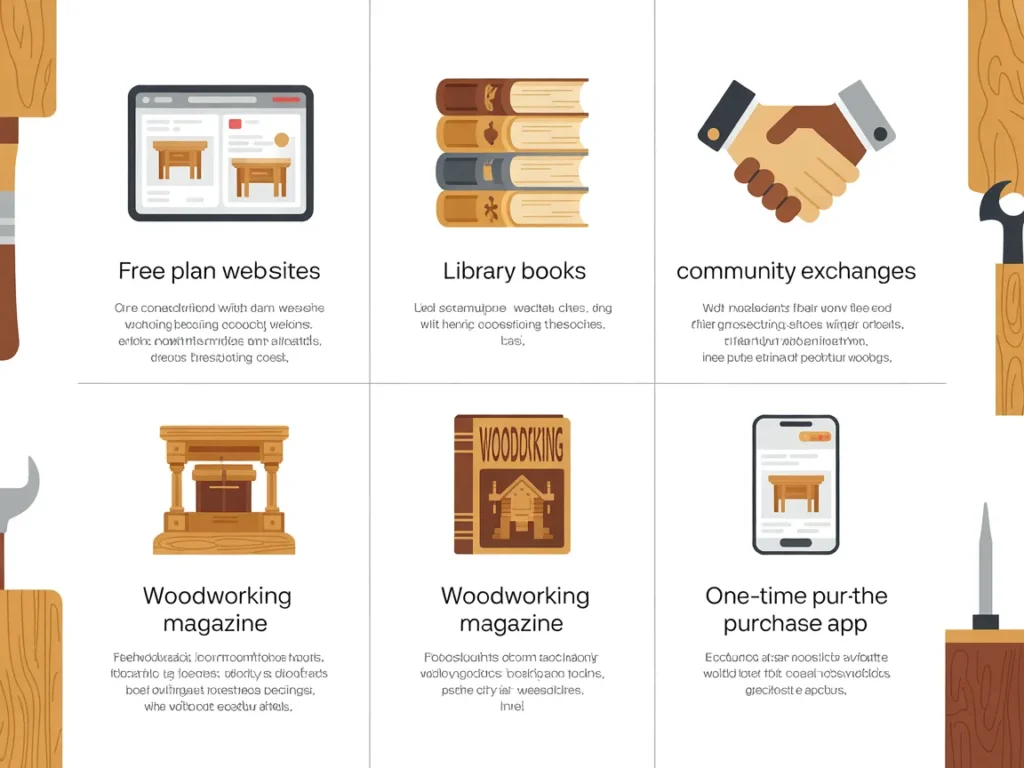
Option 1: Free plans from blogs and videos
Best for: Very simple projects and inspiration
Pros
- Free and easy to find
- Great for ideas and quick builds
- Often includes photos of the finished result
Cons
- Quality varies a lot
- Steps or measurements may be missing
- Cut lists/materials lists aren’t always included
Option 2: Monthly membership plan sites
Best for: People who build frequently and don’t mind ongoing fees
Pros
- Large libraries in one place
- Often organized by category
- New plans may be added regularly
Cons
- Access typically ends when you stop paying
- You may still need to sort through quality differences
- Can feel wasteful if you build only occasionally
Option 3: One-off plans (buying individually)
Best for: Someone with one specific project in mind
Pros
- Focused on a single build
- Can be high quality if sourced well
- No subscription required
Cons
- Adds up if you want lots of options
- Plans can still be inconsistent
- You may end up repeating purchases for similar projects
Option 4: Woodworking books and magazines
Best for: Traditional learners who like printed references
Pros
- Tangible, easy to keep in the shop
- Can include good illustrations
- Often teaches broader fundamentals
Cons
- Not always step-by-step for every build
- Limited variety compared to larger libraries
- Some projects may require more interpretation
Option 5: A one-time-access plan library bundle (digital)
Best for: DIY enthusiasts who want lots of plans available without monthly payments
Pros
- Large variety in one place
- Convenient to store and organize digitally
- Can help you build a long-term personal plan library
Cons
- You still need to use a quality filter
- Printing/organizing is on you
- You must pick projects suited to your tools and skill level
Which option should you pick?
If you’re a DIY enthusiast who likes having choices ready when motivation hits—but you don’t want to keep paying monthly—Option 5 is often the most practical. If you only build once in a while, free plans plus a small curated library can work too. What matters is matching your choice to your time, budget, and current skill—so you stay building instead of browsing.
Next: I’ll show you a resource that aligns with the “library bundle” approach—without asking you to decide anything upfront.
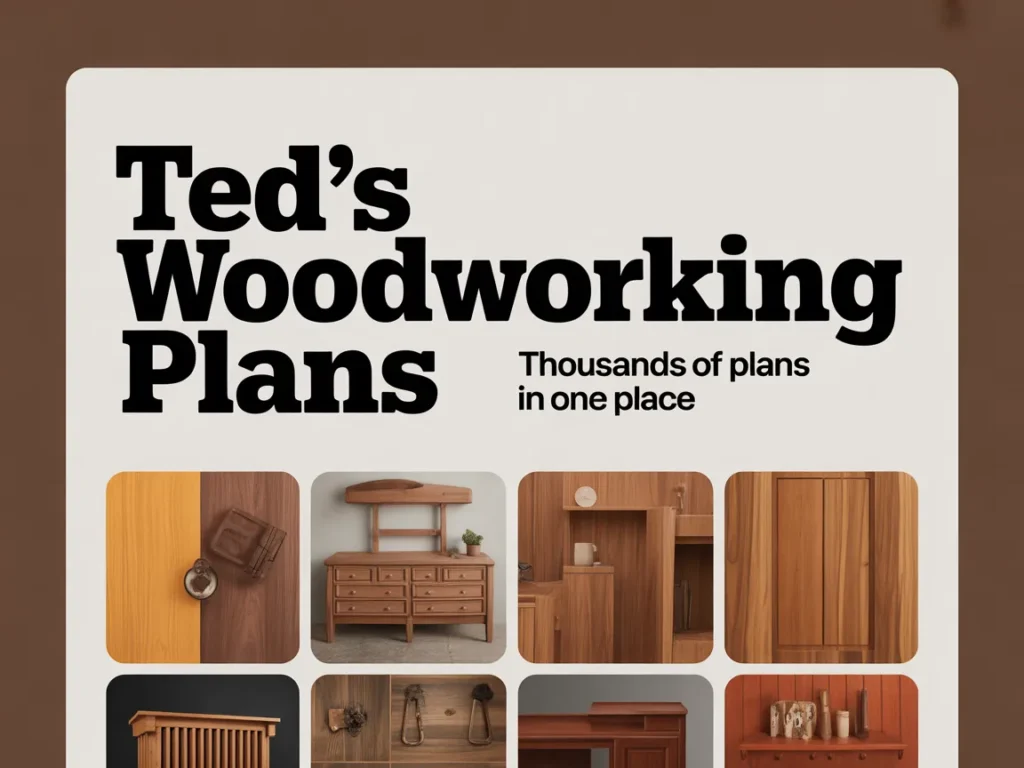
If you like the idea of having a lot of woodworking plans available in one place—organized enough to actually use—there’s a presentation worth watching: Ted’s Woodworking Plans.
It’s set up as a walkthrough of what’s included and how it works, rather than forcing you to guess from a random sample plan online.
Even if you don’t end up using it, the presentation can help you understand what a complete plan library should contain so you can compare any plan source more confidently.
You’ll see how it works, what’s included, and whether it fits you.
In the presentation, you’ll see:
- What’s included inside Ted’s Woodworking Plans (plan library details shown in the walkthrough)
- How the plans are presented so you can follow them step by step
- How this approach helps you avoid relying on monthly memberships for ongoing project ideas
Objection Handling FAQ
Beginner-friendly learning curve
Ted’s Woodworking Plans is presented as a step-by-step woodworking plans library, designed to be followed rather than improvised.
Time required for a typical project
Project time depends on what you choose to build. The point of using clear plans is spending less time guessing and more time making progress.
Tool requirements for using woodworking plans
You don’t need special tools to benefit from plans; you choose projects that match what you already have and build up from there.
Printing vs using plans digitally
Many people like keeping plans digitally and printing only the cut list/diagrams for the shop. The presentation shows how the plans are laid out so you can decide what fits your workflow.
Finding plans for different types of builds
If your goal is variety—furniture, storage, outdoor, and workshop projects—a large plan library can make it easier to pick something that matches your weekend and your skill.
Avoiding overwhelm with a big plan library
A big library only helps if you filter it. Start with one category and a single “confidence build,” then expand.
Using plans to build gifts, home upgrades, and workshop projects
Yes—having a dependable plan source makes it easier to build practical projects like shelves, cabinets, tables, or shop storage without reinventing the design each time.
Deciding if this is the best way to get unlimited woodworking plans without paying monthly memberships
If the main frustration is paying ongoing fees just to access plans, a one-time library approach can make sense. Watch the presentation to see what’s included and whether it matches how you like to build.
Mini Summary + Action Plan
Pick 2–3 project categories you actually want to build (furniture, outdoor, workshop, storage)
Use a plan quality filter: step order, diagrams, measurements, materials list, cut list
Review the full plan before buying lumber or cutting anything
Keep a “ready-to-build” folder with 1–3 curated plans
Add quick notes after each project so your library improves over time
Progress skills in a calm order: small wins first, then bigger furniture builds
Upgrade your system by storing plans in a library you control (not a paywall)
Clarity beats confusion—especially when you want unlimited woodworking plans without paying monthly memberships.
Conclusion
If you’ve been trying to figure out The Best Way to Get Unlimited Woodworking Plans Without Paying Monthly Memberships, it comes down to one practical shift: stop hunting plans in random places and start building a clear library you can reuse.
That’s how you stay consistent—one finished project at a time—without feeling like you need another subscription just to keep momentum.
If you want to see a walkthrough of a large plan library approach (and decide for yourself if it fits how you like to build), the next step is simply to watch the presentation. No pressure—just clarity.
SEE THE FULL PRESENTATION HERE.