
Opening your electric bill shouldn’t feel like a monthly surprise quiz.
But for a lot of homeowners, it does. One month seems “normal,” the next jumps for no obvious reason—same house, same routine, same weather (mostly)… different total.
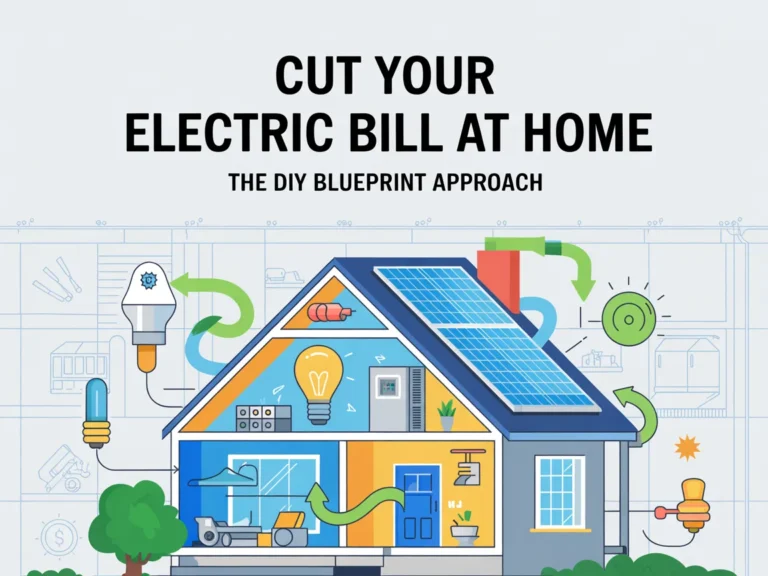
If you’ve been searching for Cut Your Electric Bill at Home: The DIY Blueprint Approach, here’s the good news: you don’t need to guess, and you don’t need to become an engineer to make real progress. You just need a simple, repeatable way to see what’s actually driving your usage—and then improve it step by step.
Basics first, upgrades second.
In this guide, you’ll learn:
- How to identify the biggest “silent” electricity drains in a typical home
- A practical DIY plan to reduce energy usage without turning your life upside down
- How to think about bigger options (like alternative power) without getting overwhelmed
Next: a quick reality check so you know you’re not the only one dealing with this.
Quick Reality Check
High electric bills are common because most homes were never optimized—just “lived in.” Over time, we add devices, change routines, and run more always-on electronics, while the house itself stays the same.

A few familiar scenarios:
- You’ve tried turning off lights… and the bill barely moved
- Your HVAC or water heater seems to run constantly
- You suspect something is wasting power, but you can’t prove what it is
The frustrating part is you can do a lot of “good habits” and still miss the big drivers of consumption.
You’re not behind—you just need a simple plan.
Next: the framework that keeps you focused on what matters.
The Core Framework
If your goal is Cut Your Electric Bill at Home: The DIY Blueprint Approach, the smartest way to do it is to stop thinking in random tips and start thinking in a 3-part structure.
What matters most (key variables)
Most savings come from just a few places:
- Big loads (HVAC, water heating, refrigeration, laundry)
- Always-on loads (routers, set-top boxes, game consoles, older chargers)
- Behavior + scheduling (when you run high-draw devices matters more than most people think)
The basics (core actions)
These are the boring steps that work because they reduce waste:
- Measure or estimate what’s using power
- Reduce the “always on” baseline
- Tighten the biggest repeat-use habits (heating/cooling, hot water, laundry)
The next layer (the upgrade people skip)
Upgrades can help—but they only help after the basics:
- Targeted improvements that match your home (insulation, seals, smart control)
- Strategic equipment changes (when something is already due for replacement)
- Exploring alternative options with a clear understanding of what’s realistic
Two quick examples:
- If your HVAC runs hard because of drafts, the “upgrade” isn’t a fancy gadget—it’s tightening leaks first.
- If your home has a high always-on baseline, a few device changes can matter more than obsessing over light bulbs.
Next: a step-by-step plan you can follow without overwhelm.
The Step-by-Step Plan (Beginner’s Guide)
This is the “doable” version of Cut Your Electric Bill at Home: The DIY Blueprint Approach—built for homeowners who want clarity, not complexity.
Step 1: Get a clean snapshot of your current usage
Before you change anything, you need a baseline. Otherwise, it’s easy to work hard and still feel unsure if it helped.
A baseline also keeps you from chasing tiny savings while missing a major electricity drain.
Checklist:
- Pull your last 2–3 electric bills and note kWh used (not just the dollar amount)
- Write down your typical weekly routine (laundry, cooking, work-from-home days)
- List major appliances (HVAC type, water heater type, fridge age, etc.)
- Note any recent changes (new devices, extra freezer, new gaming setup)
- Identify “peak usage” times in your home (evening, weekends, midday)
Do this now: open your last bill and write down your kWh usage—today.
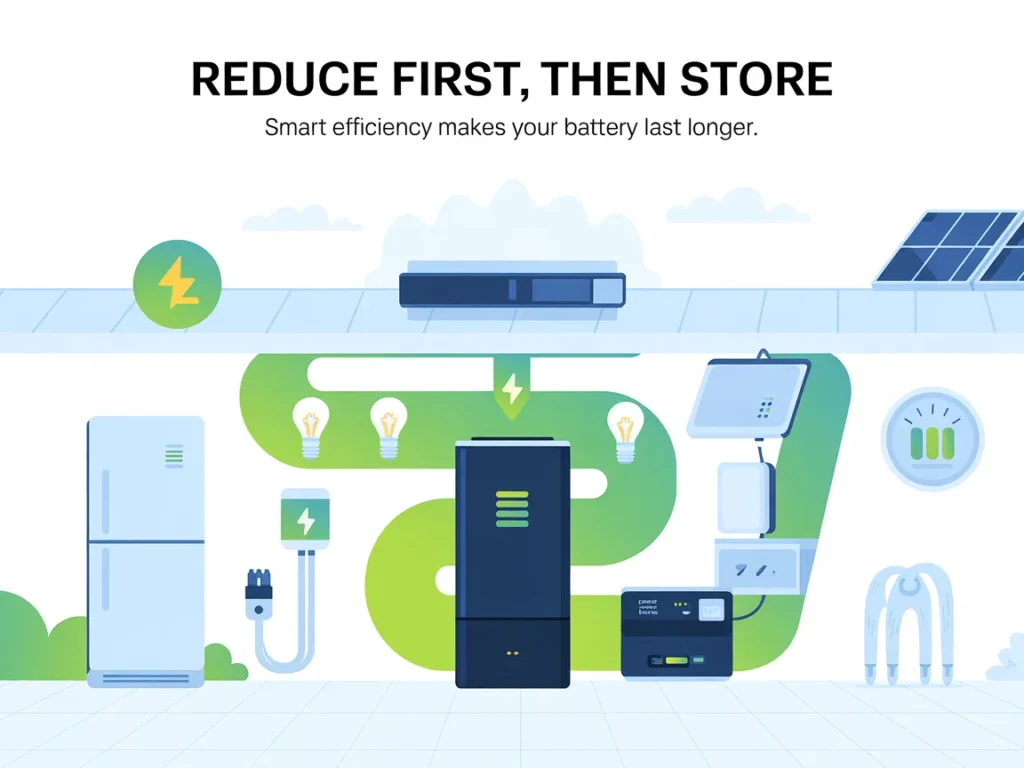
Step 2: Lower the “always-on” baseline
Many homes have a steady, invisible draw—devices that sip electricity 24/7. That constant pull can add up fast.
You don’t have to unplug your whole life. You’re simply looking for easy wins that don’t affect comfort.
Checklist:
- Unplug or switch off unused chargers and power bricks
- Put entertainment centers on a quality power strip (and actually switch it off when not used)
- Review extra fridges/freezers (especially older ones in garages)
- Turn off “instant on” settings where you don’t need them
- Check dehumidifiers, space heaters, and fans that might be running longer than you think
Do this now: pick one area (TV stand, office desk, garage) and eliminate one always-on device.
Step 3: Tighten heating and cooling without suffering
HVAC is often the biggest driver of electric bills. Small, consistent improvements here can beat most “random hacks.”
The goal isn’t to be uncomfortable. It’s to reduce waste: leaks, bad scheduling, and inefficient habits.
Checklist:
- Replace/clean HVAC filters on schedule
- Seal obvious drafts around doors/windows (basic weather stripping helps)
- Use a simple temperature schedule instead of constant manual changes
- Keep vents clear and make sure returns aren’t blocked
- Use curtains/blinds strategically to reduce heat gain or heat loss
Do this now: check your HVAC filter and set a simple temperature schedule for the next 7 days.
Step 4: Control hot water and laundry energy use
Hot water is sneaky: showers, dishwasher, laundry—small events that happen often. If you’re trying Cut Your Electric Bill at Home: The DIY Blueprint Approach, this is a high-leverage “middle layer.”
You don’t need extreme changes. Just reduce unnecessary heating cycles and wasted hot water.
Checklist:
- Shorten showers slightly (even a small change adds up)
- Wash clothes in cold water when possible
- Run full loads in dishwasher and washing machine
- Address dripping faucets (hot-side drips waste heated water)
- If your water heater has a temperature setting, ensure it’s reasonable (don’t guess—check safely)
Do this now: switch your next laundry load to cold and run only full loads for a week.
Step 5: Pick one upgrade that matches your home (not the internet)
After the basics, choose one improvement that suits your actual situation. Most people fail here by trying five upgrades at once—or buying something because it’s trendy.
Think in terms of payback in effort and comfort, not just dollars.
Checklist:
- Choose one target: drafts, HVAC runtime, old appliance, or baseline electronics
- Decide what you can do DIY vs. what needs a pro
- Set a “one-week test” so you can see if it made a measurable difference
- Avoid stacking multiple changes until you measure results
- Write down what you expect to change (usage, comfort, runtime)
Do this now: choose one improvement to focus on this month—and pause everything else.
Common Mistakes
Chasing tiny fixes while ignoring big loads
Why it happens: small tips feel easy and immediate.
Simple fix: focus first on HVAC, hot water, and always-on baseline.Making too many changes at once
Why it happens: motivation is high at the start.
Simple fix: change one variable per week so you can see what worked.Using dollars instead of kWh to track progress
Why it happens: the bill total is the obvious number.
Simple fix: track usage in kWh so rate changes don’t confuse your progress.Assuming “newer device” automatically means “efficient”
Why it happens: marketing often implies a big upgrade.
Simple fix: verify settings and actual usage patterns—behavior still matters.Over-correcting comfort settings
Why it happens: people try to force savings by suffering.
Simple fix: use scheduling and sealing first, then adjust gradually.Ignoring the constant baseline draw
Why it happens: always-on drains don’t announce themselves.
Simple fix: audit one room at a time and eliminate idle devices steadily.
Options Comparison
When people look for Cut Your Electric Bill at Home: The DIY Blueprint Approach, they usually land in one of these approaches.
Option 1: Habit-only changes (no equipment changes)
Best for: people who want immediate action with zero DIY
Pros:
- No tools required
- Can start today
- Builds awareness of usage patterns
Cons:
- Savings can plateau fast
- Easy to revert without a system
Option 2: DIY efficiency improvements (seals, filters, basic controls)
Best for: homeowners who want practical, repeatable wins
Pros:
- Often improves comfort too
- Doesn’t require major remodeling
- Pairs well with measurement and tracking
Cons:
- Requires consistency
- Some homes have limits without bigger upgrades
Option 3: Appliance/equipment replacement
Best for: when something is old, failing, or obviously inefficient
Pros:
- Can reduce usage on a major load
- Long-term improvement
- Less “daily effort” after it’s done
Cons:
- Higher upfront cost
- Easy to replace the wrong thing if you don’t diagnose first
Option 4: Home energy audit (professional assessment)
Best for: people who want a structured diagnosis
Pros:
- Clear assessment of problems
- Can identify hidden issues
- Helpful for prioritization
Cons:
- Depends on auditor quality
- Still requires you to act on recommendations
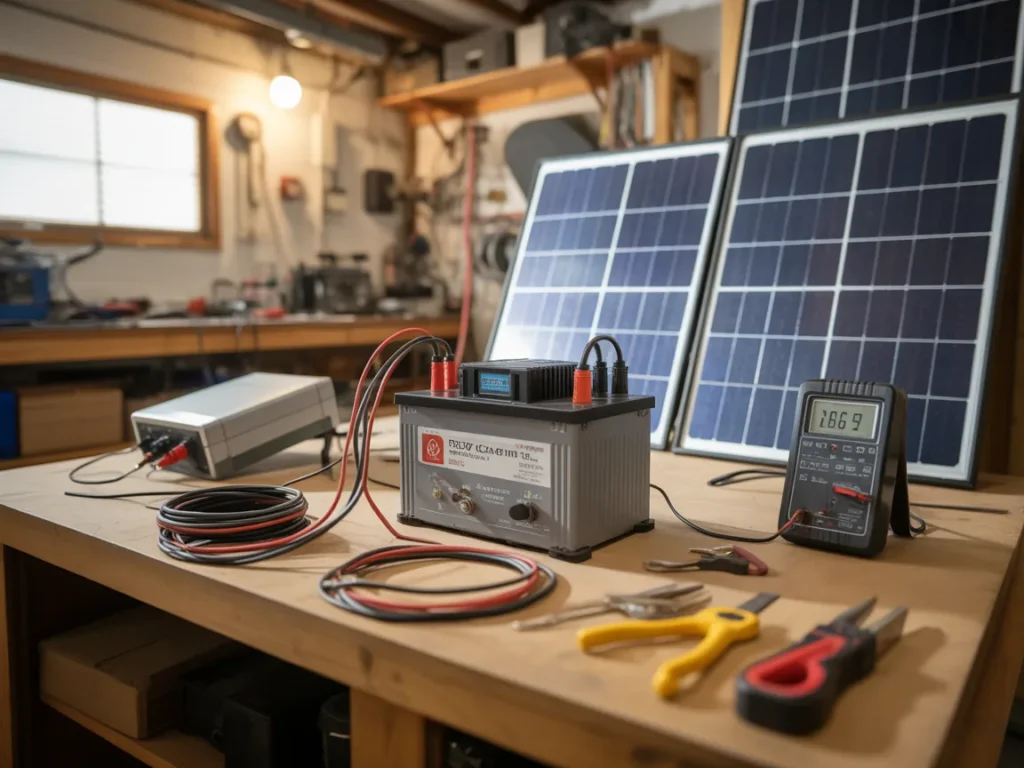
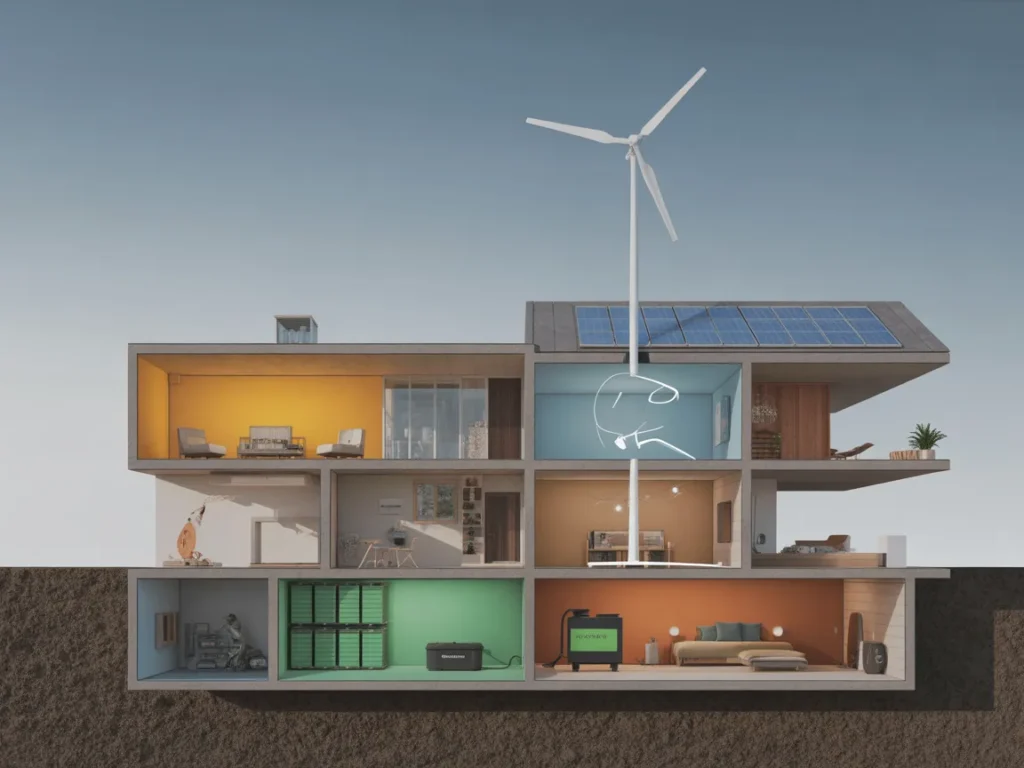
Option 5: Alternative energy / self-sufficiency approaches
Best for: DIY-minded homeowners curious about producing some of their own power
Pros:
- Can reduce reliance on the grid
- Appeals to self-sufficiency goals
- Can be an engaging project for DIY enthusiasts
Cons:
- More complexity than basic efficiency
- Requires careful expectations and planning
Which option should you pick?
If you’re a homeowner who wants predictable results without overthinking, start with DIY efficiency improvements + measurement. If budget is tight, habit changes plus baseline reduction are the easiest entry. If you’re a DIY enthusiast or self-sufficiency seeker, you may be more interested in exploring alternative approaches—but it still pays to master the basics first so you know what you’re trying to offset.
Next: a resource that can help you see a complete walkthrough rather than piecing ideas together.
Resources
If you like the idea of a clearer, more “blueprint-style” approach—especially beyond the usual advice—there’s a presentation for the Energy Revolution System that’s worth watching.
The reason I mention it here is simple: many people get stuck bouncing between random energy-saving tips and never seeing a full, start-to-finish explanation of how a system is supposed to work.
Even if you don’t end up using it, the presentation can help you think through what’s involved, what the approach looks like, and whether it matches your comfort level as a homeowner.
You’ll see how it works, what’s included, and whether it fits you.
SEE THE FULL PRESENTATION HERE
If your next step is getting a clearer “whole picture” walkthrough (instead of piecing together advice), this is a good place to look.
In the presentation, you’ll see:
- What the Energy Revolution System is and how it’s presented as a DIY blueprint-style approach
- The core idea behind the system’s method (as explained in the presentation)
- What’s included in the system so you can judge if it fits your home and skill level
FAQ
Beginner-friendly setup
Yes—if you can follow clear instructions, you can evaluate whether the approach shown in the Energy Revolution System presentation is practical for you.
Time requirement
It depends on how much you take on at once, but the entire point of a blueprint-style approach is that you can move step by step instead of doing everything in a weekend.
Special tools and equipment
Many homeowners worry they’ll need a garage full of tools. Watch the presentation first—then decide if what’s shown matches what you have (or want to learn).
Works for small homes and apartments
The basics of lowering usage apply to any space. For the system itself, the presentation will clarify what it’s designed for and what the setup looks like.
Still useful if you rent
You can still apply baseline reduction, scheduling, and habit changes. For anything beyond that, use the presentation to determine what’s realistic for a renter’s limitations.
Complexity concerns
That’s a fair concern. The best filter is to watch how the method is explained—if it feels overly complicated, you’ll know quickly.
Concern about being “sold” something
You can watch the presentation simply to understand the concept and decide if it’s relevant—no pressure to do anything beyond that.
How this fits the “Cut Your Electric Bill at Home: The DIY Blueprint Approach” goal
It’s aligned because it’s presented as a structured DIY-style system rather than scattered tips, which helps homeowners move from guessing to following a plan.
Mini Summary + Action Plan
If you want Cut Your Electric Bill at Home: The DIY Blueprint Approach, the path is simple when you keep it structured.
Basics (start here):
- Track kWh and establish a baseline (don’t rely on the dollar total)
- Reduce always-on electricity drains room by room
- Improve HVAC efficiency with filters, sealing, and scheduling
Maintenance (keep it working):
- Change one variable at a time so results are clear
- Re-check your baseline monthly and adjust routines gently
Next layer (after basics):
- Choose one upgrade that matches your home’s biggest driver
- If exploring alternative approaches, learn the full method first before committing time or money
Basics first, upgrades second—clarity beats guessing every time.
Conclusion
The calm version of lowering your bill looks like this: you stop chasing 20 tiny hacks, you get a baseline, you reduce the constant “always-on” draw, and you tighten the handful of big loads that drive most usage.
That’s what Cut Your Electric Bill at Home: The DIY Blueprint Approach really means—less confusion, more structure, and changes you can actually stick with.
If you want to see a complete walkthrough presented as a DIY blueprint-style system, the next step is simply to watch/read the Energy Revolution System presentation and decide whether it fits your home, your comfort level, and your goals.
SEE THE FULL PRESENTATION HERE