
You open your latest utility bill, do a double-take, and instantly start doing the mental math: “If this keeps going up, what happens by summer… or next winter?”
If that sounds familiar, you’re not alone. Electric rates are rising—and the frustrating part is you can’t “coupon” your way out of it. But you can respond with a clear DIY plan that reduces how much those hikes affect you.
Simple beats complicated.
In this guide, you’ll learn:
- How to lower the amount of electricity you need before you buy anything
- How to set up a practical DIY “energy plan” that fits real life (work, kids, weekends)
- How to think about backup power and home energy options without getting overwhelmed
Next: a quick reality check so you know what you’re dealing with (and what actually matters).
Quick Reality Check
Electric bills climb for a handful of common reasons—and most of them have nothing to do with you “doing something wrong.” Rates change. Seasons change. Your home’s demands change.
Here’s what people usually notice when Electric Rates Are Rising—Here’s the DIY Plan That Makes Hikes Hurt Less becomes a personal mission:
- Your bill spikes even though your habits feel the same
- Heat waves or cold snaps make your HVAC run nonstop
- You start avoiding appliances (“Maybe I won’t run the dishwasher…”) just to keep the bill down
The good news: you don’t need to become an engineer to respond intelligently.
You’re not behind—you just need a simple plan.
Next: the core framework that keeps this from turning into a random list of tips.
The Core Framework
When Electric Rates Are Rising—Here’s the DIY Plan That Makes Hikes Hurt Less, most people jump straight to gadgets. The better approach is a simple 3-part framework you can reuse forever:
What matters most (key variables)
Focus on the few drivers that move the needle:
- Your biggest loads (HVAC, water heating, refrigeration, laundry, cooking)
- Your home’s efficiency (air leaks, insulation gaps, thermostat habits)
- When you use power (peak hours can matter depending on your plan)
The basics (core actions)
These are the boring moves that work:
- Reduce wasted energy (air sealing, smart settings, better habits)
- Cut standby/phantom usage where it’s easy
- Make sure major appliances aren’t fighting you (dirty filters, bad settings)
The “next layer” (the upgrade people skip)
Once basics are handled, look at:
- A home power plan for outages and high-cost periods
- DIY-friendly options for generating or storing power (only if it fits your goals)
- A step-by-step blueprint so you’re not guessing
Example #1: If your HVAC is the biggest load, the basics might be sealing drafts and changing filters—before considering bigger upgrades.
Example #2: If your home office runs all day, the basics might be taming idle power and moving energy-heavy tasks to better times.
Next: the step-by-step plan you can start this week.
The Step-by-Step Plan
This is a Beginner’s Guide style plan—simple, repeatable, and designed to reduce the sting when electric rates rise again.
Step 1: Find your “big three” energy drains
Before you change anything, you want clarity on what’s actually driving your usage. Most homes have a few categories that dominate the bill. If you focus there first, you get faster wins and less frustration.
Checklist
- Pull your last 2–3 electric bills and note seasonal spikes
- Identify if heating/cooling appears to be the biggest driver
- List your always-on items (routers, TVs, game consoles, office equipment)
- Notice high-heat appliances: dryer, oven, water heater (if electric)
- Write down your household schedule (when you’re home, asleep, at work)
Do this now: Circle the top 3 likely energy hogs in your home—don’t overthink it.
Step 2: Lock in the “cheap efficiency wins” first
When Electric Rates Are Rising—Here’s the DIY Plan That Makes Hikes Hurt Less, you want moves that cost little (or nothing), don’t require special skill, and don’t depend on you remembering 20 new habits.
Start with the boring basics that keep paying you back.
Checklist
- Change HVAC filters and set a reminder for the next change
- Air-seal obvious leaks (around doors, windows, attic access)
- Use curtains/blinds intentionally (block summer sun, keep winter warmth)
- Set your thermostat schedule to match real life (sleep/work hours)
- Unplug or switch off unused devices (or use a power strip)
Do this now: Pick one “leak” to seal and one thermostat change you can live with.
Step 3: Reduce “invisible” power waste (without becoming obsessive)
A lot of electricity waste is sneaky: devices sipping power all day, chargers plugged in forever, entertainment centers glowing even when “off.”
This step isn’t about perfection. It’s about easy control.
Checklist
- Put a power strip on your TV/console/setup and switch it off nightly
- Unplug spare chargers and rarely used appliances
- Turn off unnecessary lights and use task lighting where possible
- Run full loads in dishwasher/laundry when you can
- Use cold water washing when it fits your clothes and routine
Do this now: Choose one zone (living room or office) and eliminate standby power there.
Next: the part most people skip—planning for the next hike and outages.
Step 4: Build a simple “power priority” plan for your home
If rates spike or the power goes out, stress comes from not knowing what matters most. A power priority plan is just a calm list of what you’d want running, in order.
Think: safety, food, communication, comfort.
Checklist
- List necessities: fridge/freezer, lights, phone charging, internet (if needed)
- Add medical or mobility needs if relevant
- Decide what’s optional: gaming, big screens, laundry, decorative lighting
- Write down how long you’d want essentials running (hours vs. days)
- Store the list where everyone can see it (notes app + a paper copy)
Do this now: Write your top 5 “must power” items in a single list.
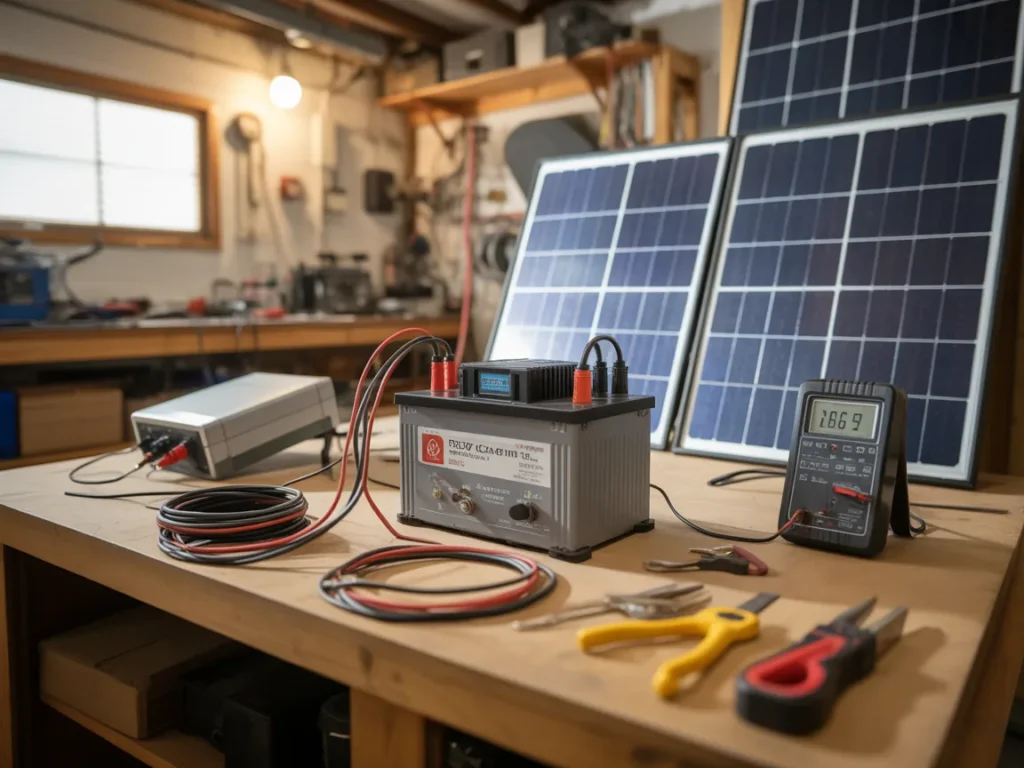
Step 5: Decide if a DIY home energy system fits your goals
Once your basics are handled, you can consider bigger moves. Some people want lower grid dependence. Others just want a backup plan. Others simply want to learn what’s possible before spending money.

This is where DIY curiosity can pay off—as long as you’re following a clear blueprint and staying realistic.
Checklist
- Decide your goal: bill relief, backup power, self-sufficiency, or all three
- Note your DIY comfort level (basic tools vs. advanced projects)
- Think about available space (yard, garage, shed, balcony)
- Consider your household’s tolerance for maintenance and setup time
- Commit to learning first, buying second
Do this now: Write one sentence: “My goal is ______, and my limit is ______.”
Next: avoid the mistakes that waste time when electric rates keep climbing.
Common Mistakes
Chasing gadgets before fixing basics
Why it happens: New devices feel like progress. Basics feel boring.
Simple fix: Do one week of air sealing, filter changes, and scheduling before buying anything.Trying to “out-habit” a structural problem
Why it happens: People blame themselves instead of the home’s leaks/inefficiency.
Simple fix: Patch the obvious leaks and set schedules so the home works with you.Focusing on tiny loads while ignoring major ones
Why it happens: Small changes are easy to measure and feel controllable.
Simple fix: Put HVAC, water heating, and laundry/drying on your priority list first.No plan for peak usage times
Why it happens: Life happens when it happens—cooking, showers, chores.
Simple fix: Shift only what’s easy (laundry/dishwasher) and keep the rest simple.Overcomplicating “backup power”
Why it happens: It’s easy to spiral into technical rabbit holes.
Simple fix: Start by listing what you truly need powered, then explore options that match that list.Quitting after the first bill doesn’t drop dramatically
Why it happens: Bills lag behind behavior changes, and rates can rise anyway.
Simple fix: Track usage habits for 30 days and judge progress by consumption and control, not just the total.
Options Comparison
When Electric Rates Are Rising—Here’s the DIY Plan That Makes Hikes Hurt Less, there are a few common routes people take. Here’s a neutral comparison so you can choose based on your budget, DIY comfort, and how hands-on you want to be.

Option 1: “Efficiency-first” home tune-up (DIY basics)
Best for: Homeowners who want the most reliable improvement with minimal complexity
Pros
- Low-cost or no-cost steps can help quickly
- Works in any home regardless of location
- Builds habits that keep paying off
Cons
- Not as exciting as buying new tech
- Requires a little consistency to maintain
Option 2: Utility plan optimization (rate plan/time-of-use awareness)
Best for: Budget-conscious households with flexible schedules
Pros
- Can reduce the sting of peak-rate periods
- Encourages smarter scheduling (laundry/dishwasher)
- Often simple to test for a month
Cons
- Not available or beneficial in every area
- Doesn’t reduce your home’s underlying energy demand
Option 3: Targeted appliance upgrades (replace the worst offenders)
Best for: Homes with aging appliances that are clearly inefficient
Pros
- Can reduce consumption in a measurable way
- Improves comfort and convenience
- Less reliance on daily habits
Cons
- Requires upfront spending and research
- Easy to upgrade the wrong thing first
Option 4: Backup power setup (battery/generator approach)
Best for: Emergency preparedness readers and households tired of outages
Pros
- Adds resilience and peace of mind
- Helps you keep essentials running
- Complements efficiency improvements
Cons
- Setup choices can get confusing
- Ongoing maintenance may be required depending on approach
Option 5: DIY home energy learning system (step-by-step educational approach)
Best for: DIY enthusiasts who want a clear blueprint before investing
Pros
- Helps you understand how a DIY energy approach works
- Can reduce guessing and wasted purchases
- Supports planning around your home’s actual needs
Cons
- Requires time to learn and follow steps
- Not a “set it and forget it” shortcut
Which option should you pick?
If you’re a homeowner who wants practical control without overwhelm, start with Option 1 (efficiency-first) and Option 2 (schedule awareness). If you’re also DIY-inclined and want to explore bigger “next layer” moves—especially around home power planning—Option 5 can make sense because it helps you learn the system before you commit to hardware.

Next: a resource that can help you see a full DIY walkthrough in one place.
Resources
If you’re reading this because Electric Rates Are Rising—Here’s the DIY Plan That Makes Hikes Hurt Less, the hardest part isn’t motivation—it’s knowing what to do in what order.
That’s why some people choose to watch a dedicated walkthrough like the Energy Revolution System presentation. It’s positioned as a guided system that shows a DIY approach to home energy—so you can understand the concept, what’s involved, and whether it matches your goals.
Even if you don’t end up doing anything beyond the basics, a clear walkthrough can help you:
- Avoid random purchases
- Think through what you’d power and how you’d plan it
- Decide what “next layer” steps are actually worth your time
You’ll be able to see how it works, what’s included, and whether it fits you.
SEE THE FULL PRESENTATION HERE
In the presentation, you’ll get a clearer view of a DIY-style home energy approach and how it’s structured, so you can decide what (if anything) you want to apply at your place.
In the presentation, you’ll see:
- How the Energy Revolution System is laid out as a step-by-step DIY concept
- What the system is designed to help you understand about home power and energy independence
- What’s included so you can tell if it matches your skill level and goals
FAQ
Designed for homeowners or renters
Q1: Is this only for homeowners?
The DIY efficiency steps in this article can help most living situations, but the Energy Revolution System presentation is best evaluated by watching it and seeing whether the approach fits your space and control over changes.
Beginner-friendly learning curve
Q2: Is this beginner-friendly if I’m not “handy”?
The plan above starts with basics almost anyone can do. The presentation is meant to show a structured walkthrough so you can judge the complexity before you attempt anything.
Time requirements
Q3: How long does it take to see progress?
Some basics (like sealing obvious drafts and adjusting schedules) can be done in a weekend, while bigger improvements are usually gradual. The key is stacking small wins consistently.
Tools and equipment
Q4: Do I need special tools to start?
Not for the first steps—filters, sealing obvious gaps, and schedule changes are straightforward. For any deeper DIY energy project, it depends on what you choose to pursue.
Budget concerns
Q5: What if I can’t invest in upgrades right now?
That’s exactly why starting with low-cost basics matters. You can reduce waste and improve control without making major purchases.
Reliability and realism
Q6: Is a DIY home energy approach actually realistic?
It can be, depending on your expectations and goals. The presentation helps you understand the concept and what a DIY approach involves so you can make a grounded decision.
Household practicality
Q7: What if my family won’t follow a complicated plan?
Keep it simple: one thermostat schedule, one standby-power zone, and a short power priority list. Consistency beats complexity.
Avoiding overwhelm
Q8: I’ve researched this before and got overwhelmed—how do I keep it simple?
Return to the framework: what matters most, basics first, next layer second. Don’t add new projects until the previous step feels “normal.”
Mini Summary + Action Plan
If Electric Rates Are Rising—Here’s the DIY Plan That Makes Hikes Hurt Less, here’s your calm action list:
Identify your top 3 energy drains from bills + daily routines
Do the cheap efficiency wins first (filters, sealing, thermostat schedule)
Cut standby power in one zone (living room or office)
Maintain progress with monthly reminders (filters, quick draft checks)
Keep it steady with small habit locks (full loads, sensible schedules)
Add the “next layer” by writing a power priority list (must-run items)
Explore deeper DIY energy options only after you have clarity and order
Simple beats complicated—especially when you want results you can stick with.
Conclusion
When Electric Rates Are Rising—Here’s the DIY Plan That Makes Hikes Hurt Less, the win isn’t a perfect setup—it’s having a steady plan you can actually follow.
Picture the next bill arriving and you already knowing you’ve tightened the easy leaks, set realistic schedules, reduced wasteful standby power, and mapped out what you’d prioritize if rates jump again or the power flickers out. That’s not hype—just calm preparedness.
If you want to see a structured walkthrough of a DIY home energy approach, the next helpful step is to watch the Energy Revolution System presentation. You can simply review how it works, what’s included, and whether it fits your home and comfort level.
SEE THE FULL PRESENTATION HERE