

The lights flicker… then everything goes quiet.
Your Wi‑Fi drops. The fridge stops humming. Phone battery suddenly matters. And you find yourself doing that mental math: How long will this last—and what do I actually need to keep running?
If you’ve ever felt that “I should probably be more prepared” nudge during a storm, heat wave, or random grid outage, you’re not alone. The good news: you don’t need an expensive, complicated setup to be calmer the next time it happens.
One Big Idea: Basics first, upgrades second.
In this guide, you’ll learn:
- How to prioritize power so you’re not trying to run “everything”
- A simple step-by-step plan for building flexible DIY backup power options
- How common approaches compare (so you can pick what fits your space and budget)
Next: a quick reality check so you can stop overthinking and start planning.
Quick Reality Check
Blackouts are common because modern power systems are stretched thin—and your home is more dependent on electricity than ever. Even short outages can feel bigger than they “should,” because so many everyday essentials now require a plug, a router, or a charger.

A few familiar scenarios:
- A storm knocks out power and cell service gets spotty from network overload
- A summer heat wave triggers rolling outages or local transformer failures
- A winter cold snap pushes demand high and your neighborhood goes dark
If you’ve been meaning to prepare but didn’t know where to start, that’s normal.
You’re not behind—you just need a simple plan.
The Core Framework
When people prepare for blackouts without getting overwhelmed, they usually follow the same three-part framework:
What matters most (the key variables)
You don’t “need power.” You need power for specific outcomes—food safety, communication, lighting, basic comfort.
Key variables that decide your best setup:
- Watts vs. watt-hours (what you can run and for how long)
- Portability (do you need to move power room-to-room?)
- Fuel/charging access (sunlight, gasoline access, or none)
- Noise and indoor safety (a big one people ignore)
- Skill level (simple plug-and-play vs. DIY build)
The basics (core actions)
Most “prepared” households don’t do anything fancy. They:
- Identify critical devices
- Reduce demand
- Add a simple backup method for charging and light
The next layer (the upgrade people skip)
The upgrade isn’t “buy a bigger thing.” It’s:
- Building redundancy (two smaller options beat one perfect option)
- Having a written load plan (so you don’t guess during a blackout)
- Knowing how to keep a small system topped up (so it’s ready)
Example: a small battery unit for Wi‑Fi/phones + a separate option for a fridge is often easier than trying to power the whole house.
Example: a compact solar charging setup for daylight + a battery overnight keeps things simple.
Next: let’s turn that framework into a straightforward, beginner-friendly plan.
The Step-by-Step Plan (Beginner’s Guide)
This is a practical “doable in a weekend” approach to Blackouts? Here’s How People Prepare With Simple DIY Power Options—without turning your garage into a science project.
Step 1: Define your “must-run” list (not your wish list)
In a blackout, stress comes from uncertainty. A must-run list removes that. It also prevents you from buying the wrong gear—because backup power is sized to your loads, not your hopes.
Start by thinking in categories: communication, food safety, basic lighting, medical needs (if any), and minimal comfort.
Checklist
- Phone charging (USB)
- Basic lighting (LED, headlamps)
- Internet/communication (router/modem, hotspot, radio)
- Food safety (fridge/freezer needs)
- Any medical or mobility device you can’t go without
- A single “comfort” item (fan, small heater if appropriate, blanket, etc.)
Do this now: Write down your top 5 devices you’d regret losing power for tonight.
Step 2: Learn the two numbers that stop expensive mistakes
You don’t need to become an electrician. But understanding two basics saves you from underpowered systems or wasted money:
- Watts (W): how much power something needs while running
- Watt-hours (Wh): how much energy you have stored (how long it lasts)
A device might run at 100W, but if you run it for 5 hours, that’s ~500Wh.
Checklist
- Look for wattage on the label/brick (or the device manual)
- For chargers: note if they’re USB, AC plug, or DC
- List estimated run time you want for each item
- Add a small buffer (real life isn’t perfect)
- Identify “startup surge” devices (some motors need extra during start)
Do this now: Pick one key device (like your router or fridge) and find its watt rating.
Step 3: Build your “Tier 1” blackout kit (fast, low-cost, high-impact)
Tier 1 is what makes the next outage feel manageable—even if it’s short. This is where most people should start, because it covers the basics: light, phone power, and information.
Checklist
- LED flashlights + extra batteries (or rechargeable)
- Headlamps (hands-free matters)
- Power banks for phones/tablets
- Car charger cables (USB)
- Battery-powered or hand-crank radio
- Printed list of emergency contacts + local info
- Extension cords/power strips (quality matters)
Do this now: Set one “blackout bin” and put all charging + lighting gear in one place.
Step 4: Add a “Tier 2” option for longer outages (battery + recharge plan)
Tier 2 is where you stop worrying about hours and start thinking about days. The key is not just a battery—it’s having a way to recharge or rotate power.
This is also where simple DIY power options can shine: modular, scalable, and easier to tailor to your home.
Checklist
- Decide what you want Tier 2 to handle (router + lights? fridge too?)
- Choose your recharge method (solar, car, generator, swap batteries)
- Plan where you’ll place it (ventilation, accessibility, dry storage)
- Create a simple rotation: charge-ready-check monthly
- Keep a written “run schedule” for bigger loads (like a fridge)
Do this now: Choose one Tier 2 goal: “communication + light for 24 hours” or “fridge support” (not both yet).
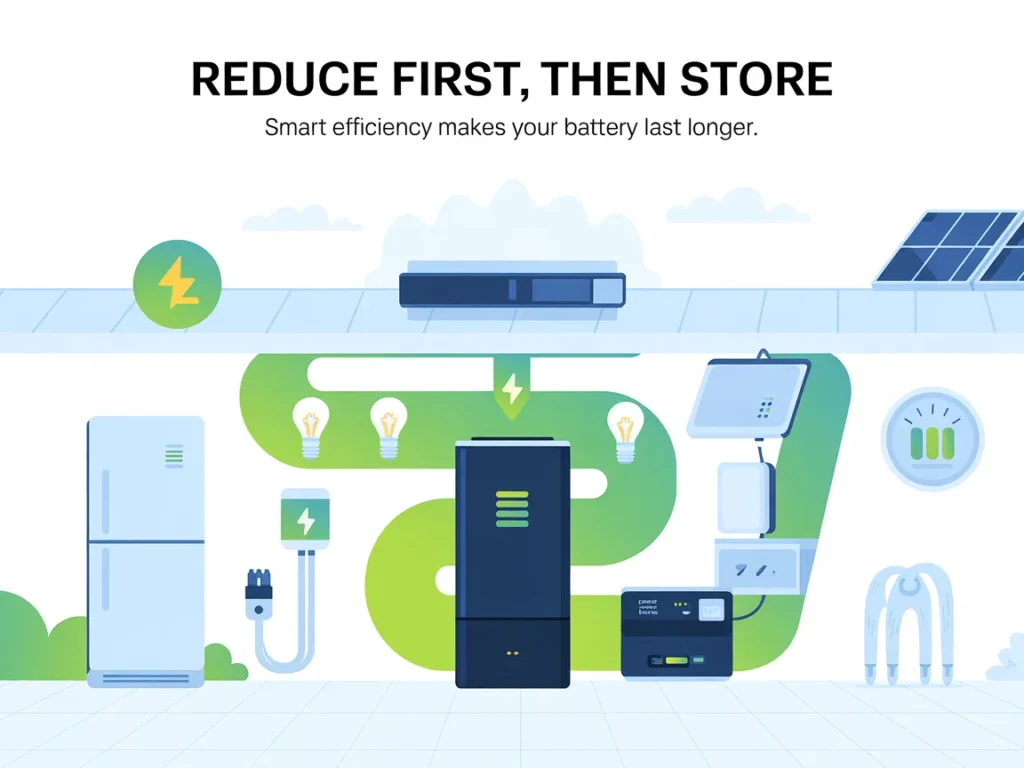
Step 5: Reduce demand so your backup feels bigger
The easiest “power upgrade” is using less power. That makes any DIY backup system last longer.
This isn’t deprivation—it’s smart prioritizing.
Checklist
- Swap to LED bulbs (if you haven’t)
- Use task lighting instead of lighting whole rooms
- Keep fridge/freezer closed; use a thermometer
- Pre-freeze water bottles to stabilize freezer temperature
- Use laptops on low-power mode instead of desktops
- Turn off non-essentials at the power strip
Do this now: Pick two rooms and set a “blackout lighting plan” (one lamp/one headlamp).
Step 6 (Optional): Write your blackout “playbook” on one page
When the power goes out, your brain gets noisy. A one-page plan is calm.
Checklist
- Where the blackout bin lives
- What gets charged first (phones, radio, lights)
- What runs on battery vs. what waits
- A simple schedule for high-draw devices
- Who to check on (neighbors/family)
- Your most important account logins stored safely offline
Do this now: Write a 5-line checklist you can tape inside a closet door.
Next: avoid the mistakes that make people feel like “backup power doesn’t work.”
Common Mistakes
- Trying to power the whole house
- Why it happens: It feels like the goal is “normal life,” so people oversize fast.
- Simple fix: Pick a small critical-load list first, then expand only if it’s truly needed.
- Ignoring run time and focusing only on “watts”
- Why it happens: Watt ratings are easier to find than real-world duration.
- Simple fix: Estimate watt-hours and build around how many hours you want.
- Overlooking surge/startup needs
- Why it happens: Many appliances don’t advertise their startup draw clearly.
- Simple fix: Research surge needs for motor-driven items and plan buffer capacity.
- Buying gear without a recharge plan
- Why it happens: A battery feels like “solved,” until it’s empty.
- Simple fix: Decide how you’ll recharge (solar/car/rotation) before you commit.
- Storing everything in different places
- Why it happens: You gather items over time and they end up scattered.
- Simple fix: Centralize into one bin and label it clearly.
- Waiting until the outage to test
- Why it happens: People assume it’ll work when needed.
- Simple fix: Do a short “practice outage” for 30–60 minutes so you know what’s missing.
Options Comparison
Below are five practical approaches people use for blackout preparation. None is perfect. The best choice depends on your home, your comfort level, and how long outages typically last where you live.
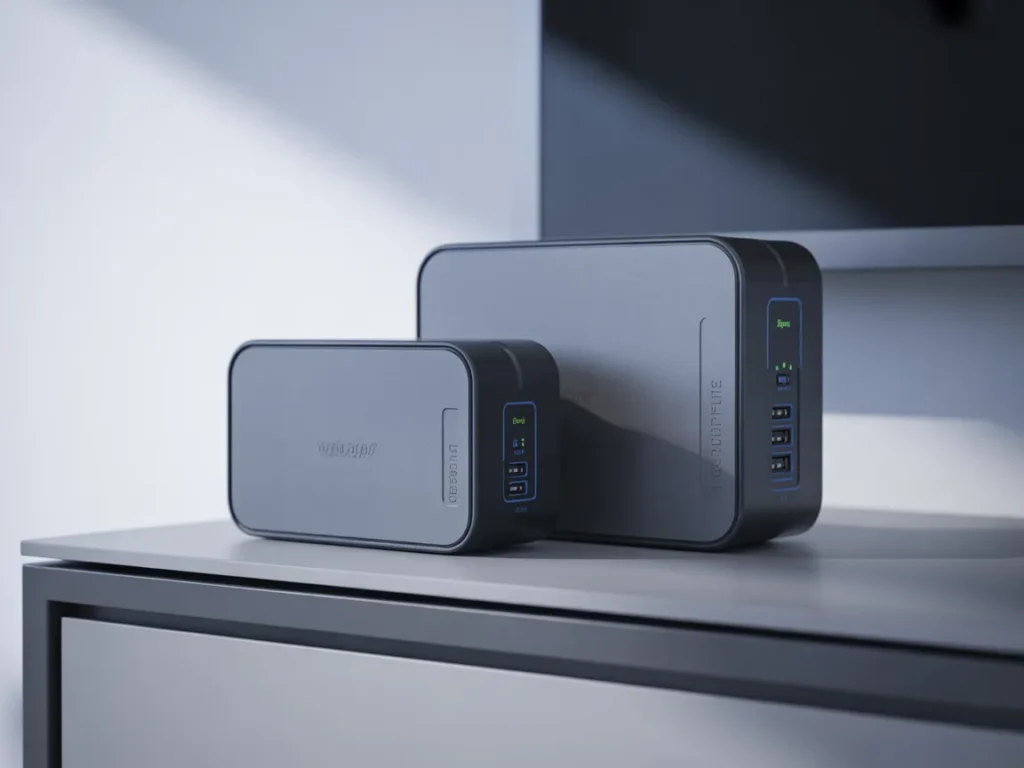
1) Portable power station (battery “box”)
Best for: Renters and homeowners who want simple plug-and-use backup.
Pros
- Quiet and easy to operate
- Great for charging phones, lights, router, small devices
- No fuel storage needed
- Easy to move room-to-room
Cons
- Limited run time for big appliances
- You still need a recharge plan (solar/car/wall)
2) Gasoline/propane generator
Best for: Longer outages and higher power needs (within safe-use limits).
Pros
- Can run larger loads if sized correctly
- Refueling can extend run time
- Widely available options
Cons
- Noise and maintenance
- Fuel storage considerations
- Must be used safely (never indoors)
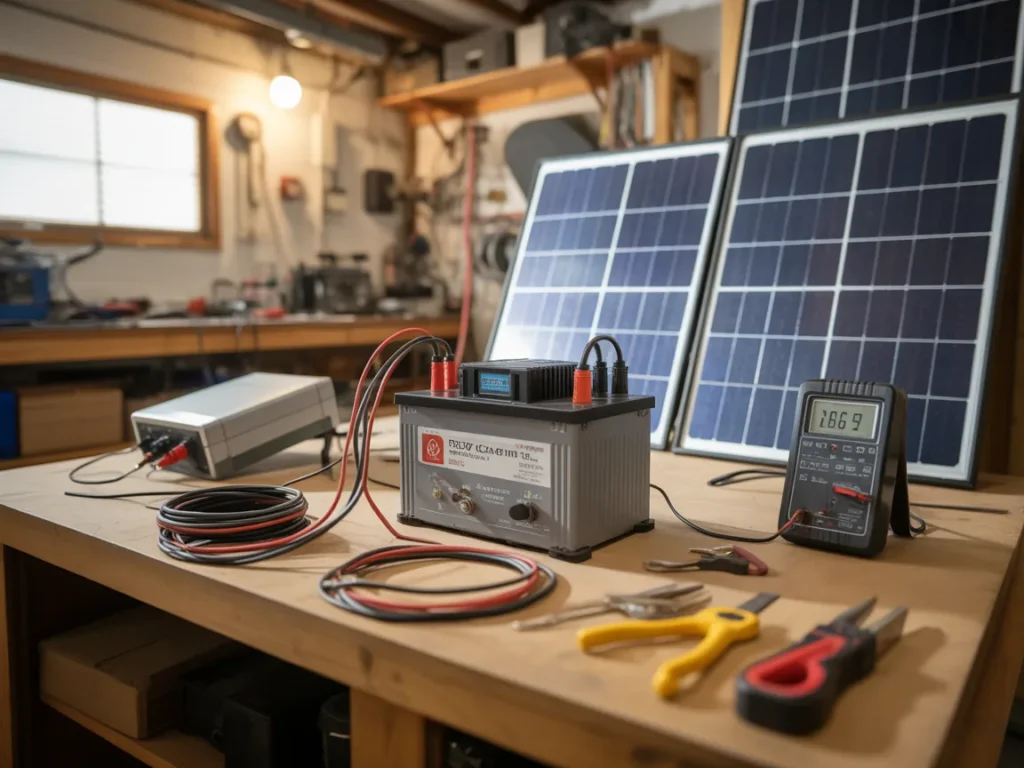
3) DIY battery + inverter setup
Best for: DIY enthusiasts and budget-focused homeowners who want flexibility.
Pros
- Modular and customizable
- You can scale capacity as needed
- Often a strong “value per capacity” route if done smartly
Cons
- Requires careful planning and safe wiring
- More decision points (battery type, inverter size, cables)
- Not as plug-and-play for beginners
4) Solar generator / solar charging kit
Best for: People who want a renewable recharge option for small-to-medium loads.
Pros
- Helps you recharge during extended outages
- Quiet and low-maintenance
- Useful for camping/outdoor use too
Cons
- Sun-dependent
- Panel placement and charging speed vary
- Bigger needs require more panel capacity
5) Home standby system (whole-home style)
Best for: Homeowners wanting high convenience and automatic power switching.
Pros
- Seamless operation during outages
- Can support more of the home depending on design
- Minimal day-to-day effort after installed
Cons
- Higher complexity and installation requirements
- Not necessary for many households’ critical needs
- Planning and permitting may apply
Which option should you pick?
If you’re a homeowner who wants calm, reliable basics without overbuilding, start with a Tier 1 kit and then choose one Tier 2 path based on your constraints: battery-first for quiet simplicity, generator for larger loads, or solar-assisted charging if extended outages are common and you want renewable flexibility. If you’re budget-conscious, a carefully planned DIY approach can be appealing—just make sure safety and clarity come first.
Next: a resource some people use when they want a clearer walkthrough of a DIY-style approach.
SEE THE FULL PRESENTATION HEREResources
If you’ve been reading this thinking, “I get the idea, but I’d like to see a complete build-style walkthrough,” you may like the Energy Revolution System presentation.
It’s positioned as a guide that walks through a DIY approach to creating your own power option—so you can understand what it entails before you decide whether it’s for you.
Even if you don’t buy anything afterward, watching a structured presentation can help you tighten your plan: what to prioritize, what the setup involves, and what “simple” can look like when it’s explained step-by-step.
You’ll see how it works, what’s included, and whether it fits your situation.
SEE THE FULL PRESENTATION HERE
In the presentation, you’ll see:
SEE THE FULL PRESENTATION HEREFAQ
This sounds technical—does blackout prep have to be complicated?
No. For most homeowners, the biggest wins come from basics: a must-run list, a charging plan, and simple lighting and communication backup.
Is this beginner-friendly if I’m not “handy”?
Yes—if you start with Tier 1 and move up slowly. You can still plan smartly without building anything complex.
How long does it take to get a simple plan in place?
You can assemble a Tier 1 blackout kit in an afternoon if you already have a few essentials. Tier 2 takes longer because you’re matching power to your needs.
Do I need special tools to start?
Not for the basics. The first steps are inventory, planning, and organizing gear you may already own.
Will a DIY power option run my whole home?
Most “simple DIY power options” are best for critical loads, not everything. The goal is comfort and continuity for essentials.
What if I live somewhere with only occasional outages?
That’s still a good reason to prepare. Short outages are often the most frustrating because they catch you off guard.
Should I focus on the fridge or the internet first?
If you work from home, internet/charging may be your first priority. If outages tend to last longer, fridge/freezer planning matters more. Basics first, upgrades second.
Is it wasteful to buy gear I might not use?
Choose items with everyday usefulness: power banks, LED lights, rechargeable batteries, and portable charging can help year-round, not just during blackouts.
Mini Summary + Action Plan
- Identify your must-run list (phones, lights, router, food safety)
- Learn watts and watt-hours so you size backup power realistically
- Build a Tier 1 blackout kit you can grab fast
- Do a quick monthly check: charge, test, and restock batteries
- Run a short practice outage so you’re not guessing later
- Add a Tier 2 plan for longer blackouts (battery + recharge method)
- Create redundancy: two smaller safe options often beat one “perfect” setup
The calm approach is simple: Basics first, upgrades second.
Conclusion
Blackouts don’t have to be dramatic to be disruptive. And preparing doesn’t have to mean expensive gear or a complicated install.
If you follow the “Basics first, upgrades second” approach, you’ll know exactly what you’re trying to power, how long you need it, and which simple DIY power options actually fit your home. That’s the difference between scrambling in the dark and moving through an outage like it’s just an inconvenience.
If you want to see a structured walkthrough that explains a DIY-style approach in one place, the Blackouts? Here’s How People Prepare With Simple DIY Power Options mindset pairs well with the Energy Revolution System presentation.
SEE THE FULL PRESENTATION HERE