

You buy a few jugs. Maybe a couple of “water bricks.” You tuck them in a closet or garage… and then you avoid thinking about them.
Because once you do, the questions start:
Is this enough water storage for my family?
Will the plastic make it taste weird?
What if it leaks and ruins the floor?
How long before it goes “bad”?
Where do I even put it all?
If that’s you, you’re not alone. Most people don’t fail at water storage because they’re lazy—they fail because they’re guessing. And guessing leads to waste, clutter, and a false sense of security.
This article gives you a clear, beginner-friendly plan to stop guessing about water storage: the safe, simple system that prevents waste, leaks, and “bad” water.
One Big Idea: Simple beats complicated.
Here’s what you’ll learn:
- What actually matters most in safe water storage (so you don’t overbuy or underprepare)
- A step-by-step setup you can do without turning your home into a warehouse
- The common mistakes that cause leaks, funky taste, and last-minute panic
Next: a quick reality check that will make you feel instantly less behind.
Quick Reality Check
Water storage feels “simple”… until you try to do it correctly.
Unlike buying batteries or canned food, stored water can be ruined by small choices—container type, heat exposure, sealing, or forgetting to rotate. Most people never get taught a system, so they patch together random advice and hope it works.
Common scenarios I see:
- You store water “somewhere,” then realize you can’t access it quickly (or it’s in the way)
- You buy containers that seem solid, then end up with leaks or strange odor/taste
- You store a little, but you’re never sure if it’s enough—or if it’s even safe
You’re not behind—you just need a simple plan.
Next: the core framework that makes water storage feel straightforward again.
The Core Framework
If you want to stop guessing about water storage (and avoid waste, leaks, and “bad” water), you only need three things clear.
What matters most
These are the variables that decide whether stored water stays usable:
- Container choice (food-grade, sealed, durable)
- Storage conditions (temperature, light, placement)
- Access + rotation (can you use it and replace it without a hassle?)
When those are right, water storage becomes calm and predictable.
The basics
The fundamentals are surprisingly unglamorous—and that’s good:
- Choose a reliable container style
- Store it in a stable spot
- Label it and rotate it on a schedule
The “next layer” most people skip
People often stop at “I have containers.” The next layer is what prevents the classic problems:
- A repeatable system (so you don’t forget what you did)
- A setup that reduces spills and leaks
- A method to keep water from turning stale or questionable
Example: Two families may store the same amount of water. One can actually use it quickly and confidently; the other has scattered jugs, unknown dates, and a “maybe it’s fine” feeling.
Example: The difference between a pile of containers and a storage system is access, labeling, and an easy rotation habit.
Next: a practical, step-by-step plan you can follow without overthinking.
The Step-by-Step Plan (Beginner-Friendly Guide)
This is a simple beats complicated approach. You’re building a system you can maintain—not a one-time project you dread revisiting.
Step 1: Set a clear target (without overbuying)
Most water storage waste happens when people either (a) stock random amounts or (b) buy too much of the wrong thing and then can’t store it properly.
Start with a target that matches your household and space. The goal is clarity: you should know what you have and where it is.
Checklist:
- Write down how many people you’re storing water for
- Decide where water can realistically fit (closet, basement area, garage corner, pantry)
- Choose “starter storage” vs. “expanded storage” levels
- Plan for easy access, not just total volume
- Avoid stacking in areas where leaks would cause damage
Do this now: Write your household number + one realistic storage location you can commit to.
Step 2: Choose container types you can trust
This is where a lot of “bad water” problems begin: the wrong container, the wrong seal, or containers that don’t hold up over time.
A good storage container is designed for storing water, sealing well, and being handled without drama. Convenience matters here—if it’s a pain to move or fill, you won’t maintain the system.
Checklist:
- Prioritize food-grade containers made for water storage
- Choose sizes you can lift and move safely
- Check for secure caps/seals
- Avoid containers that are hard to clean or impossible to inspect
- Plan for how you’ll dispense the water when needed
Do this now: Pick one container style you’ll standardize on (even if you start small).
Step 3: Store it where it stays stable and usable
Temperature swings and sunlight aren’t your friends. Neither is storing water in a place you never want to go—or a spot you constantly have to move stuff away from.
Your setup should reduce risk and friction: stable placement, minimal disturbance, and easy reach when you need it.
Checklist:
- Choose a spot away from direct sunlight
- Keep water away from heat sources
- Store off floors where minor flooding could be an issue (if possible)
- Keep containers where you can see and access them
- Avoid “high-traffic bump zones” where containers get knocked
Do this now: Identify one “stable zone” where your water can live without being moved weekly.
Step 4: Label and rotate so you never wonder if it’s “still good”
The #1 reason people distrust their stored water is simple: they don’t remember when they stored it or what container it’s in.
Rotation doesn’t have to be complicated. You’re just creating a repeatable habit that keeps your water storage fresh and confidence high.
Checklist:
- Label each container with fill date
- Use a consistent marker or label system
- Set a recurring reminder to check your stored water
- Rotate by using older water first for normal household needs (when appropriate)
- Keep a simple list of how many containers you have and where they are stored
Do this now: Put a calendar reminder for a quick “water check” day.
Step 5: Build a “no-leak, no-stress” handling routine
Leaks often happen during filling, moving, stacking, or when caps aren’t sealed consistently. The simplest way to stop that is to create a routine you follow every time.
This isn’t about paranoia—it’s about a calm process you trust.
Checklist:
- Inspect containers and caps before filling
- Fill on a surface where spills won’t cause damage
- Tighten caps consistently (don’t cross-thread)
- Avoid overstacking or unstable piles
- Keep a towel/bin nearby during setup so you’re not scrambling
Do this now: Decide where you will fill and stage containers so you can work cleanly.
Step 6: Create a “use plan” for normal life and emergencies
Stored water shouldn’t just sit there as a mystery supply. You want a simple plan for how it will be used—whether it’s for drinking, cooking, or basic sanitation.
This helps you store smarter because you’ll know what “access” really means for your household.
Checklist:
- Decide how you’ll pour/dispense without making a mess
- Keep basic supplies nearby if needed (clean pitcher, cups, etc.)
- Make sure everyone in the home knows where the water is
- Keep your storage area uncluttered
- Review your plan once in a while so it stays familiar
Do this now: Tell one other person in your home where the water is and how to access it.
Next: the mistakes that quietly ruin good intentions—so you can skip them.
Common Mistakes
Buying random containers without a system
Why it happens: People grab what’s available and assume “water is water.”
Simple fix: Standardize on a container type and a storage location so everything stays organized.Storing water in harsh conditions
Why it happens: Garages and sheds are convenient, but conditions can be rough.
Simple fix: Choose the most stable spot you have, away from heat and light when possible.No labels, no dates, no confidence
Why it happens: Labeling feels optional—until months pass and you forget.
Simple fix: Label each container the moment you fill it and set a rotation reminder.Stacking or placing containers where leaks cause damage
Why it happens: We use whatever space is “empty,” like near finished floors or valuables.
Simple fix: Pick a storage zone where a minor leak isn’t catastrophic and keep it tidy.Making the setup too heavy or hard to move
Why it happens: Bigger seems better… until you have to lift it.
Simple fix: Use sizes you can safely handle so you’ll actually maintain your water storage.Assuming you’ll “figure out dispensing later”
Why it happens: People focus on storing, not using.
Simple fix: Decide now how you’ll access and pour water cleanly so it’s practical when needed.
Options Comparison
There are multiple ways to stop guessing about water storage. Here’s a neutral comparison so you can pick what fits your home and lifestyle.
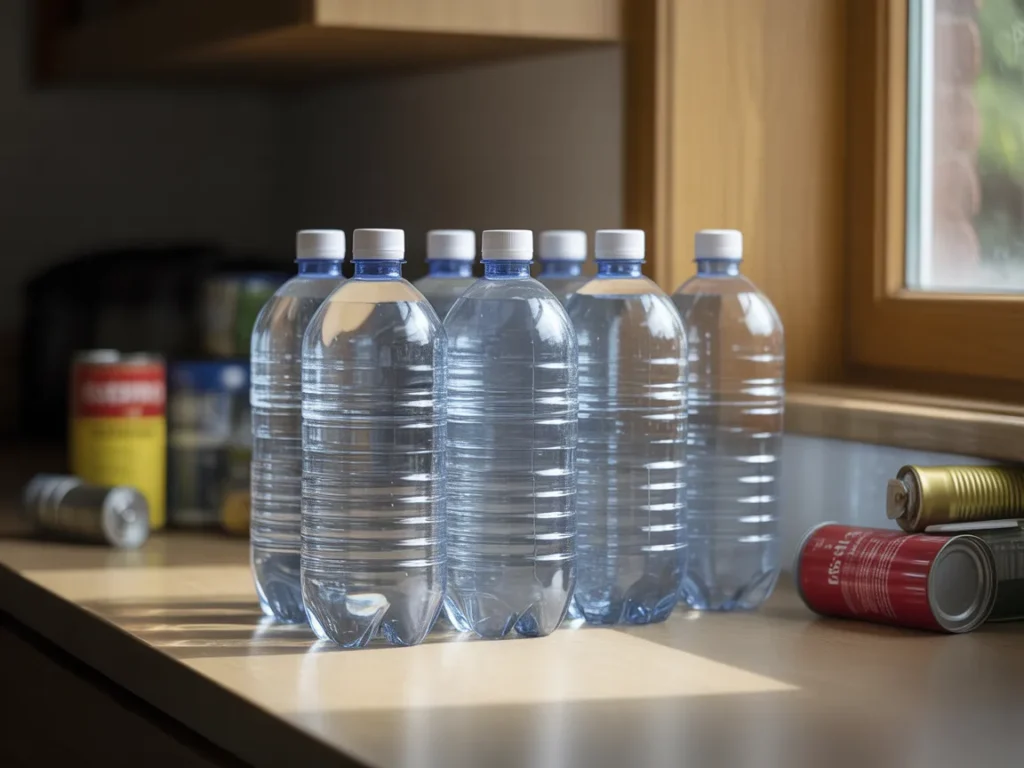
Option 1: Individual bottled water cases
Best for: Quick start, minimal planning, short-term convenience
Pros:
- Easy to find almost anywhere
- Simple to transport
- No filling required
Cons: - Can create clutter fast
- Hard to organize as a “system”
- Rotation can be inconsistent
Option 2: Reusing household containers (varies widely)
Best for: Budget-first approach with careful container selection
Pros:
- Low cost upfront
- Flexible sizes
- Can work if done carefully
Cons: - Not all containers are suitable for storage
- Seal reliability varies
- Can contribute to “bad water” worries if you’re unsure
Option 3: Large store-bought water storage containers
Best for: People who want a dedicated, standardized setup
Pros:
- Designed specifically for holding water
- Easier to label, store, and rotate
- More confidence than random containers
Cons: - Requires space planning
- Moving and filling can take effort
Option 4: A home-based water storage system approach
Best for: Families and homeowners who want a repeatable method
Pros:
- Focuses on consistency and organization
- Helps prevent waste and confusion
- Easier to maintain over time
Cons: - You need to follow a process
- Requires a little setup thinking upfront
Option 5: Learning from a dedicated walkthrough/training
Best for: Self-sufficiency seekers who want clarity before buying or building
Pros:
- Helps you avoid beginner mistakes
- Gives you a clear plan you can follow
- Can make your setup feel “done,” not experimental
Cons: - You still need to implement it
- You’ll want to compare it to your space and needs
Which option should you pick?
If you’re a self-sufficiency seeker (and you want to stop guessing about water storage: the safe, simple system that prevents waste, leaks, and “bad” water), choose the option that you can actually maintain. If you have limited space, favor organization and access over sheer volume. If your budget is tight, standardizing your approach matters more than buying fancy gear. If you’re DIY-minded, a clear walkthrough can save you from trial-and-error.
Next: a gentle, practical way to see one complete system laid out.
Resources
If you’ve been piecing together advice from forums, videos, and product labels, it’s easy to end up with clutter instead of confidence.
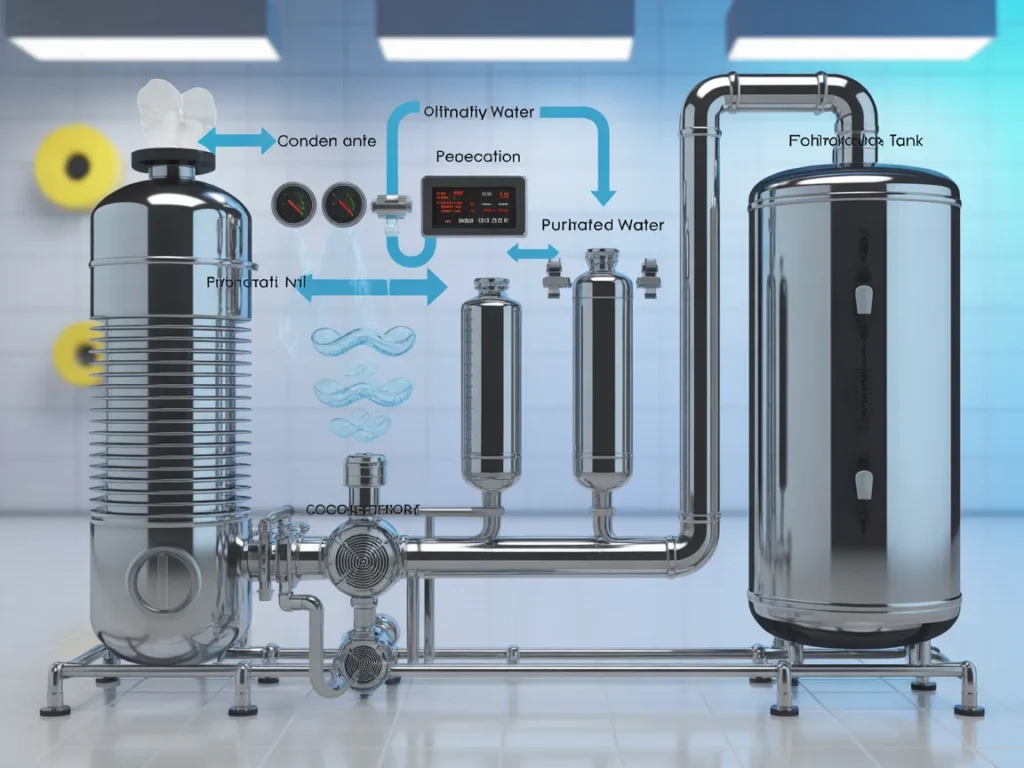
The Aqua Tower presentation is a helpful next step because it walks through a specific approach to water storage in a clear, system-style way—so you can see how it’s designed to help prevent waste, leaks, and water that ends up questionable.
Even if you don’t buy anything, it can be useful to watch because you’ll come away with a better sense of how a complete setup is structured—what matters, what to avoid, and how the pieces fit together in real life.
You’ll see how it works, what’s included, and whether it fits your space and your comfort level.
SEE THE FULL PRESENTATION HERE
If you want to stop guessing and see a complete water storage setup explained end-to-end, the presentation is the simplest “next step” before you change what you’re doing at home.
In the presentation, you’ll see:
- How the Aqua Tower approach is structured as a water storage system
- How it’s designed to help prevent waste, leaks, and “bad” water concerns
- What’s included so you can decide whether it fits your home and goals
FAQ
Fit and practicality for self-sufficiency seekers
Is this beginner-friendly if I’ve never set up water storage properly?
Yes—what you want is a clear system you can follow, and the Aqua Tower presentation is designed to show how the approach works step by step.
Do I need special tools or technical skills?
The focus is on a practical home water storage setup, not a complex technical project.
Will this work if I live in a smaller home or apartment?
A system approach is especially helpful in small spaces because it prioritizes organization and access over clutter.
Time and effort concerns
How long does it take to get a basic setup in place?
With a simple plan, you can start small and build up; the presentation helps you see the structure so you’re not reinventing it.
What if I don’t want a big “project”?
That’s the whole point of simple beats complicated—aim for a maintainable setup you can keep consistent.
Water quality and “bad water” concerns
How do I avoid water tasting strange or feeling questionable later?
It comes down to the right containers, storage conditions, and rotation; the presentation is useful because it frames these as a system rather than random tips.
What if I’m worried about leaks damaging my home?
Leak prevention is largely about container choice, placement, and handling routines—areas a structured approach can clarify.
Decision comfort
Do I have to decide anything before watching?
No—watching is a low-pressure way to understand how the Aqua Tower approach is put together, then decide what (if anything) you want to do next.
Mini Summary + Action Plan
Here’s the simple plan to stop guessing about water storage: the safe, simple system that prevents waste, leaks, and “bad” water:
Choose a realistic target based on your household and space
Standardize your containers so your setup stays consistent
Store water in a stable location away from avoidable heat/light issues
Label and date every container so you trust what you have
Set a simple rotation reminder so it never becomes a mystery supply
Add the “next layer”: a handling routine that reduces spills and leaks
Add the “next layer”: a use plan so access and dispensing are easy
Simple doesn’t mean small—it means repeatable. And in water storage, simple beats complicated every time.
Conclusion
When water storage feels stressful, it’s rarely because you’re incapable. It’s because you’ve been forced to guess—how much, what kind, where to store it, and how to keep it from turning into a leaky, questionable mess.
Stop guessing about water storage: the safe, simple system that prevents waste, leaks, and “bad” water starts with clarity, consistency, and a setup you can actually maintain. Picture a calm storage spot you can point to, labeled containers you trust, and a rotation habit that takes minutes—not mental energy.
If you want to see a complete approach laid out clearly, the Aqua Tower presentation is a practical next step. Watch it, take what’s useful, and decide from there.
SEE THE FULL PRESENTATION HERE