
You find a project you actually want to build—maybe a simple workbench, a storage shelf for the garage, or a piece of furniture that fits your awkward corner.
Then the plan hunt begins.
One “free plan” is missing measurements. Another has blurry diagrams. Another assumes you own a full professional shop. And after an hour of tabs, you’re not any closer—you’re just more unsure.
This guide gives you a calm, practical way to stop bouncing between random woodworking projects and start building with confidence.
One Big Idea: Clear plans beat clever plans.
Here’s what you’ll learn in the next few minutes:
- How to quickly tell if a woodworking plan will actually work before you buy materials
- A step-by-step method to choose (or adapt) the right DIY woodworking plan for your space and skill level
- The fastest path to getting a plan library you can pull from whenever inspiration hits
Next: a quick reality check so you know it’s not “just you.”
Quick Reality Check
Not finding the right woodworking plan is incredibly common—because most plans online are made for clicks, not for builds.

Even if you’re motivated, you can get stuck when the plan doesn’t match your situation.
Typical frustrations look like this:
- You find a cool piece, but the measurements don’t fit your room or shed
- The materials list is vague, or the cut list is incomplete
- The instructions skip the “obvious” steps that aren’t obvious when you’re a beginner
You’re not behind—you just need a simple plan.
Next: the framework that makes almost any project feel clearer.
The Core Framework
When a plan feels “right,” it usually nails three things. Miss one, and the build becomes guesswork.
What matters most (the key variables)
Before you commit to any woodworking plans, get clear on the variables that determine whether the plan will be smooth or stressful:
- Dimensions: the finished size and the critical interior/exterior measurements
- Joinery method: pocket holes vs. dados vs. screws vs. dowels (complexity matters)
- Material choice: plywood vs. hardwood vs. construction lumber changes everything
- Tool demands: a plan that assumes a table saw behaves differently than one built for basic tools
- Tolerance for “adjusting on the fly”: some projects are forgiving; others aren’t
The basics (core actions)
The basics are boring—but they prevent almost every “why doesn’t this fit?” moment:
- Measure the space first
- Confirm the cut list and material list before shopping
- Read the steps start-to-finish once before you cut anything
The “next layer” (the upgrade people skip)
This is where builds start looking clean and intentional:
- Build sequencing: knowing what must be assembled before sanding/finishing
- Jigs/templates: a simple guide can make repetitive cuts consistent
- Finishing plan: choosing finish based on use (shop, bedroom, outdoor) rather than looks alone
Example #1: A simple shelf plan might be “easy,” but if the joinery assumes you can cut perfect dados, it’s not beginner-friendly.
Example #2: A workbench plan may look straightforward, but if the cut list is incomplete, you’ll waste time and lumber doing corrections.
Next: let’s turn that framework into a step-by-step method you can use today.
The Step-by-Step Plan
(Style: Step-by-Step Tutorial — designed for DIY enthusiasts who want momentum without overwhelm.)
Step 1: Define the build in one sentence
If you can’t describe the build clearly, you’ll keep getting distracted by woodworking project ideas that aren’t actually right for your space.
Your one sentence should include the object, the purpose, and the size range.
Checklist:
- What are you building (bench, shelf, cabinet, table, etc.)
- What will it hold or do (storage, seating, work surface, display)
- Where will it live (garage, kitchen, patio, bedroom)
- Approximate size (width/height/depth range)
- Your “non-negotiable” (must fit a corner, must support weight, must be mobile)
Do this now: Write your one-sentence build description on paper before you open another tab.
Step 2: Set your “tool reality” and skill comfort level
A huge reason people can’t find the right woodworking plan is mismatch: the plan assumes tools and confidence you don’t have yet.
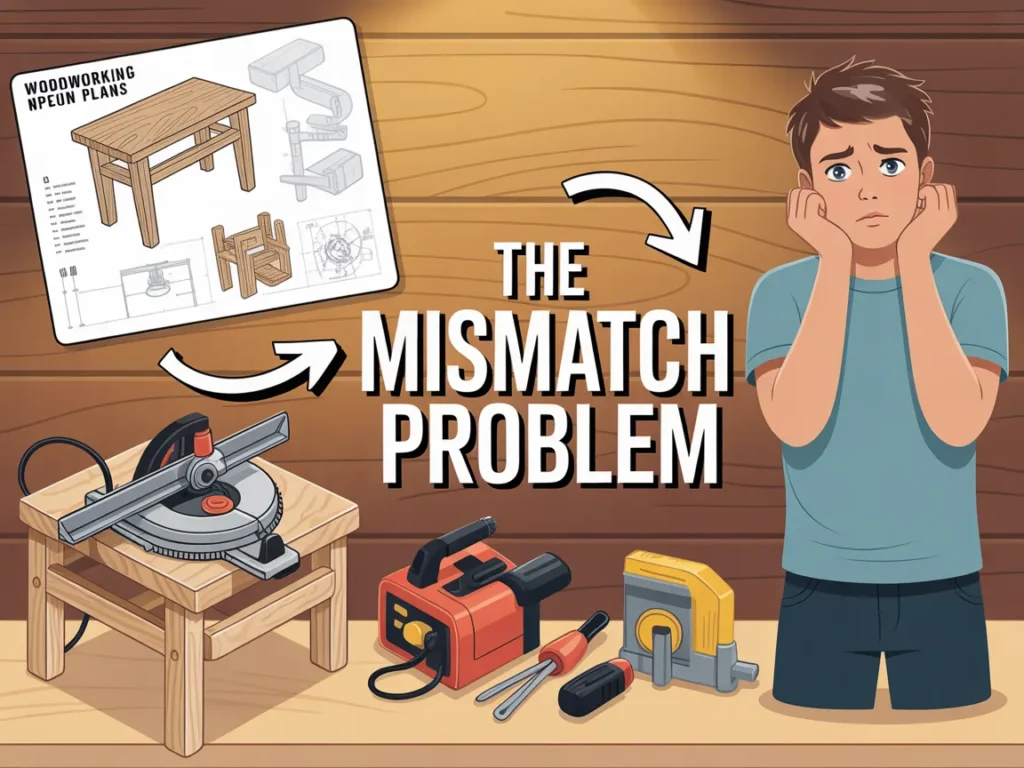
You don’t need to downgrade your dream project—you just need a plan that matches your current setup.
Checklist:
- Tools you actually have access to (drill, circular saw, miter saw, table saw)
- Whether you’re comfortable with pocket holes or prefer simple screw-and-glue
- Whether you can cut sheet goods cleanly (plywood projects depend on this)
- The most precise tool you own (or don’t)
- How much “learning while building” you want to do on this project
Do this now: Circle the joinery method you want for this build: simple screws / pocket holes / more advanced joinery.
Step 3: Screen plans fast using a 60-second checklist
You can save hours by quickly filtering out plans that will stall you halfway through.
A workable plan should make the “unknowns” obvious: measurements, materials, and steps.
Checklist (scan for these before committing):
- Clear finished dimensions (not just a photo)
- A complete materials list (with sizes/quantities)
- A cut list (or at least measurable parts)
- Diagrams or drawings that match the written steps
- Steps that don’t skip critical assembly order
- Notes on tools or skill level (even basic guidance helps)
Do this now: Reject any plan that doesn’t show finished dimensions upfront.
Step 4: Fit the plan to your space before you buy materials
Even great woodworking blueprints can fail if you force them into a space they weren’t designed for.
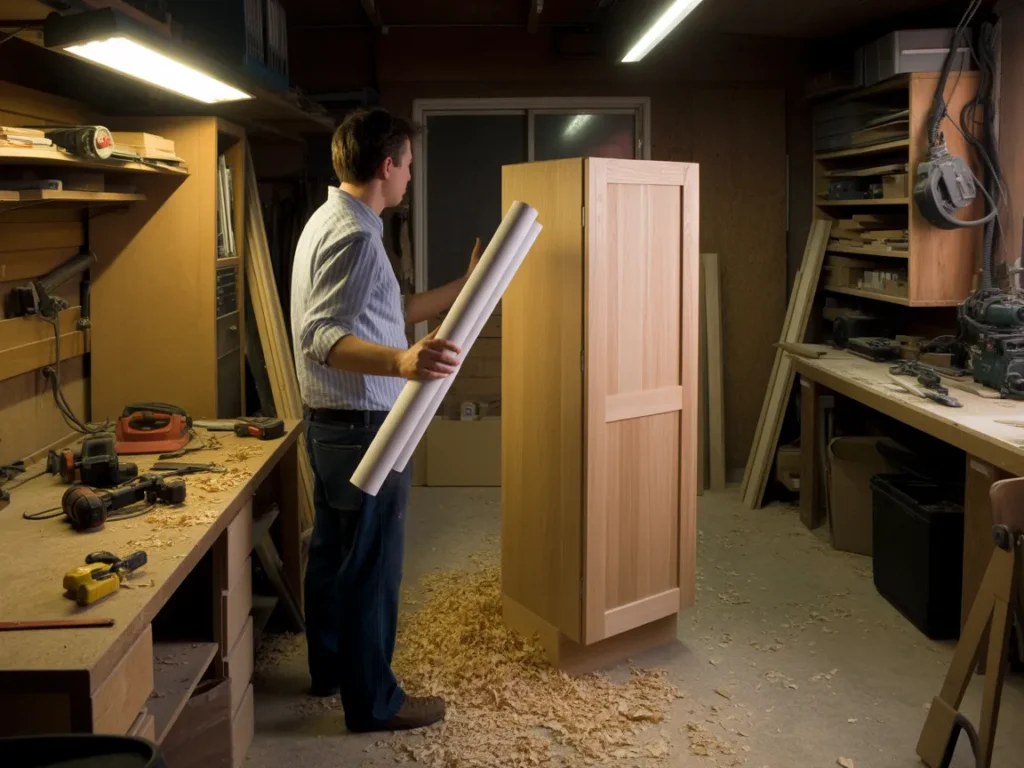
If you need to adjust a plan, keep the changes simple and controlled—don’t redesign everything.
Checklist:
- Measure the exact space (including trim, outlets, door swing, clearance)
- Decide what dimension can change safely (width is often easiest)
- Keep material thickness consistent (don’t swap 2×4 logic into 1x lumber without recalculating)
- Preserve structural parts (legs, stretchers, load-bearing panels)
- Sketch your modified dimensions and re-check them
Do this now: Measure the space and write the maximum width/height/depth you can’t exceed.
Step 5: Prepare your “no-surprises” build packet
This is how you go from “confident reading a plan” to “confident finishing a project.”
A build packet is just a printed or saved set of the essentials you’ll reference during the build.
Checklist:
- Printed plan or saved PDF with zoomable diagrams
- Highlighted cut list and materials list
- A simple build order note (1–6 steps in your own words)
- Marked “precision cuts” vs. “forgiving cuts”
- Finishing plan (sand grits, stain/paint, topcoat) based on use
Do this now: Make a one-page checklist you can keep in your shop while building.
Step 6 (optional): Build one “confidence project” first
If you’re stuck because every plan feels too big, build a small project that teaches the same skills.
That way, when you return to the main build, you’re not learning everything at once.
Checklist:
- Choose a small build with the same joinery style
- Use the same material type (plywood vs. solid wood)
- Practice the most important cut twice
- Practice one finishing step end-to-end
- Note what you’d do differently on the real project
Do this now: Pick a mini build you can finish in a single weekend to lock in the basics.
Next: the mistakes that quietly ruin good projects (and how to avoid them).
Common Mistakes
Choosing a plan based on photos only
Why it happens: A great-looking finished piece feels like proof the plan is good.
Simple fix: Require dimensions, a materials list, and readable diagrams before you commit.Underestimating precision cuts
Why it happens: Many DIY woodworking plans don’t clearly separate “must be exact” from “close enough.”
Simple fix: Identify the critical cuts (often anything that affects squareness or fit) and slow down there.Changing material thickness without recalculating
Why it happens: It’s tempting to “swap what you have” to save time.
Simple fix: Keep thickness the same unless you’re comfortable adjusting every dependent measurement.Skipping a full read-through of the plan
Why it happens: Motivation is high and you want to start cutting.
Simple fix: Read once without tools in hand; mark confusing steps before you begin.Building without a finishing plan
Why it happens: Finishing feels like a “later” problem.
Simple fix: Decide early if it’s paint, stain, or a protective topcoat based on how the piece will be used.Starting a complex build without a confidence win
Why it happens: You want the “real” project now.
Simple fix: Do one small woodworking project that practices the same joints or cuts first.
Next: let’s compare the common ways people try to solve the “right plan” problem.
Options Comparison
Option 1: Free plans from blogs and video descriptions
Best for: Quick inspiration and simple builds.
Pros:
- Easy to access
- Great for basic shop projects
- Often includes photos of progress
Cons:
- Quality varies wildly
- Missing cut lists or exact measurements is common
- Steps can assume experience
Option 2: Buying a single plan for one specific project
Best for: When you already know exactly what you want to build.
Pros:
- Focused on one outcome
- Often more detailed than free plans
- Less decision fatigue once chosen
Cons:
- If it doesn’t fit your space/tools, you’re stuck
- You may need multiple plans over time
- Hard to compare quality before you build
Option 3: Designing your own from scratch
Best for: Experienced builders or anyone who enjoys the design process.
Pros:
- Perfect fit for your space
- Total control over materials and style
- Skills compound over time
Cons:
- Slower up front
- Easy to miss structural details
- Requires confidence with measurements and joinery
Option 4: Using a woodworking plan collection/library
Best for: DIY enthusiasts who like having options ready when motivation hits.
Pros:
- Faster to find something that matches your space
- You can compare similar builds and pick the clearest plan
- Useful for building skills across many woodworking projects
Cons:
- You still need a method to choose the right plan
- Some collections are better organized than others
Option 5: Taking a class or learning directly from a mentor
Best for: People who want hands-on guidance.
Pros:
- Real-time feedback
- Faster correction of mistakes
- Builds confidence quickly
Cons:
- Scheduling and location constraints
- Not always aligned with the exact build you want
- Can be pricey or hard to access
Which option should you pick?
If you’re a DIY enthusiast who wants to build more than one project this year, a plan library can be the most practical—especially if you’re balancing time, budget, and a normal home workshop setup. If you only want one very specific build and already trust the designer, a single plan can work well. If you’re brand new, pairing simple plans with a repeatable screening method (like the one above) is usually the smoothest path.

Next: a resource that many DIYers use when they’re tired of hunting.
If you keep running into the same issue—plans that look good but don’t give you the full build path—it helps to see what a more structured woodworking plan library looks like.
One well-known option is Ted’s Woodworking, which presents a large collection of woodworking projects and plans in one place, along with guidance meant to make building more straightforward.
Even if you don’t buy anything, it can be useful just to watch the presentation and understand what’s included, how the plans are laid out, and whether that style of resource matches how you like to build.
You’ll see how it works, what’s included, and whether it fits you.
If you want to stop chasing random tabs and instead see a complete plan library approach laid out clearly, the presentation is a practical next step.
In the presentation, you’ll see:
- What’s included in the Ted’s Woodworking plan collection
- How the plans are structured to guide a build
- The types of woodworking projects you can choose from
Objection Handling FAQ
Fit and skill level
Is this beginner-friendly if I’m still learning woodworking basics?
The presentation explains what’s included and how the plans are meant to guide the build process, which can help you decide if it matches your current skill level.
Do I need a full workshop to use these kinds of woodworking plans?
Many DIYers build with basic home tools; the best next step is to review how the plans are laid out and what they assume so you’re not surprised mid-build.
Will this help if I keep finding plans with missing measurements or unclear steps?
That’s one of the main reasons people look for a more organized plan resource—so you can choose a plan that’s clearer from the start.
Time and overwhelm
How long does it take to pick a plan once you have a library?
It’s usually faster because you can compare multiple woodworking projects in one place instead of searching across random sites.
I get overwhelmed by too many project choices—what should I do?
Use the one-sentence build definition and the 60-second screening checklist from this article; it narrows your options quickly.
Tools and materials
Do I need special tools for most DIY woodworking projects?
Tool needs depend on the specific project; the presentation helps you see how projects are organized so you can gravitate toward builds that match your setup.
Can I build furniture projects even if I’m not great at complex joinery?
Yes—many furniture builds can be done with simpler joinery; the key is selecting plans that clearly match the method you want to use.
Getting the “right plan”
What if I still can’t find the exact build I want?
The fastest path is usually having many plan options plus a clear method for screening and adapting dimensions—so you’re not reinventing everything.
Mini Summary + Action Plan
Choose projects by fit first: define the build in one sentence and measure the space
Match the plan to your tool reality and joinery comfort level
Screen every plan with a 60-second checklist (dimensions, materials list, cut list, readable diagrams)
Keep momentum with a build packet (printed plan, highlighted cut list, build order notes)
Build consistency by doing one small confidence project when a larger build feels too big
Upgrade results with build sequencing (assemble/sand/finish in the right order)
Improve accuracy fast with simple jigs/templates and a clear finishing plan
Clear plans beat clever plans—and that’s what makes woodworking feel fun again instead of frustrating.
Next: wrap it up and choose your next step.
Conclusion
If you’ve been stuck in the loop of “almost the right plan,” you’re not alone—and you’re not doing anything wrong. The internet is full of woodworking plans, but only a small slice are truly build-ready for real garages, real tools, and real weekends.
Use the method above to filter faster, choose smarter, and finish more projects. And if the headline problem still hits home—Can’t Find the Right Woodworking Plan? Here’s the Fastest Way to Get the Exact Build You Want—then seeing a structured plan library presentation can help you decide what kind of resource will actually support how you like to build.
SEE THE FULL PRESENTATION HERE.