
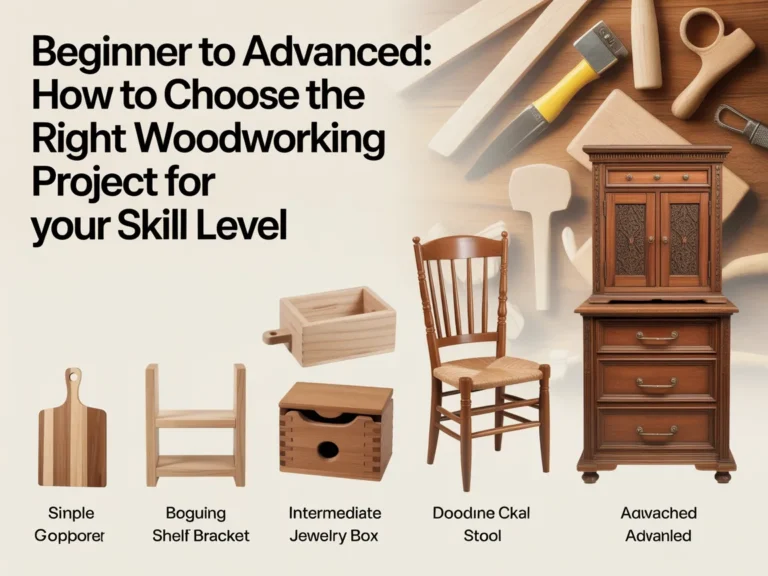
You walk into the shop (or clear a corner of the garage), excited to build something real… and then you freeze.
A simple shelf feels “too basic,” but a farmhouse table feels like a weekend-ruiner. You scroll projects, save a dozen ideas, buy a couple boards, and still don’t start—because you’re not sure what actually matches your current skill level.
That’s normal. Woodworking isn’t hard because you’re “not talented.” It’s hard because most people pick projects based on what looks cool, not what sets them up to win.
Basics first, upgrades second.
In this guide, you’ll learn a calm, practical way to choose the right build—whether you’re brand new or ready for more advanced joinery.
Here’s what we’ll cover:
- How to quickly match a project to your tools, time, and skill (without overthinking)
- A step-by-step method to choose a project that teaches you the right next skill
- Common mistakes that make beginner and intermediate builds feel “impossible”
Next: a quick reality check so you stop blaming yourself and start picking smarter projects.
Quick Reality Check
Most people struggle with choosing the “right” woodworking project because the internet shows the finished result—not the hidden complexity.
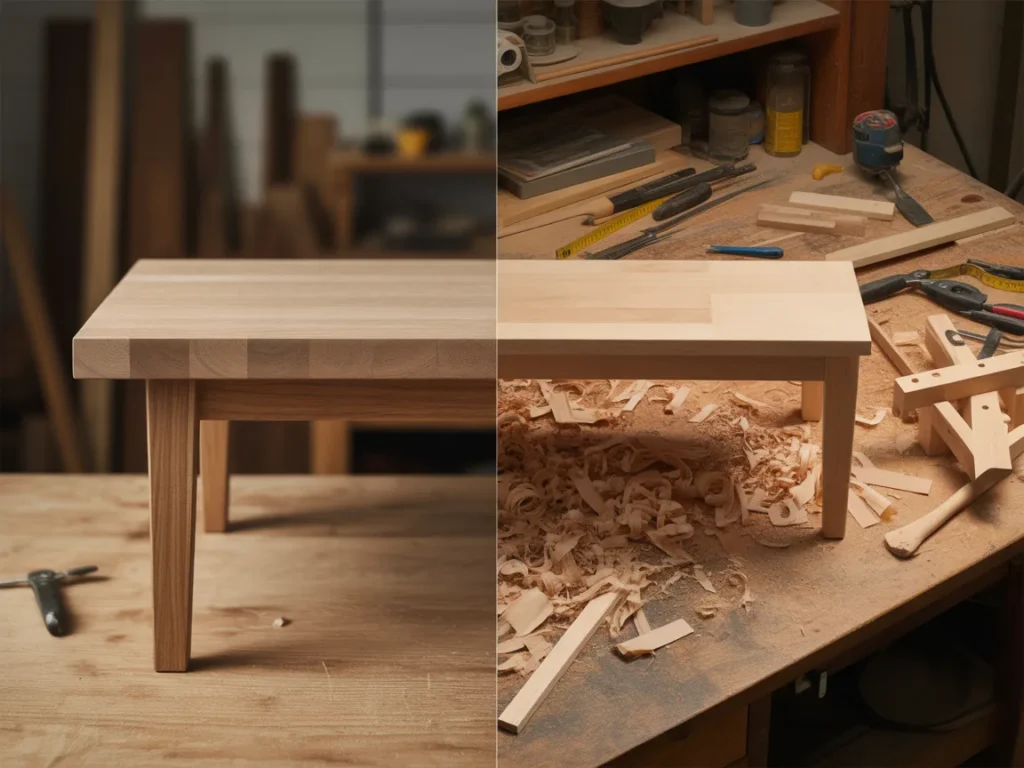
A project can look simple and still require advanced accuracy, special jigs, or experience fixing mistakes. And a project that looks impressive can be surprisingly beginner-friendly if it’s built from a clear plan.
Common signs you’re in the “wrong project” zone:
- You keep changing the design mid-build because you don’t know what’s essential
- You spend more time guessing measurements than actually cutting and assembling
- Your parts don’t line up, and you’re not sure if it’s your tools or your technique
You’re not behind—you just need a simple plan.
The Core Framework
When you’re deciding between projects (beginner to advanced), everything gets easier if you run one quick framework.
What matters most (key variables)
Before you fall in love with the finished photo, check these variables:
- Tolerance: How precise does it need to be to work well? (Drawers = tighter tolerance than a garden bench.)
- Joinery complexity: Butt joints vs. pocket screws vs. dados vs. mortise-and-tenon.
- Material behavior: Sheet goods are stable; solid wood moves and can twist if you fight grain.
- Tool demand: Can your current tools do it safely and accurately?
- Finish expectations: A painted project hides more than a clear finish.
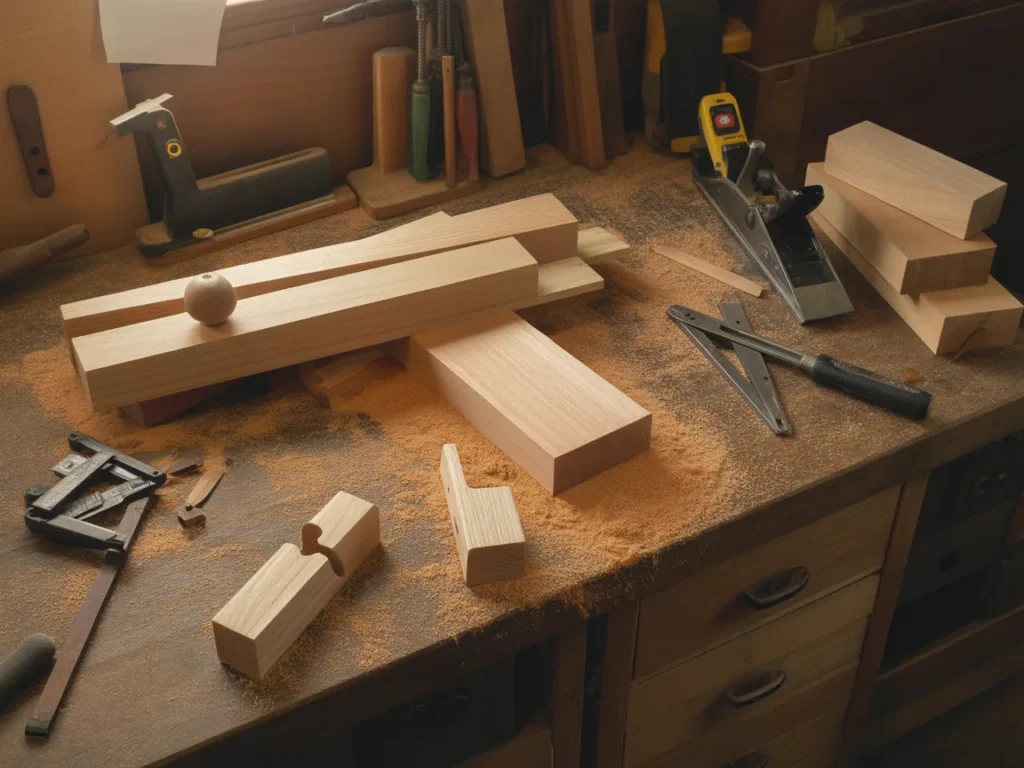
The basics (core actions)
No matter what you build, you’re repeating a small set of fundamentals:
- Breaking down material (cutting to size)
- Keeping parts square/flat
- Assembling without forcing pieces
- Sanding and finishing without rushing
If you choose a project that lets you practice these without pressure, you improve fast.
The “next layer” (the upgrade people skip)
This is where most frustration comes from: people jump to “advanced” projects without the supporting layer:
- Reading a plan cleanly (and trusting it)
- Understanding cut lists and dimensions
- Building in a sequence that prevents mistakes
- Using jigs/templates for repeatability
Example 1: A “simple” box becomes tough when you haven’t practiced keeping corners square. But a plan that shows the order of assembly makes it manageable.
Example 2: A table build becomes stressful when you don’t account for wood movement—unless the plan tells you where to use fasteners that allow it.
Next: let’s turn the framework into a project-picking system you can use today.
The Step-by-Step Plan
Step 1: Define your real win for this project
A project should give you a clear outcome: a finished piece, a learned skill, or a confidence boost. If you’re vague (“I just want to build something”), you’ll overreach.
Pick a project where the “win” is obvious and measurable.
Checklist: choose one primary win
- Build something functional for your home (shelf, stool, organizer)
- Learn one new technique (pocket holes, dados, panel glue-up)
- Improve accuracy (repeat cuts, squareness, consistent spacing)
- Practice finishing (sanding flow, stain/clear coat, paint)
- Use up scrap responsibly (small builds with simple joinery)
Do this now: Write your one win on paper before you choose a design.
Step 2: Match the project to your current tools (not your future shop)
You don’t need a dream workshop to build great things. But you do need to be honest: a project that requires tight repeatability may not fit if you’re working with limited cutting capacity or no way to keep things square.
This doesn’t mean “don’t build it.” It means choose projects where your tools can succeed.
Checklist: tool-fit quick scan
- I can make the required cuts safely with what I have
- I have at least one reliable way to verify square (square + measuring)
- I can clamp/hold parts securely during assembly
- I can drill clean pilot holes and drive fasteners without splitting
- I can sand efficiently (even if it’s by hand)
- I can follow the plan’s recommended method (or a clear alternative)
Do this now: List the tools you’ll actually use (not the ones you wish you had).
Step 3: Choose the right “difficulty type” for your skill level
Project difficulty isn’t one single thing. There are different kinds of hard:
- Hard because of precision (drawers, doors, anything that must fit perfectly)
- Hard because of weight/size (large tables, cabinets, bed frames)
- Hard because of joinery (complex joints, hidden joinery, lots of angles)
- Hard because of finishing (large visible surfaces under clear coat)
If you’re a beginner, you can absolutely build something impressive—but pick one hard thing, not four.
Checklist: pick your “one hard thing”
- Mostly straight cuts, but larger size
- Simple joinery, but nicer finish
- Basic build, but cleaner design details (edge treatment, consistent spacing)
- Small size, but tighter accuracy practice
- Repetition practice (many similar parts) with a simple assembly
Do this now: Circle one difficulty type you’re willing to handle this time.
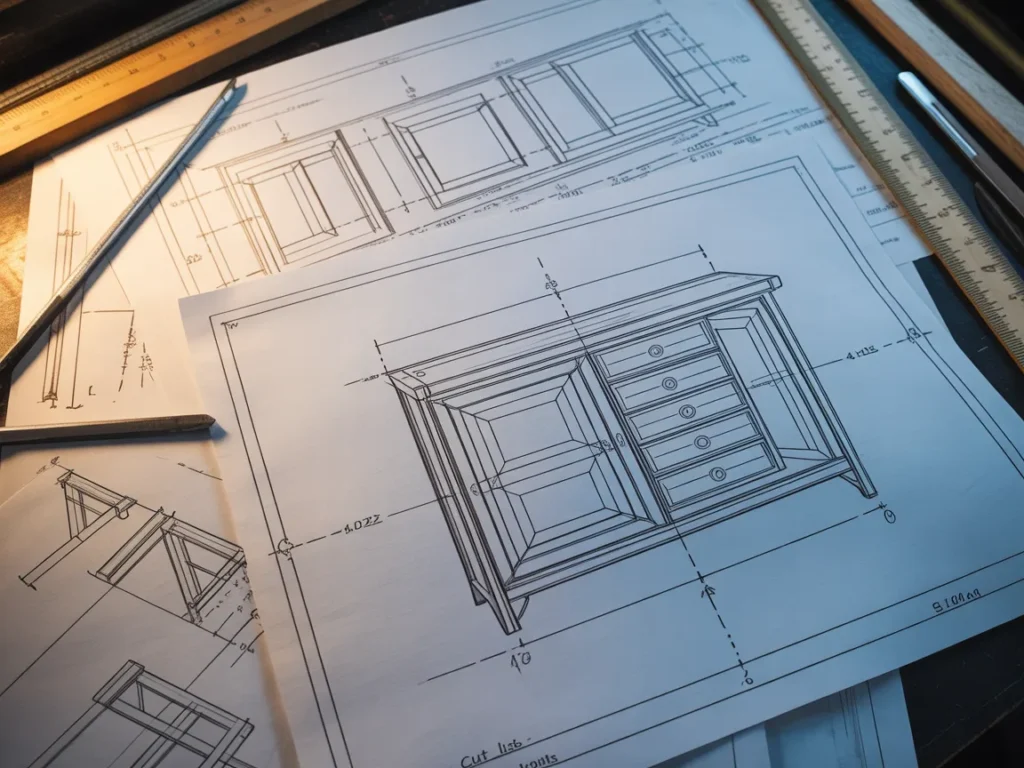
Step 4: Use a plan-first filter before you commit
A good woodworking plan doesn’t just show a picture. It gives you the information that removes guesswork: dimensions, a cut list, diagrams, and a build sequence.
If you’re relying on “I’ll figure it out as I go,” the project gets harder than it needs to be.
Checklist: what a plan should give you
- Clear finished dimensions
- A cut list (what to cut and how many)
- Step-by-step build order
- Diagrams that show orientation (not just a glamour photo)
- Notes that prevent common errors (alignment, fastening, layout)
- Materials guidance that matches the design
Do this now: Don’t buy wood until you can answer: “What are the first three cuts?”
Step 5: Start with a “confidence build,” then add one upgrade
This is the fastest way to go from beginner to intermediate without overwhelm: build a straightforward version first, then add one upgrade that stretches you slightly.
That upgrade can be a nicer edge, a better joint, a cleaner finish, or a small design detail—not a total redesign.
Checklist: safe upgrades that level you up
- Add a simple face frame or trim
- Use pocket holes neatly (with consistent spacing)
- Add a shelf or divider with clean layout lines
- Practice a consistent roundover/chamfer edge
- Improve sanding sequence and finishing patience
- Build a simple jig/template for repeated parts
Do this now: Commit to the base build + one upgrade—nothing else.
Step 6 (optional): Choose a project sequence for the next 30 days
If you want momentum, pick a sequence of builds that stack skills. One project teaches you the next.
Checklist: a simple skill-building sequence
- Small organizer or box (square + assembly)
- Stool/bench (strength + repetition)
- Wall shelf (level + layout + clean finish)
- Small table (larger assembly + flatness)
- Cabinet/basic storage (doors, adjustable shelves, alignment)
Do this now: Pick your next two projects so you don’t stall after the first win.
Next: avoid the mistakes that make good projects feel way harder than they are.
Common Mistakes
Mistake 1: Picking projects based on photos, not plans
Why it happens: Visual inspiration is easy, and plans feel “restrictive.”
Simple fix: Start with a plan that shows measurements and order of operations—then customize after you’ve built one version.
Mistake 2: Jumping into tight-tolerance builds too early
Why it happens: Drawers and doors look like a natural step up.
Simple fix: Practice accuracy on open storage, shelves, and simple frames first—then move to fitted parts.
Mistake 3: Ignoring wood movement in solid-wood builds
Why it happens: Beginners assume wood stays the same shape forever.
Simple fix: Use designs and fastening methods that allow seasonal movement, especially on wider panels.
Mistake 4: Chasing “perfect” cuts instead of repeatable cuts
Why it happens: You try to nail every cut by feel.
Simple fix: Use stops, guides, and measured setup so multiple parts match—even if you’re not using fancy tools.
Mistake 5: Building out of sequence
Why it happens: You assemble what’s exciting first.
Simple fix: Follow a step-by-step build order so you don’t trap yourself (or block access for drilling/screws/clamps).
Mistake 6: Underestimating finishing time
Why it happens: Finishing feels like an afterthought.
Simple fix: Choose finishes that match your patience and environment, and plan for drying/curing time instead of rushing.
Options Comparison
There are a few solid ways to choose projects from beginner to advanced. Each works—if you know what you’re trading off.
Option 1: Free videos and one-off tutorials
Best for: DIY Enthusiasts who like learning casually and don’t mind hunting for details.
Pros:
- Lots of inspiration
- You can watch techniques in action
- Great for discovering styles and tools
Cons: - Measurements and cut lists are often incomplete
- Steps may skip over “obvious” parts
- Hard to build a logical progression
Option 2: Designing your own projects from scratch
Best for: Experienced hobbyists who enjoy problem-solving and prototyping.
Pros:
- Total creative control
- You learn design thinking fast
- You can tailor to your space exactly
Cons: - Easy to miscalculate dimensions and sequence
- More wasted material in trial-and-error
- Beginners often get stuck before the first cut
Option 3: Buying individual project plans as needed
Best for: Makers who want a specific build and prefer clear instructions.
Pros:
- You can pick exactly what you want to build
- Often includes diagrams and dimensions
- Less guesswork than a video-only build
Cons: - Plans vary widely in quality
- You may pay repeatedly for different builds
- Doesn’t automatically create a skill progression
Option 4: Learning with a structured course (skills-first)
Best for: People who want technique mastery and don’t mind fewer finished projects early.
Pros:
- Skills build in a logical order
- Strong fundamentals and tool use
- Less confusion about “how”
Cons: - You may build fewer practical items at first
- Can feel slow if you want quick wins
Option 5: Using a large plan library with step-by-step projects
Best for: DIY Enthusiasts who want lots of project choices with clear build guidance.
Pros:
- Easy to pick a project that matches your level
- Helps you move from simple to more advanced builds
- Encourages repetition and momentum
Cons: - You still need to choose good “next projects”
- You must follow the plan instead of improvising midstream
Which option should you pick?
If you’re a DIY Enthusiast who wants to actually build (not just watch), choose the approach that fits your real constraints: your available time this week, the tools you already own, and the skill you want to practice next. If you like variety and want fewer stalled projects, a step-by-step plan approach tends to feel calmer—because you’re not reinventing the wheel every time.

Next: a practical resource that can make the “plan-first” approach easier to follow.
Practical resource
If you like the idea of Basics first, upgrades second, the next helpful step is seeing what a clear, done-for-you plan system looks like in practice.
One resource many DIY Enthusiasts explore is Ted’s Woodworking—a presentation that walks through what’s included and how the projects are laid out.
Even if you don’t end up using it, it can be useful to watch/read because it shows what “step-by-step woodworking plans” look like when everything is organized in one place—so you can compare that to piecing things together from random tutorials.
You’ll see how it works, what’s included, and whether it fits you.
If your main struggle is choosing a project level and wanting clearer steps, the presentation is a logical next stop—just to see the structure and what you’d actually be following.
In the presentation, you’ll see:
- What’s included inside Ted’s Woodworking
- How the woodworking plans are laid out for building
- The kind of step-by-step guidance you’d be using for projects
FAQ
Beginner-friendly fit
I’m pretty new—does this approach still work for Beginner to Advanced: How to Choose the Right Woodworking Project for Your Skill Level?
Yes. The whole point is to choose projects that match your current tools and fundamentals first, then add upgrades as you go.
Do I need special tools to start building projects?
No—start by matching the project to what you already have and choosing plans that don’t assume a full workshop.
How long should my first few projects take?
Shorter is better early on. Pick small, finishable builds that teach one main skill so you actually complete them.
Confidence and complexity
What if I’m worried I’ll waste wood making mistakes?
That’s exactly why “plan-first” matters—clear measurements and build order reduce guesswork and rework.
Is it better to start with furniture or smaller shop projects?
Smaller projects usually build faster confidence. Then you can step up to furniture once your cuts and assemblies are more consistent.
I get stuck halfway through builds—how do I prevent that?
Choose projects with a clear sequence and define your “one win” up front so you don’t keep redesigning while building.
Plans and progression
What should I look for in a woodworking plan?
Finished dimensions, a cut list, diagrams, and step-by-step build instructions—those are the clarity pieces that keep you moving.
Will watching the Ted’s Woodworking presentation help even if I’m just browsing?
Yes—it’s a straightforward way to see what a large plan collection looks like and decide if that style of guidance fits your learning style.
Mini Summary + Action Plan
Choose your one win (finished item, one new joint, or accuracy practice)
Match projects to your current tools, not your future setup
Pick one hard thing per build (precision or size or joinery or finish)
Keep momentum with small “confidence builds” you can finish cleanly
Repeat fundamentals: square parts, consistent measurements, patient assembly
Add one upgrade after the base version (edge detail, cleaner joinery, better finish)
Plan a simple project sequence so each build teaches the next
Basics first, upgrades second—that’s how you move from beginner to advanced without stalling out.
Conclusion
If you’ve been stuck in the loop of saving projects and second-guessing your skill level, this is your reset: Beginner to Advanced: How to Choose the Right Woodworking Project for Your Skill Level becomes simple when you choose plan-first builds, keep your “one hard thing” under control, and upgrade only after the base version works.
Imagine walking into your workspace knowing exactly what you’re building this weekend, what the first cuts are, and which skill you’re practicing—no overwhelm, no guessing, no half-finished pile in the corner.
If you want to see a structured example of step-by-step woodworking projects and what’s included, the easiest next step is to watch/read the presentation.
SEE THE FULL PRESENTATION HERE.