
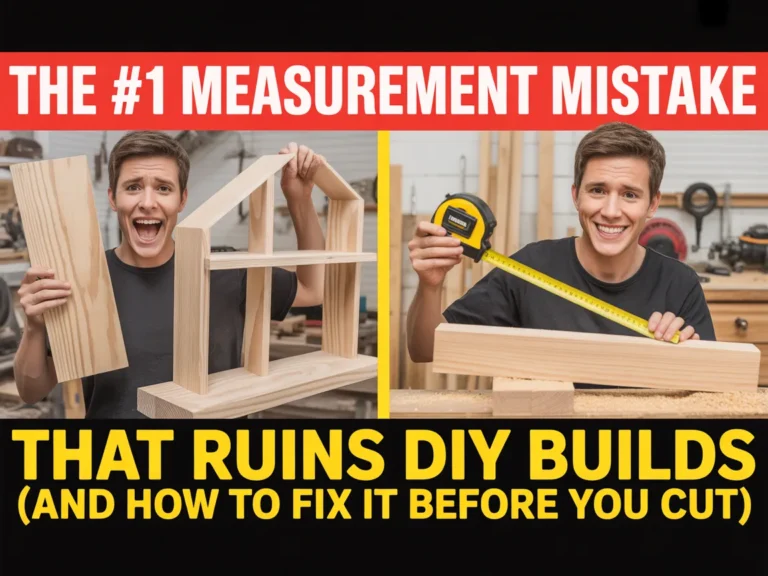
You know the moment.
You’ve got your boards laid out. The cut list looks clean. The pencil line is crisp. Then you dry-fit the parts… and something’s off. A gap shows up where there shouldn’t be one. Or the cabinet box is mysteriously out of square. Or the shelf you swore was measured correctly suddenly won’t sit flush.
It’s frustrating because it doesn’t feel like a “skill” issue. It feels like the tape measure betrayed you.
Here’s the truth: most DIY build failures don’t come from bad effort—they come from one predictable measurement mistake that compounds across every cut.
Basics first, upgrades second.
In this guide, you’ll learn:
- The exact measurement habit that quietly derails DIY woodworking projects
- A simple, repeatable “before you cut” routine that prevents costly rework
- How to build a clearer workflow, even if you’re a woodworking beginner using basic tools
Next: a quick reality check (so you stop blaming yourself for a super common problem).
Quick Reality Check
If you’ve ever made a wrong cut even after “measuring twice,” you’re in good company. Measurement errors are common in DIY woodworking because most of us learned measuring as a school skill, not as a build system.
And in DIY builds, tiny inconsistencies stack up fast.
Common signs you’re dealing with the #1 issue:
- You measure from different points without noticing (left edge, right edge, outside/inside)
- Your parts “almost” fit—but need trimming, forcing, or filler
- Your project starts square… then slowly drifts as you assemble
You’re not behind—you just need a simple plan.
Next: the framework that keeps measurements consistent (even when your tools and materials aren’t perfect).
The Core Framework
When it comes to avoiding the #1 error in The #1 Measurement Mistake That Ruins DIY Builds (And How to Fix It Before You Cut), the fix isn’t “try harder” or “buy expensive tools.”
It’s a workflow.
What matters most (key variables)
In real-world DIY carpentry and woodworking, measurements are affected by:
- Reference points (where you start measuring from)
- Material reality (boards aren’t always perfectly straight or identical)
- Marking accuracy (a pencil line has thickness; saw kerfs remove material)
The biggest variable you control is your reference point. That’s where the #1 mistake lives.
The basics (core actions)
The baseline is simple:
- Pick one consistent reference edge/face
- Mark clearly and consistently
- Cut to the correct side of the line
The “next layer” (the upgrade people skip)

The upgrade is moving from “measuring everything separately” to measuring in a system:
- Use story sticks, stop blocks, and repeatable setups
- Verify with dry-fits before committing to irreversible cuts
Example 1: If you measure each shelf separately from the tape, you’ll get tiny variations. If you register from one reference edge and repeat the setup, shelves match.
Example 2: If you mark from the outside edge on one part and from the inside edge on another, your cabinet face frame will fight you during assembly.
Next: the step-by-step plan to eliminate the measurement mistake before you cut.
The Step-by-Step Plan
(Mistakes to Avoid — but built as a practical routine you can follow every time.)
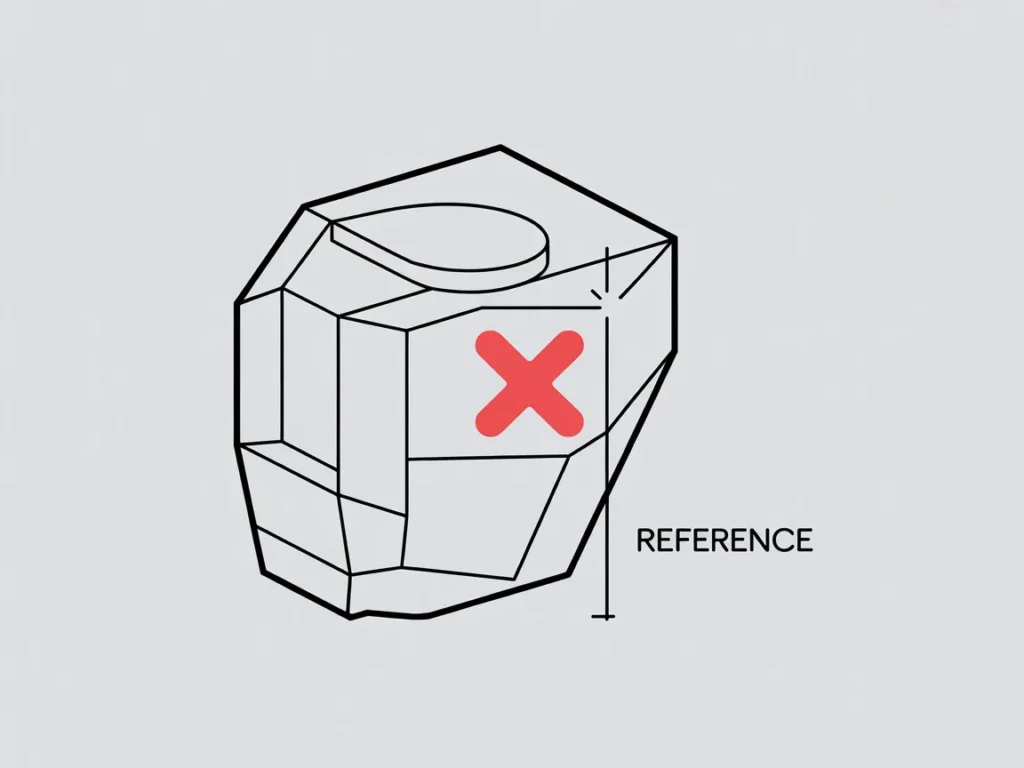
Step 1: Choose a single “zero” and commit to it
The #1 measurement mistake that ruins DIY builds is switching reference points without realizing it.
You might measure one board from the left end, another from the right end, and a third from a pencil mark you “think” is the same. Even if each measurement is close, the final assembly won’t be.
Pick one reference edge and treat it as your “zero” for that set of parts.
Checklist:
- Choose a reference face (the “good side”) and mark it lightly
- Choose a reference edge (the “straight edge”) and mark it with a small symbol
- Measure all related parts using the same reference points
- Keep the reference edge against the fence/guide when cutting
Do this now: mark an “X” on the reference face and a small arrow on the reference edge before measuring anything else.
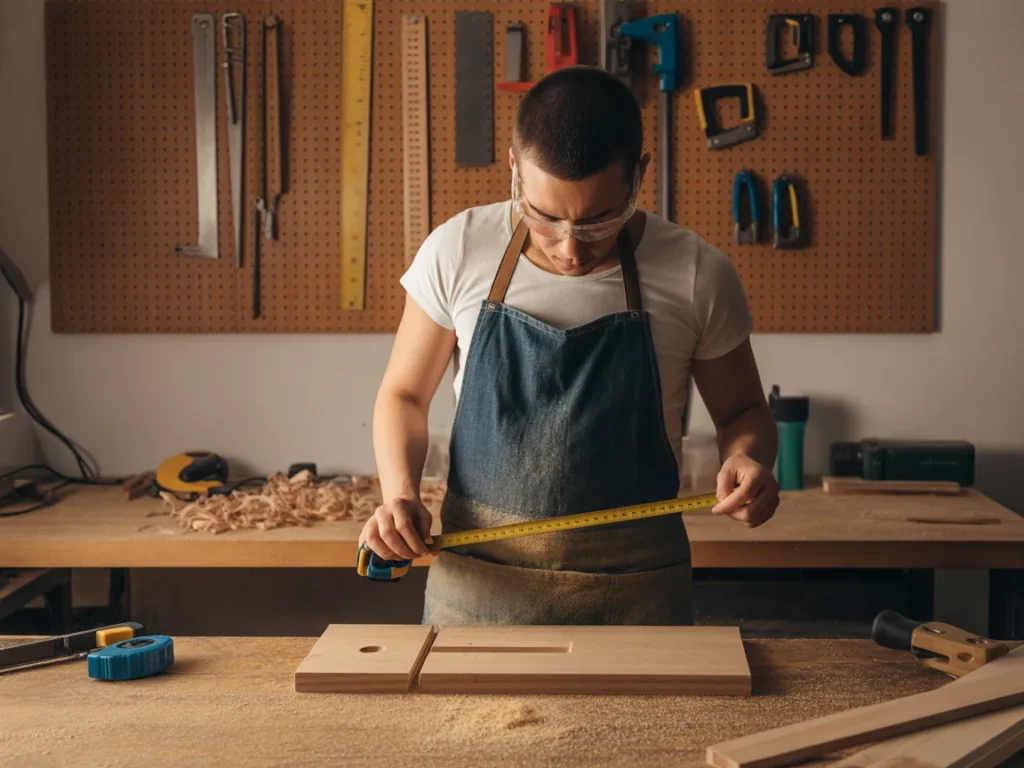
Step 2: Stop trusting the tape alone—trust the setup
Tape measures are great, but they invite tiny differences:
- Hook play at the end
- Reading errors
- Measuring to the wrong side of a pencil line
When you need repeatable accuracy, a consistent setup beats a perfect number.
This is where simple shop habits save projects:
- Use a stop block for repeated cuts
- Use a story stick (a scrap piece you mark once, then transfer marks)
Checklist:
- For repeated lengths, set a stop block instead of re-measuring
- For multi-part spacing, mark one master and transfer it
- Keep one tape measure for the whole project (don’t mix tapes)
- Check the tape hook isn’t bent or loose
Do this now: if you’re cutting more than two parts the same length, switch to a stop block or story stick.
Step 3: Mark like you mean it (line thickness matters)
A pencil line isn’t a measurement—it’s a range. If your line is thick, your cut will vary depending on which side you “feel like” cutting that day.
For cleaner joinery and tighter fits:
- Use sharp pencils or marking knives where appropriate
- Use a speed square or combination square for repeatable marks
- Decide your cut rule: “cut on the waste side” every time
Checklist:
- Sharpen your pencil before layout
- Use a square to draw lines (don’t freehand)
- Mark the waste side with a small “W” or hatch marks
- Keep your marks visible but precise
Do this now: re-mark your next cut line with a sharp pencil and add a waste-side indicator.
Step 4: Confirm the cut path before the blade touches wood
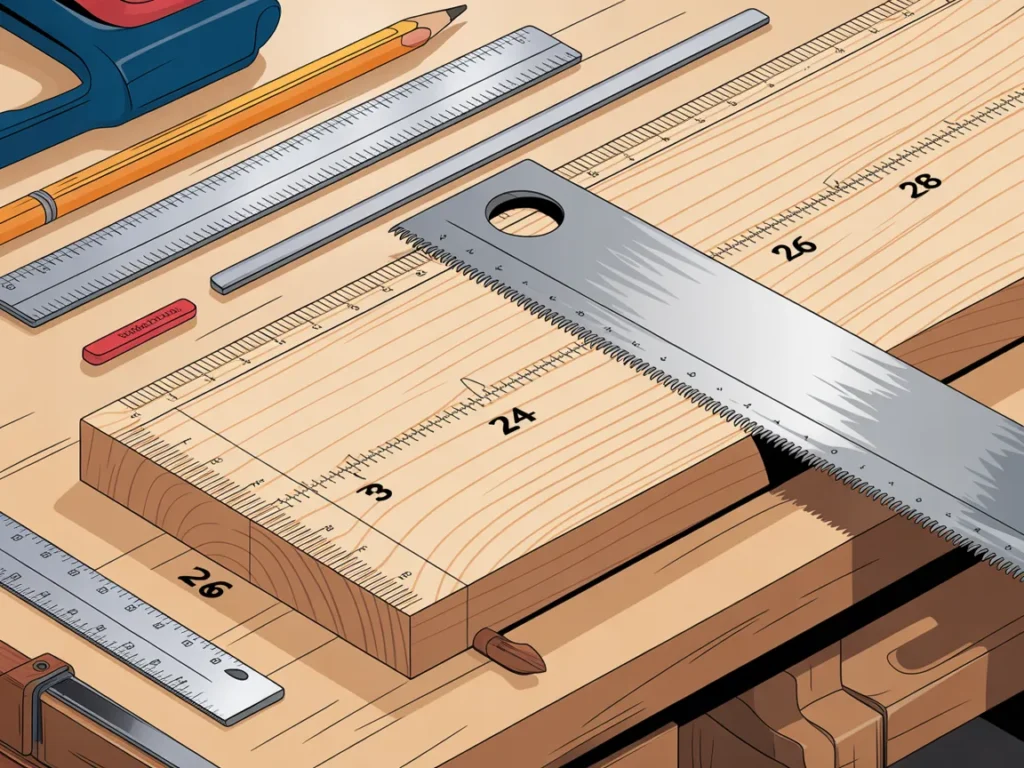
Most “bad measurements” are actually “good measurements + wrong cut location.”
This happens when:
- The saw kerf eats the line
- You cut on the wrong side of the mark
- You align the blade to the line rather than the tooth path
Before cutting, take five seconds to verify:
- Board orientation (reference face/edge)
- Waste side
- Blade position
Checklist:
- Place the board exactly how it will be cut (reference edge registered)
- Align the blade to the waste side of the line
- Do a no-power “dry pass” to see the cut path
- Clamp guides/fences so they can’t drift mid-cut
Do this now: pause before the next cut and trace the blade path with your finger to confirm waste side and orientation.
Step 5: Dry-fit early to catch compounding errors
Compounding error is what makes a project feel like it “randomly” failed. It wasn’t random—you just didn’t catch the first small drift.
Dry-fitting doesn’t have to be complicated. You’re simply checking:
- Are the parts matching?
- Is the assembly square?
- Do the joints close without force?
Checklist:
- Dry-fit related pieces after the first set of cuts
- Use a square to check corners (don’t eyeball)
- Check diagonals on rectangles (they should match)
- Fix the first inconsistency before cutting more parts
Do this now: after your next two pieces are cut, dry-fit them and check for square before continuing.
Step 6 (optional but powerful): Build a “master part” and copy from it
When you’re making multiple identical pieces, don’t try to “measure perfectly” each time. Make one master part you trust, then duplicate it.
This is especially helpful for:
- Shelves
- Legs
- Face frame parts
- Repeated stretchers and rails
Checklist:
- Create one master piece and label it clearly
- Compare all duplicates directly against the master
- Use the master to set stops and guides
- Reject any piece that doesn’t match before assembly
Do this now: pick one critical part in your build and designate it as the master reference.
Next: six common mistakes that sneak back in (even when you think you’re being careful).
Common Mistakes
Measuring from different ends on different boards
Why it happens: You’re focused on the number, not the reference point.
Simple fix: Mark a reference edge/face and always measure from the same “zero.”Flipping a board without noticing grain/crown/reference face
Why it happens: It’s easy to rotate pieces while you work.
Simple fix: Mark the reference face boldly and keep it oriented consistently during layout and cutting.Cutting through the line instead of to one side
Why it happens: The line feels like “the target.”
Simple fix: Decide “waste side only” and mark the waste side every time.Assuming store-bought lumber is perfectly straight and uniform
Why it happens: It looks straight enough on the cart.
Simple fix: Check for bow/cup/twist and choose a straight reference edge before measuring.Stacking small inaccuracies across many parts
Why it happens: Each cut is “close,” so you keep going.
Simple fix: Dry-fit and verify early—fix the first drift before it multiplies.Mixing tools and methods mid-project
Why it happens: You grab what’s nearby (different tape, different square).
Simple fix: Stick to one tape measure and one marking method for the entire build.
Options Comparison
When you’re trying to solve The #1 Measurement Mistake That Ruins DIY Builds (And How to Fix It Before You Cut), there are a few realistic approaches. Here’s a neutral look at what each is best for.
Option 1: “Measure twice, cut once” (traditional habit)
Best for: Quick, simple cuts where precision isn’t critical
Pros:
- Easy to remember
- Works fine for rough carpentry
- No extra tools required
Cons: - Doesn’t prevent reference-point switching
- Still vulnerable to marking/cut-side errors
Option 2: Story stick / master template method
Best for: Repeat cuts, spacing, and consistency across multiple parts
Pros:
- Avoids tape-reading errors
- Fast once set up
- Great for repeated dimensions
Cons: - Requires making and storing a stick/template
- Needs careful labeling to avoid confusion
Option 3: Stop blocks + repeatable saw setups
Best for: Batch cutting identical parts (shelves, rails, stretchers)
Pros:
- Highly consistent
- Speeds up production
- Reduces mental load while cutting
Cons: - Requires clamping and a stable setup
- Can go wrong if the stop slips
Option 4: Digital measuring tools (digital calipers/angle finders)
Best for: Fine-tuning and checking, especially on tricky angles
Pros:
- Helpful for verification
- Can reduce reading errors
Cons: - Not always necessary for basic woodworking projects
- Doesn’t automatically fix workflow issues
Option 5: Following detailed plans with clear measurements and cut lists
Best for: DIY enthusiasts who want fewer decisions and fewer chances to drift
Pros:
- Removes guesswork
- Helps you see the whole build before starting
- Provides a clear sequence for parts and assembly
Cons: - Quality varies depending on the plan source
- Still requires good measuring habits at the saw
Which option should you pick? If you’re a woodworking beginner, the best choice is usually the one that reduces decisions and keeps things consistent: simple reference marks + repeatable setups + clear plans. If time is tight, stop blocks and a master part help a lot. If budget is tight, story sticks and careful marking are nearly free.
Next: a resource that can make the “clear plans” route feel much easier—without forcing you to commit to anything.
SEE THE FULL PRESENTATION HERERessource
If you’ve ever thought, “I just want a straightforward project I can actually finish,” you’re not alone.
One reason measurement mistakes keep happening is that many DIYers are juggling too many moving parts at once: choosing a project, figuring out dimensions, making a cut list, deciding joinery, and then trying to keep everything square.
The presentation at the link above walks you through a woodworking plans resource called TedsWoodworking—positioned around a large library of projects with step-by-step guidance. Even if you don’t end up using it, it’s useful to see how structured plans are laid out and what a complete project system can look like when it’s organized for DIYers.
You’ll see how it works, what’s included, and whether it fits you.
Next: what to look for as you watch, so you can judge it quickly and fairly.
How it works
If your main goal is to reduce “almost fits” cuts and feel more confident before you touch the saw, the next logical step is to look at a guided woodworking plan system and see how it lays projects out from start to finish.
In the presentation, you’ll see:
- A walkthrough of the TedsWoodworking woodworking plans concept and how it’s organized
- Examples of step-by-step project plans designed to reduce guesswork
- How the resource is intended to help DIYers go from idea → measurements → build
FAQ
Fit and skill level
Is this beginner-friendly if I’m still learning basic cuts and joinery?
Yes—the whole point of structured plans is to reduce guesswork by showing steps clearly, which is helpful when you’re still building confidence.
Do I need a full workshop to follow woodworking plans like these?
Many DIYers work with a small set of tools; what matters more is having clear steps and consistent measuring habits.
Will this help if my biggest problem is getting accurate measurements?
It can help by giving you a clearer project roadmap (cut lists, part order, assembly flow), so you’re not improvising measurements as you go.
Time and overwhelm
I don’t have much free time—will this feel like a lot?
A plan-based approach often saves time because you spend less effort re-measuring, re-cutting, and re-thinking each step.
What if I start projects and don’t finish them?
Having step-by-step instructions can make it easier to pick up where you left off because the sequence is already laid out.
Tools and materials
Do I need special measuring tools to stop ошибок like this?
Not necessarily—consistent reference points, clean marking, and repeatable setups do most of the heavy lifting.
What if the lumber I have isn’t perfectly straight?
Most real lumber isn’t. The practical fix is choosing a reference edge/face and measuring from that consistently—plans can help you anticipate where that matters.
Picking the right project
How do I know which project to build first?
Start with something that matches your current tools and patience level; look for a plan with clear steps and a manageable number of parts.
Mini Summary + Action Plan
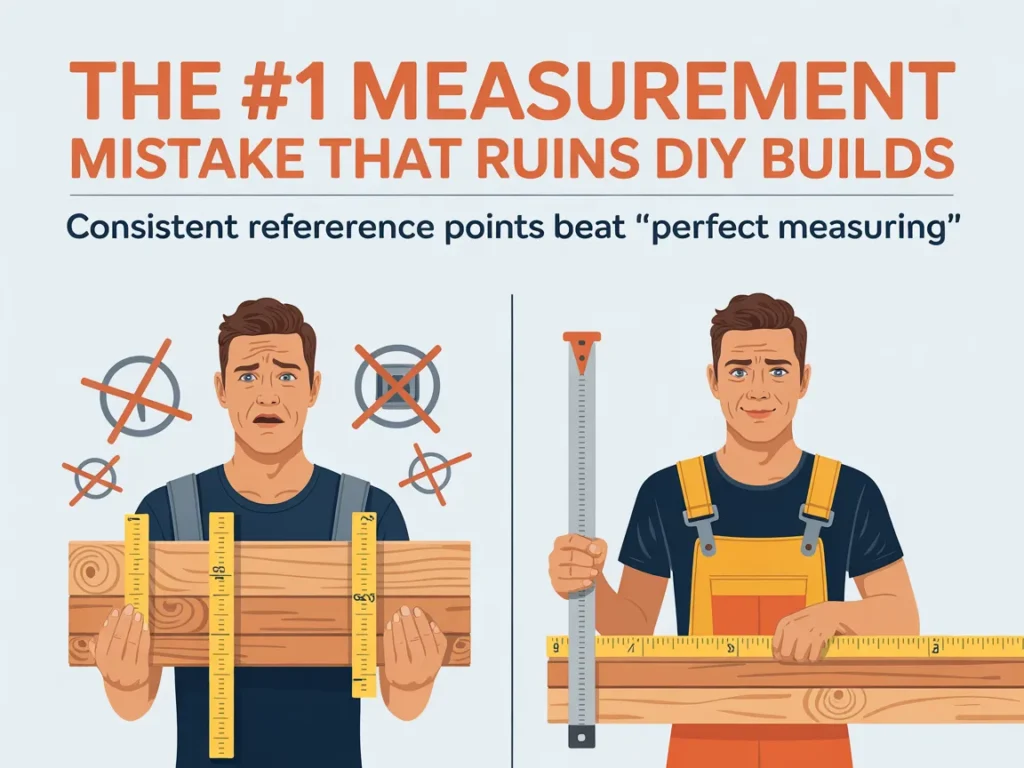
If you only take one thing away from The #1 Measurement Mistake That Ruins DIY Builds (And How to Fix It Before You Cut), make it this: consistent reference points beat “perfect measuring.”
Action plan:
- Pick one reference face and one reference edge for each set of parts
- Mark waste side and cut to the same side of the line every time
- Use a square for layout—avoid freehand marks
To keep it consistent:
- Use stop blocks or story sticks for repeated parts
- Dry-fit early so small errors don’t compound
Next layer upgrades:
- Create a labeled master part and copy from it
- Follow structured, step-by-step plans so you’re not inventing measurements mid-build
Basics first, upgrades second—because consistency is what keeps DIY builds accurate.
Next: a calm close and the simplest next step if you want to see a structured plan system in action.
Conclusion
The most painful DIY mistakes rarely come from lack of effort. They come from small inconsistencies—measuring from different points, flipping boards, cutting to the wrong side of a line—that quietly stack up until the build won’t cooperate.
The good news is that The #1 Measurement Mistake That Ruins DIY Builds (And How to Fix It Before You Cut) is fixable with a steady routine: choose a reference, mark clearly, cut consistently, and dry-fit before you commit.
If you want to see what a more structured, step-by-step plan system looks like (the kind that can reduce guesswork and help you stay organized from the first cut onward), the presentation is worth a look. You can watch/read it, see what’s included, and decide if it fits your style.
SEE THE FULL PRESENTATION HERE