

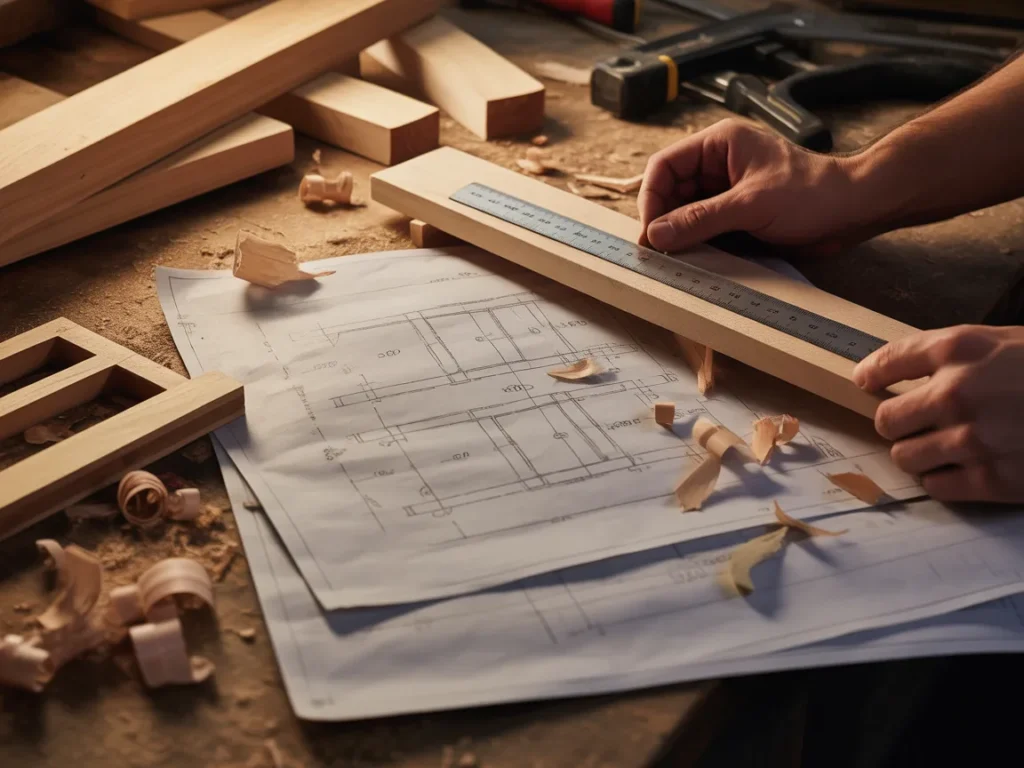
You find a plan online, print it out, and feel that little surge of confidence: This weekend, I’m building it.
Then you start.
A measurement seems off. A joint doesn’t line up the way the diagram suggests. The material list feels vague. You “make it work” anyway… and suddenly your clean project turns into a patchwork of fixes, extra trips to the store, and a final piece that looks almost like the photo.
If that’s familiar, it’s not because you’re “bad at woodworking.” It’s usually because the plan didn’t give you the kind of clarity a real build needs—cut lists, exact dimensions, and step-by-step instructions that don’t leave key parts to guesswork.
One big idea: Clarity beats confusion.
In this guide, you’ll learn:
- A simple checklist that helps you spot weak woodworking plans before you waste wood
- A step-by-step way to prep any project so the build stays calm and predictable
- The “next layer” most people skip that prevents blown measurements and ugly fit-ups
Next: a quick reality check so you stop blaming your skills for a plan problem.
Quick Reality Check
Most woodworking plans fail for a boring reason: they leave too much to interpretation.
A picture of a finished piece is not a plan. A rough diagram isn’t the same as clear, step-by-step assembly. And a vague “materials needed” list won’t save you when you’re standing in the lumber aisle trying to guess what thickness the designer meant.
You’ll usually feel it as:
- You keep re-reading the same step because it assumes you “just know” the joinery approach
- Your cuts technically match the plan, but the assembly still doesn’t square up
- You get to the end and realize the design needed a different board size or thickness
You’re not behind—you just need a simple plan.
Next: let’s lock in the framework that makes almost any DIY build more reliable.
The Core Framework
Whether you’re building a small shop project or a piece of furniture, most successful builds follow the same three-part logic.
What matters most (key variables)
There are a few variables that decide whether a project goes smoothly:
- Exact dimensions (not “approximate”)
- Material thickness assumptions
- Cut list accuracy (counts, lengths, and widths)
- Assembly order that matches reality
- Joinery fit (how parts actually meet)
When a plan is missing one of those, you end up improvising—and improvisation is where most projects drift.
The basics (core actions)
These are the boring steps that keep everything in control:
- Verify dimensions against your actual lumber
- Pre-map the cut list before you cut anything
- Dry-fit key assemblies before final fastening
The “next layer” (the upgrade people skip)
The upgrade is building with intention, not hope:
- Choose a plan that includes clear diagrams, exact measurements, and step-by-step instructions
- Use plans that include a materials list and cutting list you can trust
- Pick designs that fit your tools and skill level so you’re not forced into complicated workarounds
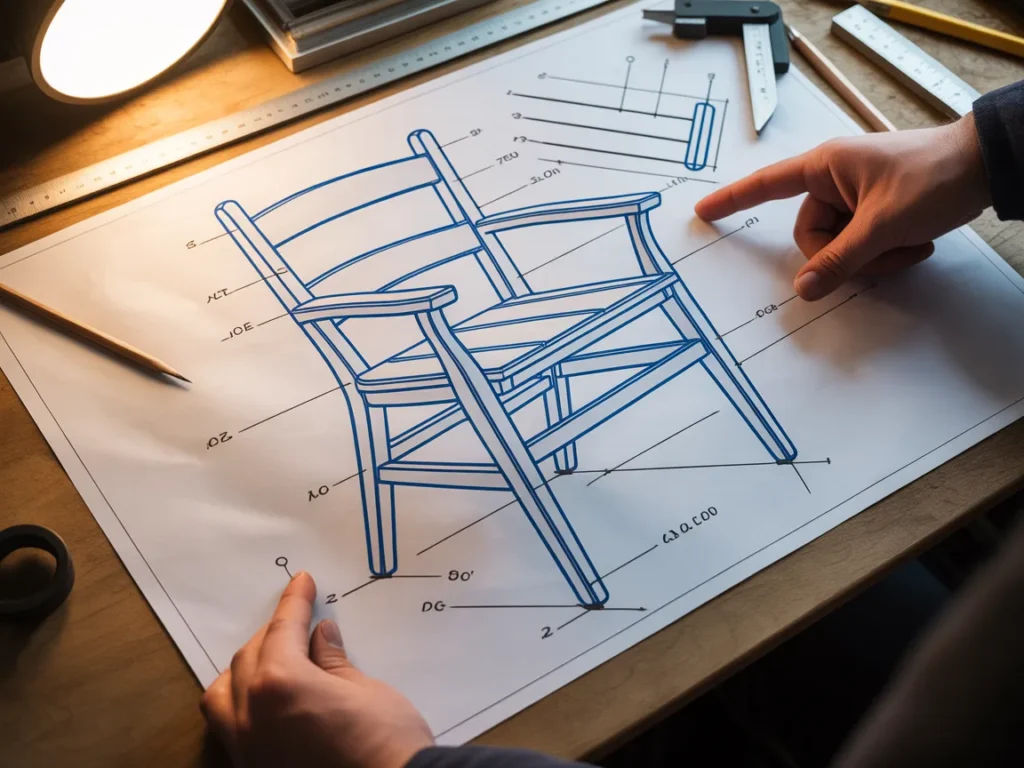
Example: a chair plan can look great in a photo, but if it doesn’t specify angles, lengths, and assembly sequence, you’re guessing—especially at the joints.
Example: a cabinet plan might include outside dimensions but ignore plywood thickness assumptions, which throws off every internal piece.
Next: here’s the checklist-style process you can run before every build.
The Step-by-Step Plan
This is a checklist guide you can use to prevent the most common plan failures—before you spend time, lumber, or patience.
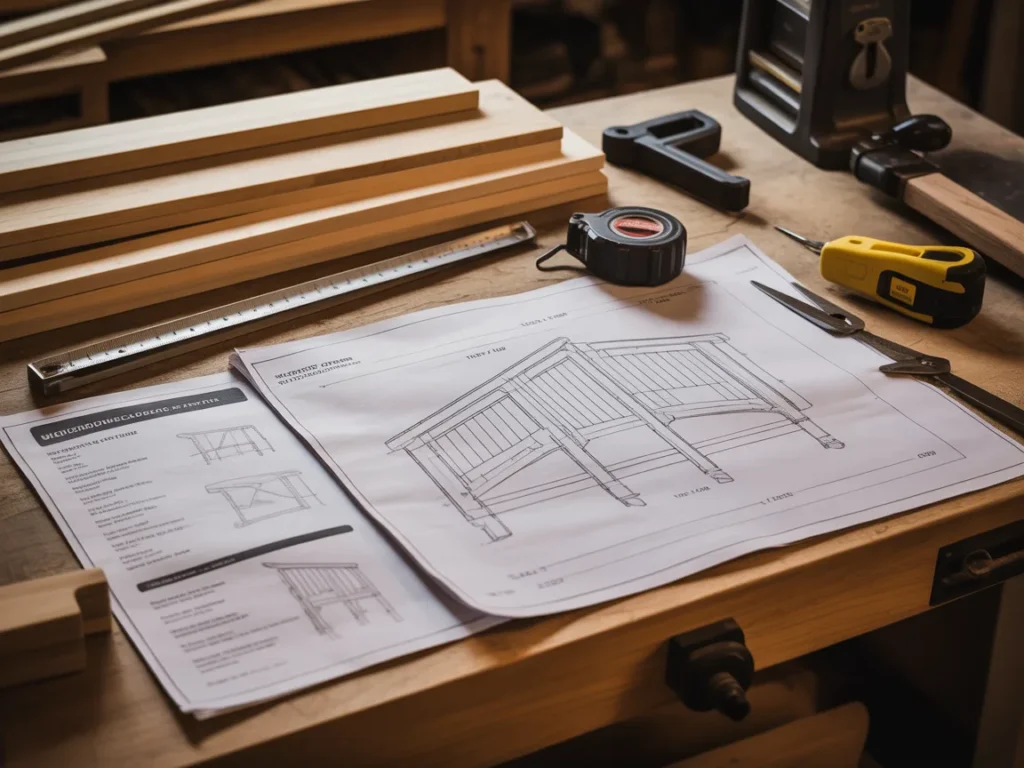
Step 1: Choose a plan that proves it’s buildable
A “buildable” plan doesn’t just show the finished object. It tells you how to get there with clarity: measurements, diagrams, and steps that don’t skip the hard parts.
If you regularly search for woodworking plans, DIY woodworking projects, or furniture plans, this step alone will cut your frustration in half.
Checklist
- The plan includes exact measurements (not vague ranges)
- Clear diagrams show how parts connect
- It includes step-by-step instructions (not just one paragraph)
- A materials list is provided
- A cutting list / cut list is included or easy to create from the plan
Do this now: Read the plan once and underline anything that feels like a guess.
Step 2: Translate the plan into your real materials
The fastest way plans go sideways: the plan assumes one thickness, you buy another, and everything cascades from there.
Even with detailed blueprints, you want a quick alignment check between the plan and the lumber you’ll actually use.

Checklist
- Confirm board thickness matches the plan’s assumptions
- Confirm sheet goods thickness (common with plywood)
- Note any “nominal vs actual” size issues
- Decide early if you’ll substitute wood types (and keep dimensions consistent)
- Double-check quantities from the materials list
Do this now: Write down the exact thicknesses you’ll build with before you make a single cut.
Step 3: Rebuild the cut list before cutting
A cutting list is where calm projects are made.
If a plan gives you a full cut list, verify it. If it doesn’t, create one. This is how you prevent the “I’m short one piece” problem and stop wasting lumber.
Checklist
- List every part with length, width, and thickness
- Group similar cuts for efficiency
- Mark parts that need matching pairs
- Add a note for grain direction when it matters
- Count every piece twice (especially repeated parts)
Do this now: Put your cut list on one page you can keep next to the saw.
Step 4: Dry-fit the failure points first
Most plan problems show up at joints and assemblies—not at the first straight cut.
Dry-fitting (mock assembling without final fasteners) helps you catch issues while the fix is still simple.
Checklist
- Dry-fit the main frame before final assembly
- Check for square at each major assembly
- Confirm flush edges where parts meet
- Validate any angled parts line up with diagrams
- Identify where you’ll need clamps, and plan the order
Do this now: Dry-fit the core structure and confirm it matches the diagrams.
Step 5: Follow the assembly sequence like it’s part of the design
Many plans fail because the assembly order is missing or unclear.
Good step-by-step woodworking instructions reduce decision fatigue. When the order is correct, the project almost “builds itself.”
Checklist
- Read all steps before starting assembly
- Identify steps that lock in alignment (do those carefully)
- Mark steps that must be done before the piece becomes hard to access
- Keep parts labeled to avoid mix-ups
- Check progress against diagrams after each major step
Do this now: Highlight the steps that “lock in” squareness and alignment.
Step 6: Use a final check before you call it done
This is where “looks homemade” becomes “looks clean.” You don’t need perfection; you need consistency.
Checklist
- Confirm the piece sits flat without rocking
- Check that mirrored parts match each other
- Verify key dimensions against the plan one last time
- Inspect joints for gaps before final fastening
- Compare the overall shape to the plan diagrams
Do this now: Do a full walk-around check before you stop for the day.
Next: let’s make the common mistakes obvious—so you can avoid them calmly.
Common Mistakes
Starting with a plan that’s more picture than instruction
Why it happens: Photos feel reassuring, but they hide the hard parts.
Simple fix: Use plans with clear diagrams, exact measurements, and step-by-step instructions.Assuming the material list is complete
Why it happens: Many plans omit small but critical details or counts.
Simple fix: Cross-check the materials list against your cut list before buying.Skipping the cut list verification
Why it happens: It feels like “extra work” when you’re excited to start cutting.
Simple fix: Recount pieces and rewrite the cut list in your own format.Not matching thickness assumptions
Why it happens: Lumber and sheet goods sizes vary, and the plan might assume a specific thickness.
Simple fix: Commit to your actual thicknesses early and adjust the cut list accordingly.Building in the wrong order
Why it happens: When steps are unclear, you improvise the sequence.
Simple fix: Read the full plan first and mark the alignment-critical steps.Trying a complex design before your process is stable
Why it happens: Ambition is normal—and the internet makes advanced builds look “easy.”
Simple fix: Choose projects with straightforward joinery and clear step-by-step woodworking instructions.
Options Comparison
Here are five realistic ways people try to solve the “plans that fail” problem. Each can work—depending on your time, tools, and patience.
Option 1: Free plans you find online
Best for: Quick inspiration and simple builds
Pros
- Easy to access
- Great for browsing DIY woodworking project ideas
- Sometimes includes decent diagrams
Cons
- Often missing exact measurements or a full cutting list
- Step-by-step instructions can be incomplete
Option 2: Sketching your own plan from scratch
Best for: Experienced builders who enjoy design
Pros
- Total control over dimensions
- Built exactly for your space
- You learn fast by doing
Cons
- Easy to miss a measurement detail
- Creating a reliable cut list takes time
Option 3: Buying single project plans as needed
Best for: Builders who want one specific project done well
Pros
- More likely to include exact measurements
- Less time spent hunting for a decent plan
- Often includes a materials list and diagrams
Cons
- Quality varies by creator
- You may still need to “translate” it to your tools
Option 4: Learning by video-building without a real plan
Best for: Visual learners who like to follow along
Pros
- You can see the assembly order
- Helpful for technique and pacing
- Reduces guesswork in some steps
Cons
- Dimensions may be unclear
- Harder to create a precise cut list
Option 5: Using a large library of detailed woodworking plans
Best for: People who want many options with clear instructions ready to go
Pros
- Easier to pick projects matched to your skill
- Better chance of finding plans with cut lists, diagrams, and exact measurements
- Convenient for consistent building habits
Cons
- You still need to choose the right plan for your tools
- Too many choices can be distracting if you don’t filter
Which option should you pick?
If you’re a woodworking beginner (or a self-taught builder who’s tired of “almost-right” results), prioritize clarity and completeness over novelty. Choose an approach that gives you exact measurements, clear diagrams, step-by-step instructions, and a materials/cutting list, and match the project to the tools you already have. When time is limited, a ready-to-use plan saves more frustration than any “hack.”
Next: a straightforward resource you can check out if you want a clearer path.
Soft Transition to Offer
If you’ve been nodding along to the checklist, there’s a good chance your biggest issue isn’t motivation—it’s that you’re working from plans that don’t fully guide the build.
One resource many DIYers look at is Ted’s Woodworking Plans, which presents a large collection of woodworking plans designed to be followed with step-by-step instructions, diagrams, exact measurements, and included materials and cutting lists.
The reason it’s worth watching/reading the presentation isn’t to “hype” anything—it’s because it lets you see how the plans are laid out, what’s included, and whether that level of clarity is what you’ve been missing.
You’ll see how it works, what’s included, and whether it fits you.
Next: if you want the simplest next step, it’s here.
In the presentation, you’ll see what the plan library includes and how it’s organized
In the presentation, you’ll see:
- A large collection of woodworking plans for many different projects
- How the plans provide step-by-step instructions with diagrams and exact measurements
- Where the materials list and cutting list fit into each build so you can start with clarity
FAQ
Using Why Most Woodworking Plans Fail (And the Simple Checklist That Saves Your Project) as a beginner
If you’re starting out, the checklist approach in Why Most Woodworking Plans Fail (And the Simple Checklist That Saves Your Project) is meant to reduce guesswork, not add pressure. You’re simply verifying measurements, diagrams, and the cut list before you commit.
Beginner-friendly woodworking plans
Is this beginner-friendly?
Look for plans that include step-by-step instructions, diagrams, and exact measurements. That structure is what makes a project approachable even when your skills are still growing.
Time constraints and weekend builds
How long does the checklist take?
Once you’ve done it a couple times, it can be quick—especially Steps 1–3. It’s usually faster than fixing mistakes after you’ve already cut parts.
Tools and workshop setup
Do I need special tools to use good plans?
The plan should guide the build clearly, but you still want to choose projects that match the tools you already have. Start with simpler designs and work up.
Materials confusion at the store
What if I’m unsure what to buy?
That’s exactly why a materials list and cutting list matter. If a plan doesn’t make buying decisions clear, it’s a sign you’ll be guessing later too.
Getting clean-looking results
What makes a project look “tight” and not rough?
Consistent measurements, a verified cut list, and a sensible assembly order. Dry-fitting key parts helps you catch alignment issues before they become permanent.
Too many plans, too little direction
What if I get overwhelmed by options?
Pick one project that fits your skill and tools, then run the same checklist every time. Clarity beats confusion when you keep your process consistent.
Knowing if a plan is worth following
How do I tell a plan is solid before I start?
It should show exact measurements, clear diagrams, step-by-step instructions, and include a materials list and cutting list. If any of those are missing, expect improvisation.
Mini Summary + Action Plan
- Verify the plan includes exact measurements, diagrams, and step-by-step woodworking instructions
- Confirm the materials list is complete and matches the project needs
- Rebuild or verify the cutting list so every part is accounted for
- Keep parts labeled and follow the assembly order without rushing
- Dry-fit key assemblies to catch alignment problems early
- Add the “next layer”: choose plans designed to be followed, not interpreted
- Use a consistent pre-build checklist so each DIY woodworking project feels calmer
Clarity doesn’t make woodworking boring—it makes it repeatable. Clarity beats confusion when you want a build that actually matches the plan.
Next: wrap it up and choose your next best step.
Conclusion
If you’ve ever felt like woodworking plans “should” work but somehow don’t, you’re not imagining it. Most failures come from missing clarity—unclear diagrams, incomplete cut lists, vague measurements, or assembly steps that skip the parts you need most.
That’s the whole point of Why Most Woodworking Plans Fail (And the Simple Checklist That Saves Your Project): you don’t need more talent or more willpower. You need a plan you can follow, plus a simple process that keeps you from guessing.
Picture your next build starting with one clean page of cuts, clear diagrams at the bench, and steps you can move through without second-guessing. Calm progress. Fewer do-overs. A finished piece that looks like you meant it.
If you want to see what a detailed plan system looks like in practice, watch/read the presentation here:
SEE THE FULL PRESENTATION HERE