
If you’ve ever turned on the tap and noticed the pressure dropping, read a local drought update, or watched neighbors start rationing water “just in case,” you already know the feeling: you don’t need panic… you need a plan.
The good news is you don’t have to overhaul your entire home to get meaningfully more prepared. In fact, you can drought-proof your home fast with a handful of simple, weekend-sized “water backups” that make everyday life easier—and make interruptions much less stressful.
Basics first, upgrades second. (That’s the whole approach.)
In this guide, you’ll learn:
- The 3-part framework that keeps water prep simple and realistic
- 9 water backups you can set up this weekend (even if you’re a beginner)
- How to choose the right approach for your home, budget, and time
Next: a quick reality check so you don’t overthink what “prepared” actually means.
Quick Reality Check
Drought-proofing isn’t just a “prepper” thing. It’s a normal homeowner problem now—because water interruptions happen for ordinary reasons: restrictions, maintenance, contamination advisories, pump issues, storms, or just strained infrastructure.
Common situations that catch people off guard:
- You can’t fill a pot, flush reliably, or wash hands normally for a day or two
- A boil advisory makes “tap water” suddenly feel complicated
- You realize you don’t have any clean storage, containers, or a simple way to treat water
Most people don’t lack motivation—they lack a clear, minimum-effective checklist.
You’re not behind—you just need a simple plan.
Next: the framework that prevents overwhelm and helps you build smart water backups fast.
The Core Framework
When people try to drought-proof a home quickly, they often jump straight to gear. That’s how you end up with random bottles, mismatched filters, and no confidence.
Instead, use this 3-part framework:
What matters most (key variables)
Focus on the variables that actually change your outcome:
- Storage: how much water you can keep clean and contained
- Access: how quickly you can get water when the tap is limited
- Treatment: how you make questionable water safer to use
- Rotation: how you keep stored water fresh and usable
The basics (core actions)
These are the “boring” steps that do most of the work:
- Store a reasonable amount, in the right containers
- Keep it cool/dark and label dates
- Have at least one simple treatment method you understand
The “next layer” (the upgrade people skip)
This is where calm confidence comes from:
- A backup way to collect water (not just store it)
- A plan for “non-drinking” water (toilet flushing, cleaning)
- A simple, written checklist so you’re not guessing later
Two quick examples:
- If you can store clean water but can’t treat or rotate it, you’ll hesitate to use it.
- If you can treat water but have no containers, you’ll scramble during restrictions.
Next: let’s turn that framework into a weekend plan you can actually complete.
The Step-by-Step Plan (Checklist Guide)
Below are 9 simple water backups organized into a realistic weekend checklist. You don’t need to do all nine—start with the first few, then add the ones that fit your home.
Step 1: Set your “minimum water baseline”
Before you buy anything or rearrange shelves, determine what “enough” looks like for your household for a short disruption. This keeps you from either under-storing or hoarding in a way that’s hard to manage.
Think in terms of simplicity: drinking + basic hygiene + basic cooking. Then add a separate plan for non-drinking tasks like flushing.
Checklist
- Count people (and pets) in your home
- Decide a “baseline duration” you want covered (start small and build)
- Separate needs into: drinking, cooking, hygiene, and non-drinking
- Pick one storage spot that stays cool and out of sunlight
- Write it down on a single page (paper beats memory)
Do this now: Write your baseline on one sheet of paper and stick it inside a cabinet door.
Step 2: Water backup #1–#3 (fast storage you can set up today)
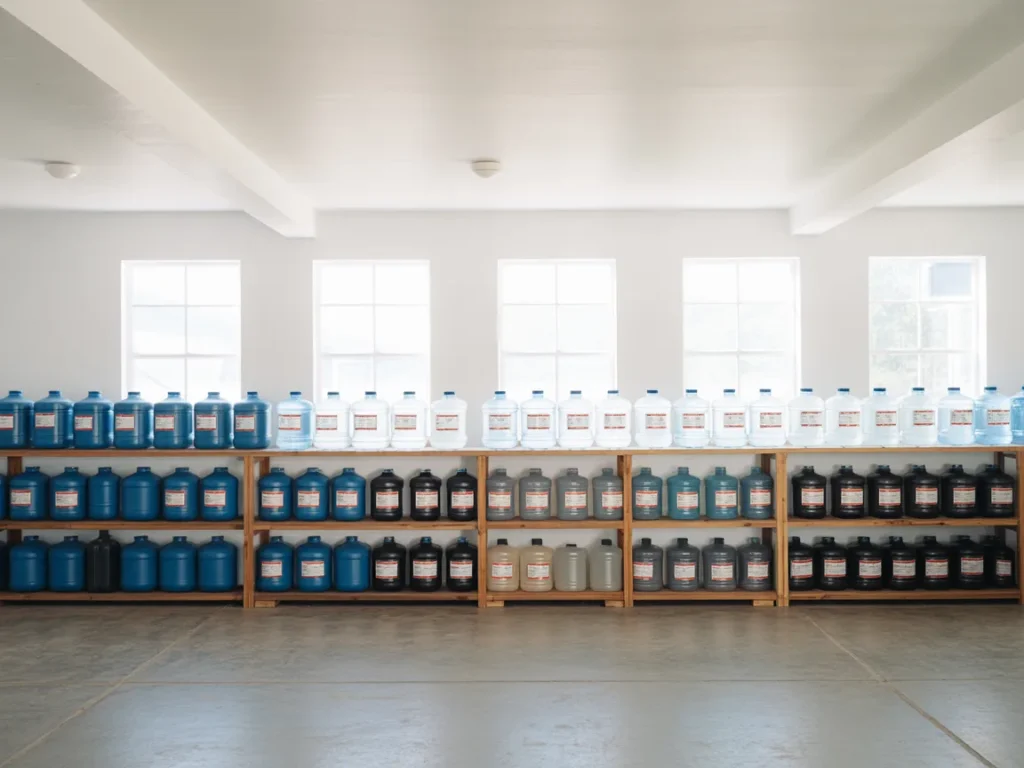
The fastest win is simply having clean, sealed water in the home—organized and easy to use. These three backups are beginner-friendly and work in apartments, condos, and houses.
Water backup #1: Dedicated stored drinking water
Keep it in purpose-built containers or sealed store-bought water, but organize it so you’ll actually use it.
Water backup #2: “Everyday rotation” water shelf
A small, easy-to-reach area where you rotate through water regularly (so nothing sits for years).
Water backup #3: Grab-and-go water
A few smaller containers you can carry easily if you need to move rooms, help a neighbor, or leave.
Checklist
- Choose containers you can lift safely when full
- Label fill date and intended use (drinking vs. cleaning)
- Store off concrete floors if possible (use a shelf or barrier)
- Keep a small “grab” supply accessible, not buried behind boxes
- Add a simple inventory note (what you have and where)
Do this now: Set up one clearly labeled “water shelf” you can audit in 30 seconds.
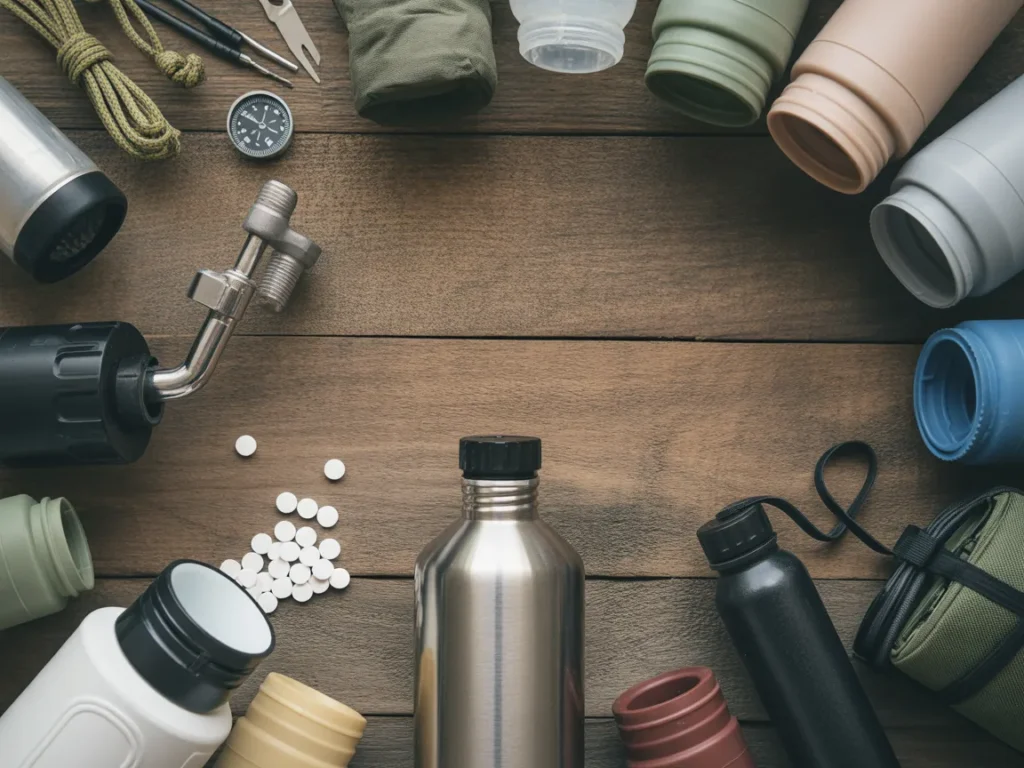
Step 3: Water backup #4–#6 (treatment + redundancy)
Storage is great—until you need more water than you stored, or you’re unsure about water quality. This step is about having at least two ways to make water safer or more usable, plus a backup for when one method isn’t practical.
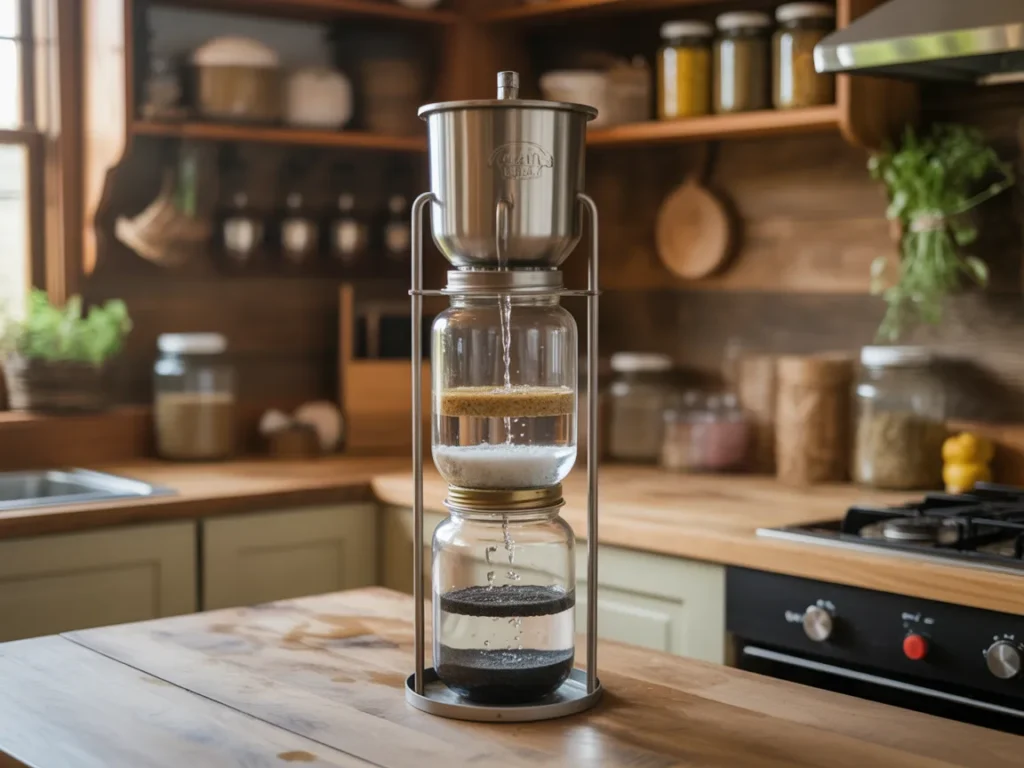
Water backup #4: A simple, trusted treatment method
Pick one method you understand and can perform correctly under stress.
Water backup #5: A second treatment option (redundancy)
This could be different in type or purpose—think “if one fails or runs out.”
Water backup #6: Pre-filtration for dirty water
Even basic pre-filtering makes treatment easier and reduces clogging in some systems.
Checklist
- Choose treatment options you can use without complicated steps
- Keep instructions with the item (paper copy helps)
- Store treatment supplies together in one bin
- Add a basic pre-filter method for visible debris
- Practice once so you’re not learning during an emergency
Do this now: Pick two treatment methods and put them in one labeled tote.
Step 4: Water backup #7–#8 (non-drinking water plan)
During drought restrictions or interruptions, a lot of household stress comes from “grey tasks,” not thirst: flushing, cleaning, and basic sanitation.
These backups prevent the “we’re fine… until the toilet won’t” problem.
Water backup #7: Non-drinking water reserve
This is separate from drinking water. It’s for flushing and cleaning.
Water backup #8: A simple flushing/cleaning routine
When water is limited, you want a consistent, low-drama routine everyone understands.
Checklist
- Store non-drinking water in clearly marked containers
- Keep a small bucket or container dedicated to flushing/cleaning
- Decide a basic household rule for water use during restrictions
- Stock simple sanitation basics (soap, wipes, trash bags as appropriate)
- Pick a “reset time” each day to check levels and refill if possible
Do this now: Label one container “NON-DRINKING” and choose where it lives.
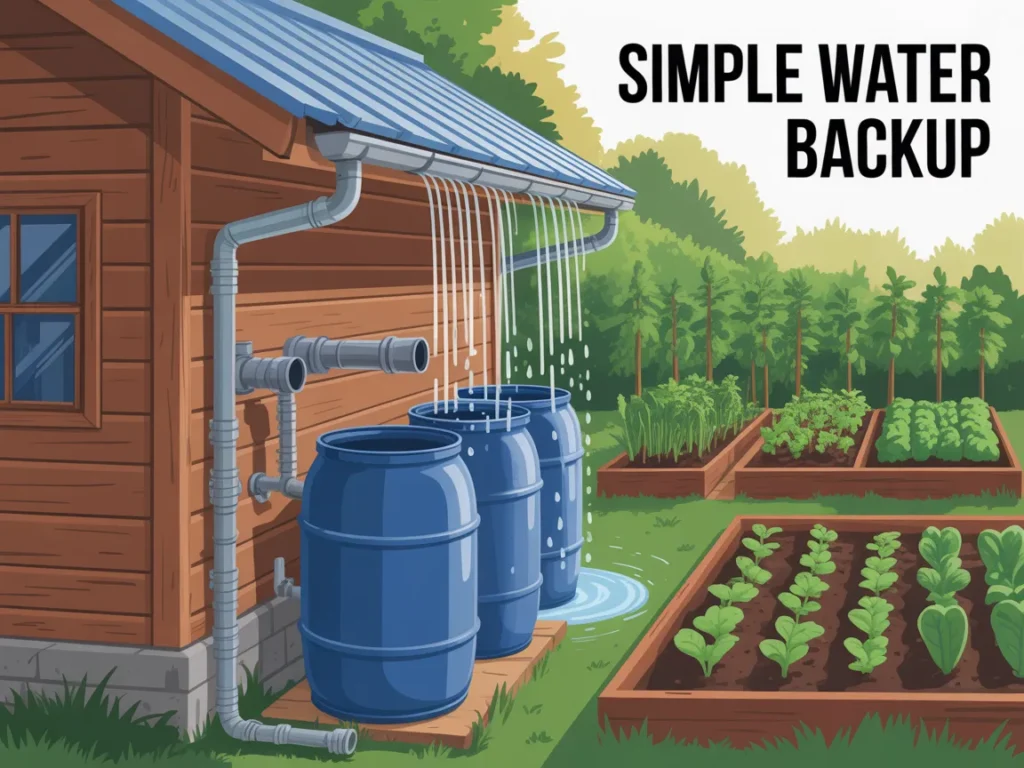
Step 5: Water backup #9 (collection for “next layer” resilience)
If your goal is to drought-proof your home fast, storage and treatment are the basics. Collection is the next layer: a practical way to capture water when it’s available (even if you’re not ready for a big system).
This doesn’t need to be complicated. The point is to have a plan—and a method—that fits your space and local rules.
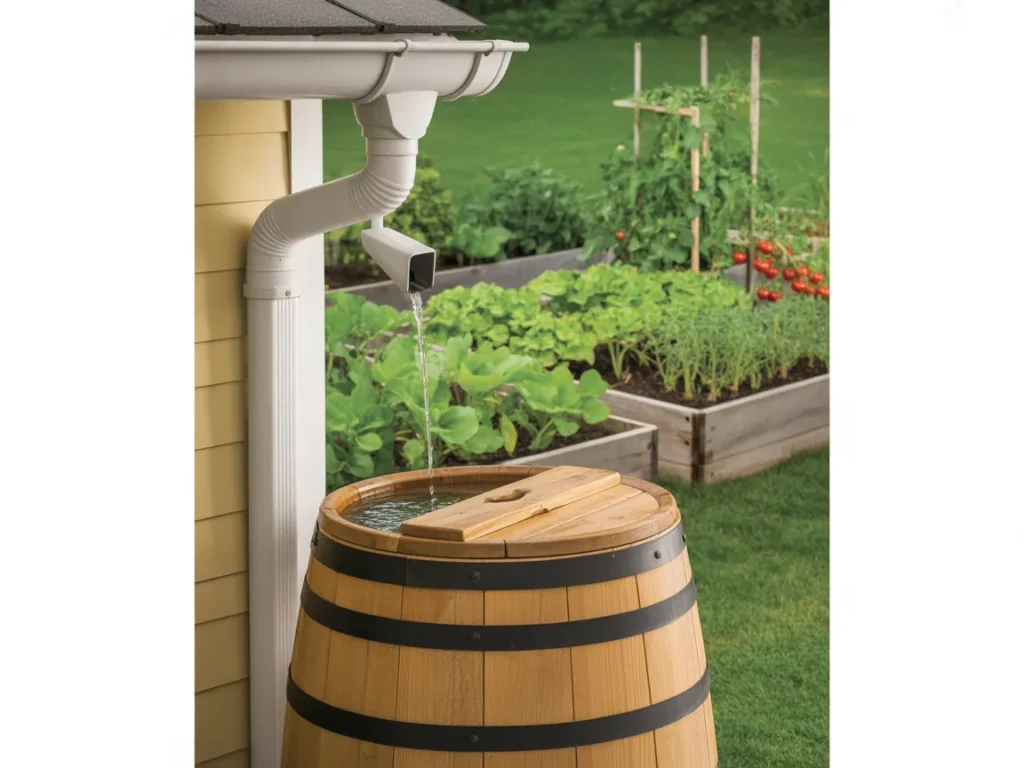
Water backup #9: A basic water collection setup
Think simple: something you can set up, keep clean, and drain or use appropriately.
Checklist
- Identify where collection is realistic (porch, yard, balcony, garage)
- Choose containers that are stable and have lids if needed
- Keep collection gear clean and stored together
- Decide in advance what collected water can be used for (drinking vs. non-drinking)
- Add a note about local restrictions or safety considerations
Do this now: Pick one realistic collection spot and write down what you’ll use collected water for.
Common Mistakes
Mistake 1: Storing water but not labeling dates
Why it happens: People assume they’ll remember when they filled it. They won’t.
Simple fix: Use a permanent marker and label the fill date and intended use.
Mistake 2: Buying “random gear” without a plan
Why it happens: It’s easy to grab what looks useful without knowing how it fits together.
Simple fix: Start with storage + one treatment method, then add redundancy.
Mistake 3: Keeping everything in one hard-to-reach place
Why it happens: Out of sight feels tidy—until you actually need it.
Simple fix: Keep a small “grab-and-go” supply accessible and organized.
Mistake 4: Not separating drinking and non-drinking water
Why it happens: In the moment, “water is water,” so it all gets mixed.
Simple fix: Clearly label non-drinking containers and store them separately.
Mistake 5: Forgetting pets and special needs
Why it happens: People plan for the average day, not the real household.
Simple fix: Add pets, medications, and special hygiene needs into your baseline.
Mistake 6: Never practicing the setup once
Why it happens: It feels unnecessary—until the first time is during a disruption.
Simple fix: Do one short practice run: locate, open, pour, treat, and clean up.
Options Comparison
Here are five practical approaches homeowners and families use to drought-proof their water situation. Each can work—the “best” option depends on your space, comfort level, and how hands-on you want to be.
Option 1: Store-only (bottled or container storage)
Best for: Tight schedules, renters, and quick wins
Pros
- Fast to implement
- Simple to understand
- No setup beyond organizing and labeling
Cons
- Limited if restrictions last longer than expected
- Requires rotation and space
Option 2: Storage + basic treatment (simple home readiness)
Best for: Families who want calm redundancy
Pros
- More flexible than storage alone
- Helps with boil advisories and uncertainty
- Encourages a clear plan and organization
Cons
- Requires learning and practicing a method
- Supplies need periodic checking
Option 3: “Non-drinking” resilience (sanitation-first)
Best for: Households stressed by flushing/cleaning interruptions
Pros
- Reduces discomfort quickly
- Protects drinking water supply
- Often inexpensive and easy to maintain
Cons
- Doesn’t solve drinking water long-term
- Needs clear labeling to avoid mix-ups
Option 4: Collection-focused (capture + store)
Best for: DIY-minded homes with outdoor space
Pros
- Adds a way to increase total water available
- Builds a “next layer” beyond stored supplies
- Can support non-drinking needs well
Cons
- Requires upkeep and cleanliness
- May be limited by local rules or seasons
Option 5: A guided system (step-by-step plan you follow)
Best for: People who want clarity, not guesswork
Pros
- Reduces research time
- Helps you avoid common mistakes
- Easier to follow through when steps are organized
Cons
- You still have to do the setup
- You must choose what fits your household
Which option should you pick?
For families, the best starting point is usually Option 2 (storage + treatment) plus a small non-drinking plan—because it covers the most common real-life disruptions without turning your weekend into a project marathon. If time is tight, start with store-only and add treatment next. If you’re handy and have space, collection can be a strong “next layer,” but it’s easier once your basics are already handled.
Next: a resource that can help you see an organized walkthrough instead of piecing it together from scattered advice.
Resources
If you’re the type of person who prefers a clear walkthrough—something you can watch/read once and then follow—there’s a presentation called WaterSmartBox that lays out a home water readiness approach in an organized way.
This isn’t about pressuring you to buy anything. It’s about reducing confusion—so you can decide what makes sense for your home, your family, and your weekend.
If you’re working through Drought-Proof Your Home Fast: 9 Simple Water Backups You Can Set Up This Weekend, a structured presentation can be helpful because you’ll see the pieces in order, what’s included, and whether it fits your situation.
SEE THE FULL PRESENTATION HERE
If you want a clearer walkthrough to compare against the checklist you just read, the presentation is the most logical next step to watch through once—then decide what (if anything) you want to implement.
In the presentation, you’ll see:
- How the WaterSmartBox approach is structured for home water readiness
- What’s included and how it’s meant to be used
- Whether it fits your household and comfort level
FAQ
Yard space is limited
If you’re in a smaller home or rental, focus on storage, rotation, and a simple treatment plan first. You can still drought-proof meaningfully without big outdoor setups.
Beginner-friendly setups matter
Start with the simplest backups: labeled storage and a basic routine. The goal is a plan you’ll actually use—basics first, upgrades second.
Time is tight this weekend
Do just Step 1 and Step 2. Getting organized and labeled covers a surprising amount of real-world disruption.
Special tools feel intimidating
Most households can start with containers, labels, and a simple storage area. Add complexity only if it truly fits your lifestyle.
Kids and routines complicate everything
Keep it visual: labels, one storage spot, and one household rule. Simple consistency beats a perfect system nobody follows.
Water taste and “will we use it” concerns
Rotation is your friend. A small everyday-use supply helps ensure stored water doesn’t sit untouched for too long.
Apartment living limits options
You can still build strong backups indoors with a compact water shelf, grab-and-go containers, and a treatment method you understand.
I want to see a complete system before deciding
That’s reasonable. Watching a structured presentation can help you spot gaps in your plan and decide what’s worth adding.
Mini Summary + Action Plan
Here’s the simple action plan to drought-proof without overwhelm:
- Basics: Set a household baseline (people, pets, duration, categories)
- Basics: Build a labeled water shelf for drinking water + grab-and-go
- Basics: Separate drinking from non-drinking water storage
- Consistency: Add rotation dates and do quick monthly checks
- Consistency: Practice once so your routine is familiar
- Next layer: Add treatment redundancy (two methods you can perform)
- Next layer: Add a realistic collection plan for when water is available
In other words: Do the simple things first, then add upgrades once the basics are solid.
Conclusion
Drought-proofing doesn’t have to be dramatic. It’s mostly about removing uncertainty—so a restriction, advisory, or short interruption doesn’t turn into a stressful scramble.
If you follow the checklist in Drought-Proof Your Home Fast: 9 Simple Water Backups You Can Set Up This Weekend, you’ll be ahead of where most households are: organized, labeled, and ready to handle the basics calmly.
If you’d like to see a structured walkthrough that ties the pieces together, take a few minutes to watch/read the WaterSmartBox presentation. You’ll see how it works, what’s included, and whether it fits your home—then you can decide from there.
SEE THE FULL PRESENTATION HERE