
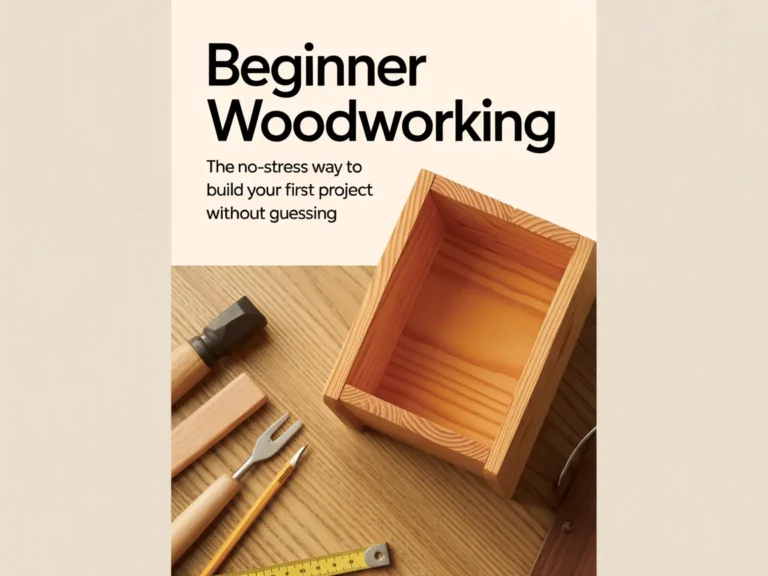
You’ve got the idea in your head: a simple shelf, a small bench, maybe a planter box. You can almost see it finished.
Then reality hits.
Which wood is best? What tools do you actually need? How do you cut straight? Where do you even get a plan you can trust? And suddenly, the “fun weekend project” turns into five tabs open, conflicting advice, and a pile of lumber you’re not fully sure you should cut.
If that sounds familiar, you’re not alone—and you’re not doing anything wrong. You just need a calm way to go from “I want to build something” to “I’m building it” without guessing every step.
Clarity beats confusion.
In this guide, you’ll learn:
- How to pick a first project that’s beginner-friendly and satisfying
- A simple, repeatable process for building without second-guessing
- The most common early mistakes (and the easy fixes that prevent wasted wood)
Next: a quick reality check so you can stop blaming yourself and start building.
Quick Reality Check
Beginner woodworking feels harder than it should because most people start in the wrong place: they start with tools, or perfection, or a “cool project” that quietly requires experience.
It’s common to feel stuck when you’re new because woodworking is a mix of skills—measuring, cutting, assembling, sanding, finishing—and each one has a learning curve.
You might recognize this:
- You find a project online… but the steps skip important details
- You buy wood and realize you’re unsure how to cut it accurately
- You get to assembly and the pieces don’t line up the way you expected
You’re not behind—you just need a simple plan.
The Core Framework
When you’re getting started, the fastest way to reduce stress is to focus on a framework that keeps you out of “guess-and-check” mode.
Here’s a beginner-friendly 3-part approach you can apply to almost any first build.
What matters most (the key variables)
These are the variables that decide whether a project feels smooth or frustrating:
- A clear plan (with measurements, cut list, and build steps)
- Straight, repeatable cuts (even if your tools are basic)
- Simple joinery (strong enough, not complicated)
- A realistic finish (something you can apply cleanly)
If any one of those is missing, you’ll feel it immediately.
The basics (core actions)
This is the “boring” stuff that makes everything easier:
- Measure carefully and mark clearly
- Cut in a way you can repeat
- Dry-fit before you glue/screw
- Assemble square
- Sand and finish with patience
These basics make beginner woodworking feel predictable.
The next layer (the upgrade people skip)
Most beginners skip this because they want to “just build.” But this is what stops wasted time and wasted wood:
- Build from proven woodworking plans, not vague inspiration photos
- Use a cut list so every cut is intentional
- Follow a step-by-step build order so you don’t paint yourself into a corner
Example: A basic shelf can be simple—or it can turn into a wobble-fest if you don’t square the frame before fastening.
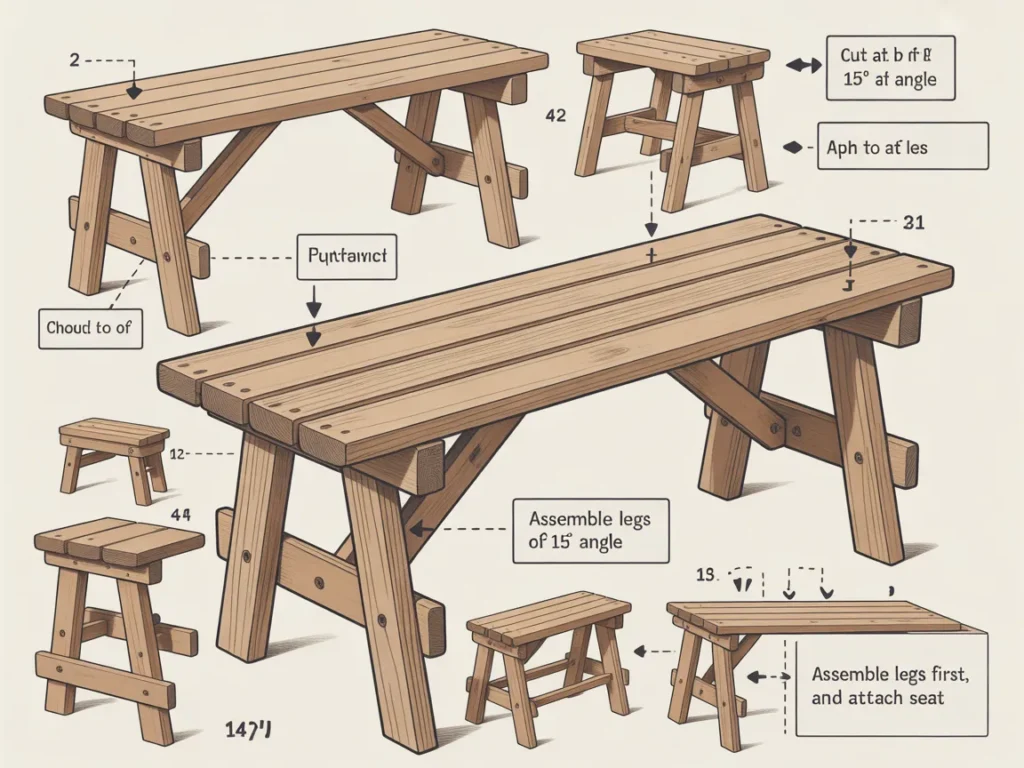
Example: A small bench can be easy—or frustrating if your plan doesn’t tell you the exact lengths, angles, and assembly sequence.
Next: let’s turn that framework into a no-stress step-by-step plan you can follow this week.
The Step-by-Step Plan (Beginner’s Guide)
Step 1: Choose a first project that teaches the basics (without demanding perfection)
Your first win should be something you can finish, use, and feel proud of—without needing advanced joinery or specialty tools.
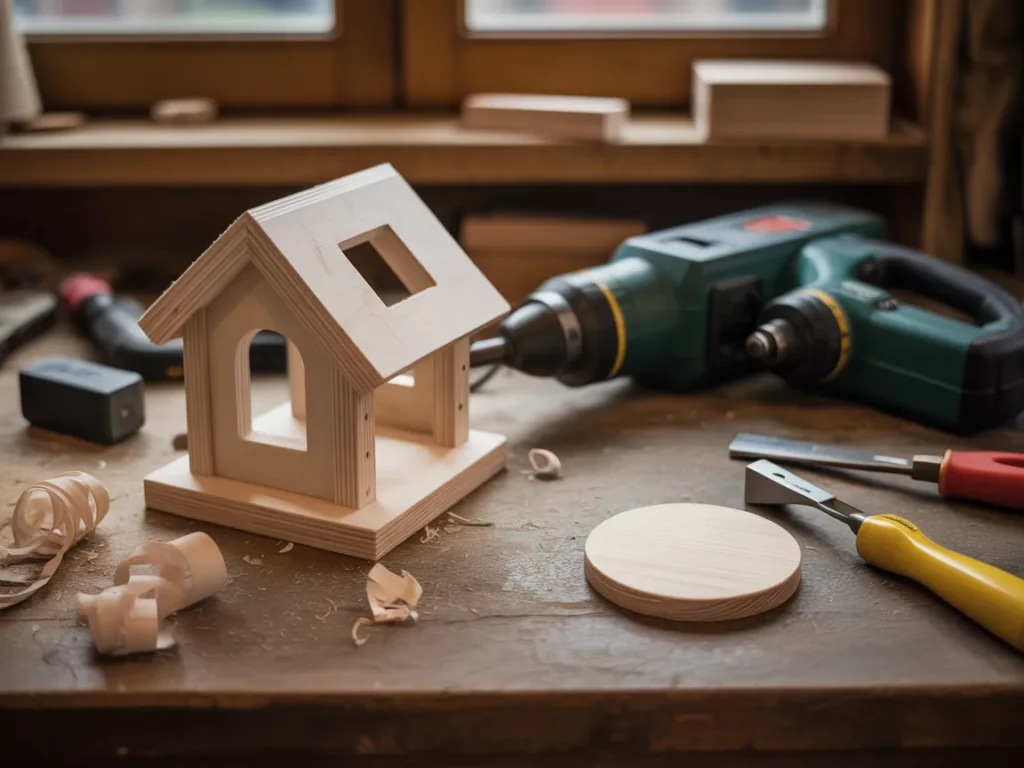
Look for projects with straight cuts, simple parts, and a clear purpose: a small table, a wall shelf, a basic storage box, a birdhouse, or a planter.
Checklist
- Pick a project with mostly straight cuts
- Avoid complicated angles on your first build
- Choose something you’ll actually use (instant motivation)
- Keep it small enough to finish in a weekend or two
- Make sure there’s a clear plan with measurements
Do this now: Write down one “small but useful” project you want to finish first.
Step 2: Start with a plan you can follow without guessing
This is where most beginner woodworking goes sideways. A picture is not a plan. A short list of steps is not a plan.
A good plan keeps your brain calm because it tells you:
- what to cut
- how much to cut
- what order to build in
- what hardware or materials are needed
When you have that, the project becomes “follow the steps,” not “figure it out as you go.”
Checklist
- Confirm the plan includes measurements (not just “cut to fit”)
- Look for a cut list so you can prep all parts
- Make sure the steps show assembly order
- Check the plan matches the tools you have
- Read the full build once before cutting anything
Do this now: Before you cut wood, read your plan start-to-finish and highlight any unclear step.
Step 3: Prep your workspace and tools for accuracy (not complexity)
Beginner woodworking doesn’t require a perfect workshop. It requires a stable surface, decent measuring/marking, and a way to make controlled cuts.
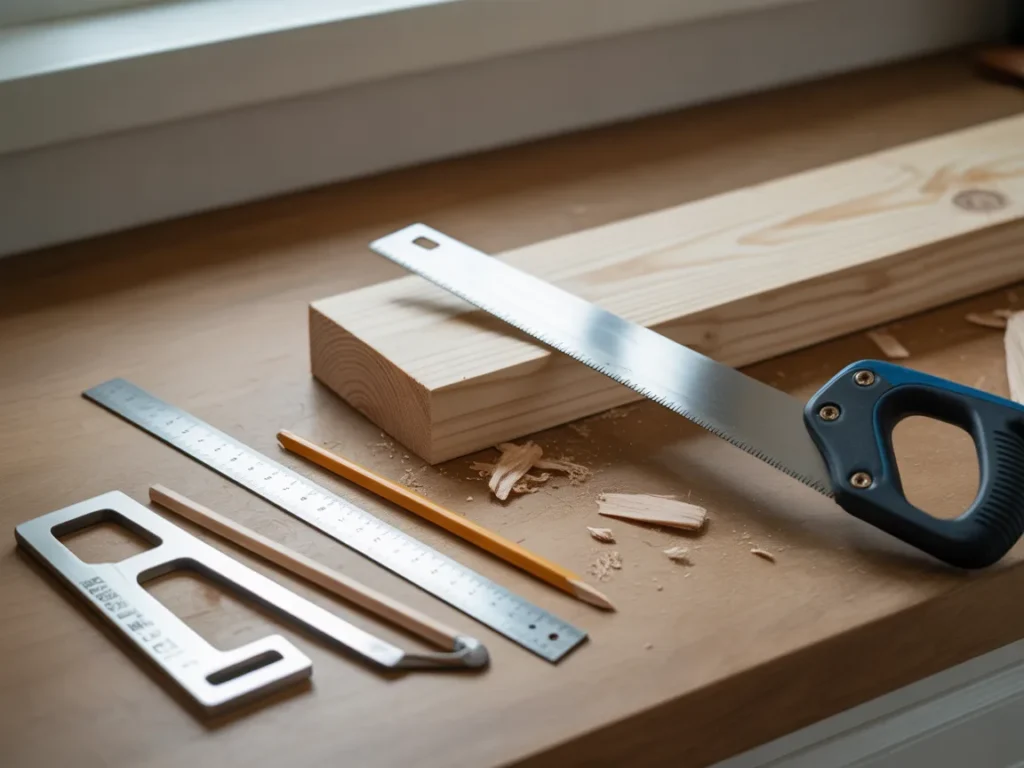
A lot of “bad cuts” are actually bad setup: the board shifts, your line isn’t clear, or you’re rushing.
Set yourself up so you can slow down and be accurate.
Checklist
- Clear a stable work surface (bench, table, or sawhorses)
- Use a tape measure and a pencil you can see
- Have a square (speed square or combination square helps)
- Clamp your work before cutting or drilling
- Keep safety basics: eye protection, hearing protection, dust control
Do this now: Clamp a scrap board and practice making one clean, controlled cut.
Step 4: Cut and label everything before assembly
This is the “no-stress” move that makes the rest of the build smoother. When all parts are cut and labeled, you stop breaking momentum to re-measure or re-think.
Also, labeling prevents the classic beginner mistake: two pieces that look identical but aren’t.
Checklist
- Measure and mark clearly before every cut
- Cut slowly—accuracy beats speed
- Sand rough edges lightly as you go
- Label parts (A, B, C…) with pencil
- Dry-fit key pieces to confirm they align
Do this now: Cut one complete “group” of parts (like all legs or all shelf rails) and label them.
Step 5: Assemble in a way that stays square
If your project wobbles, racks, or looks “off,” it’s usually because it wasn’t assembled square—not because your skills are bad.
Square is a process:
- dry-fit first
- clamp to hold alignment
- fasten gradually
- re-check as you go
This step is where patience pays you back.
Checklist
- Dry-fit before glue or screws
- Clamp parts to prevent shifting
- Confirm square using a square tool or diagonal measurement
- Fasten in stages (don’t lock one side too early)
- Wipe glue squeeze-out while it’s still wet (if using glue)
Do this now: Check one corner for square before you fully fasten anything.
Step 6 (optional but powerful): Finish for durability and a “clean” look
Finishing is where beginner projects go from “homemade” to “I built that.”
You don’t need fancy stains or complicated techniques. You need a clean surface, a simple finish choice, and enough drying time.
Checklist
- Sand progressively (don’t jump straight to super fine)
- Remove dust before applying finish
- Apply thin, even coats
- Let it dry properly between coats
- Keep it simple for your first project
Do this now: Pick one finish approach (paint, stain, or clear coat) and commit to it for this build.
Common Mistakes
Starting with a project that’s too complex
Why it happens: You want something impressive, and online projects rarely show the skill behind them.
Simple fix: Start with straight cuts and simple assembly—then “level up” on build #2.Using a picture as a plan
Why it happens: Inspiration photos feel like instructions when you’re motivated.
Simple fix: Use plans that include measurements, cut lists, and a clear build order.Measuring casually and “cutting to fit”
Why it happens: It sounds faster—and many tutorials suggest it without context.
Simple fix: Mark clearly, cut deliberately, and label parts so everything stays consistent.Skipping dry-fit and jumping into final assembly
Why it happens: You want to feel progress.
Simple fix: Dry-fit first; it reveals small issues while they’re still easy to fix.Forgetting to clamp (or thinking clamps are optional)
Why it happens: Clamps feel like an “extra,” until boards slide mid-drill.
Simple fix: Clamp anything you cut, drill, or assemble—especially on first projects.Rushing sanding and finishing
Why it happens: You can see the finish line and want it done.
Simple fix: Slow down at the end—clean sanding and a simple finish make the project look intentional.
Options Comparison
Different people learn woodworking differently. Here are five common approaches—each with real upsides and trade-offs.

Option 1: Free YouTube tutorials and random blog plans
Best for: Curious beginners who want to explore and don’t mind hunting for details
Pros
- Huge variety of ideas and styles
- Visual learning can help with techniques
- Often good for tool demos and basic tips
Cons
- Steps are sometimes incomplete
- Measurements and cut lists may be missing
- Quality varies wildly between creators
Option 2: Buying one plan for one project
Best for: Someone who already knows exactly what they want to build
Pros
- Focused: one project, one outcome
- Often includes a clear parts list
- Can be easier to commit
Cons
- If you pick wrong, you’re stuck
- Doesn’t help much with “what should I build next?”
- You may still need broader guidance
Option 3: Learning by trial-and-error with scrap wood
Best for: Tinkerers who enjoy experimentation
Pros
- Low pressure if you use cheap scraps
- You learn what not to do quickly
- Builds comfort with tools
Cons
- Can take longer to get a “real” finished project
- Easy to form bad habits
- Frustrating if you want usable results
Option 4: Local class or workshop
Best for: People who learn best in-person and want hands-on help
Pros
- Real-time feedback
- Access to tools you may not own
- Great for building confidence
Cons
- Scheduling and travel required
- Pace may not match yours
- You might only build one or two projects
Option 5: A structured library of step-by-step woodworking plans
Best for: Beginners who want clarity, consistency, and lots of project choices
Pros
- Lets you choose projects that match your skill level
- Easier to work from cut lists and measured steps
- Helps you build again and again without re-inventing the process
Cons
- You still need to do the work (cutting, assembly, finishing)
- You must choose a project that fits your tools and space
Which option should you pick?
If you’re a woodworking beginner who wants a calm, no-stress path, prioritize whatever gives you the most clarity with the least guessing. If your time is limited, pick a method that includes clear measurements and a build sequence. If your budget is tight, start simple and focus on plans that help you avoid wasted materials. And if you’re self-taught, consistency matters more than “the perfect first project.”
Next: a simple way to see what a structured plan system looks like in practice.
If you’ve been nodding along thinking, “I just want something I can follow,” it may help to see a step-by-step woodworking plan library designed for DIY builds.
Ted’s Woodworking Plans is presented as a large collection of woodworking projects with detailed plans, meant to reduce the uncertainty that trips beginners up—measurements, cut lists, and build steps in one place.
Even if you don’t end up using it, the presentation itself can be useful because it shows the approach, what’s included, and how the plans are laid out—so you can decide whether that kind of structure fits your style.
You’ll see how it works, what’s included, and whether it fits you.
How it works

If your main frustration is the constant guessing—measurements, cuts, assembly order—the next logical step is to look at a structured set of plans and see whether it matches the way you want to build.
In the presentation, you’ll see:
- What’s included in the Ted’s Woodworking Plans collection
- How the plans are meant to guide you with project details (like measurements and cut lists)
- The general approach for choosing and building projects step-by-step
FAQ
Getting started and skill level
Is this beginner-friendly if I’ve never built anything before?
It’s aimed at people who want clear, detailed woodworking plans rather than having to invent steps. If you can measure, mark, and follow instructions carefully, you’re in the right lane.
Do I need a full workshop to start woodworking?
No—most first projects can be done with a basic setup and careful process. The key is choosing plans that match the tools and space you have.
What if I’m not “handy” and I’m afraid I’ll mess it up?
That’s exactly why clarity matters: a measured plan with a cut list and build order lowers the chance of “winging it.” Start small and treat the first build as practice.
Time, tools, and complexity
How long does a first project usually take?
It depends on the project size and your pace, but small builds are designed to be manageable. The more you reduce guessing, the faster you move.
Do I need special tools to follow woodworking plans?
Plans vary, so it’s smart to pick a project that fits your current tools. A good plan helps by making the steps and cuts clear so you can work with what you have.
What if I have limited space—like a garage corner or small shed?
Choose compact projects and focus on clean, controlled cuts and assembly. Space matters less than having a stable surface and a plan you can follow.
Using plans effectively
Will plans help me avoid wasting wood?
They can—especially when they include clear measurements and a cut list, so you’re not re-cutting parts multiple times. You still need to measure carefully, but the roadmap helps.
Do I have to commit to buying anything to learn from the presentation?
No—watching/reading the presentation is simply a way to see what’s included and whether the plan library style fits your needs.
Mini Summary + Action Plan
- Choose a first project with straight cuts and simple assembly
- Start from a plan that includes measurements, a cut list, and build steps
- Prep your workspace for stability, clamping, and accurate marking
- Keep momentum by cutting and labeling parts before assembly
- Dry-fit, clamp, and assemble square—slow is smooth
- Upgrade your results by following proven woodworking plans instead of guessing
- Finish simply and patiently for a clean, durable result
Beginner Woodworking: The No-Stress Way to Build Your First Project Without Guessing comes down to one principle: clarity beats confusion—every time.
Conclusion
Beginner woodworking is supposed to feel satisfying—not like a constant test where you’re trying to read your own mind mid-build.
When you have clear steps, measured parts, and a sensible build order, you stop stalling. You stop second-guessing. And you start stacking small wins: one shelf, one box, one bench—each one teaching you the next skill naturally.
If you want to see a structured approach in action, take a few minutes to watch/read the presentation for Ted’s Woodworking Plans. It’s a simple way to understand what’s included, how the plans are organized, and whether that kind of guidance matches the way you want to build.
SEE THE FULL PRESENTATION HERE.