
You’ve got a small garage workshop, a plan you’re excited about… and then reality hits.
The table saw needs clearance. The glue-up wants a flat surface you don’t have. The “8-foot board” in the cut list feels like a joke when your space barely fits a car and a tool rack. Suddenly, a simple build turns into mental gymnastics—and it’s tempting to quit or start over from scratch.
You don’t need to.
Basics first, upgrades second.
That one idea makes space constraints feel manageable—because most plans can be adapted if you adjust the right things in the right order.
In this guide on Small Garage Workshop? How to Modify Woodworking Plans to Fit Your Space (Without Starting Over), you’ll learn:
- How to “shrink” a project without weakening it or ruining proportions
- A simple method to edit cut lists and joinery when your tools and space are limited
- A step-by-step way to reorganize the build so it fits your garage workflow
Next: a quick reality check (so you stop blaming your space).
Quick Reality Check
A small garage workshop isn’t a disadvantage—it’s just a constraint you plan around. Most woodworking plans are drawn for an “ideal” workspace: long infeed/outfeed, dedicated assembly table, and room to stage parts.
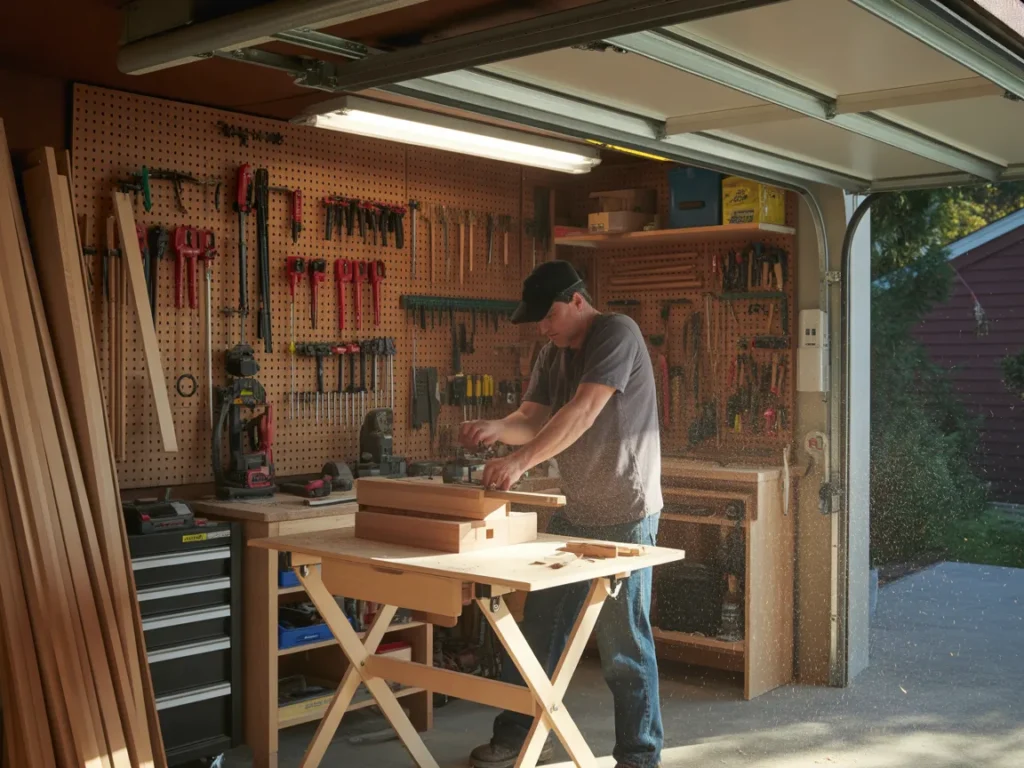
In real garages, you’re juggling cars, storage, and tools in the same footprint. So the friction you feel is normal.
Common signs you’re dealing with “space-plan mismatch”:
- You can’t safely break down long boards or plywood sheets
- You don’t have room to assemble the full project in one go
- Your tool setup changes day-to-day, so repeating a step is annoying
You’re not behind—you just need a simple plan.
Next: the framework that keeps your modifications clean (not chaotic).
The Core Framework
To modify woodworking plans for a small garage workshop without starting over, treat it as a three-part problem:
1) What matters most (key variables)
These are the “don’t mess with these first” items—the pieces that keep the project functional and sturdy.
- Load paths: where weight and stress travel (legs, stretchers, rails)
- Joinery locations: where strength depends on wood-to-wood contact
- Critical clearances: drawers, doors, lids, and moving parts
If you change these randomly, you’ll chase problems later.
2) The basics (core actions)
These are the safe, high-impact changes that shrink a build without redesigning it:
- Reduce length/width while keeping thickness and joinery consistent
- Switch from full-sheet layouts to smaller-panel construction
- Break the build into subassemblies you can clamp in your space
3) The “next layer” (the upgrade people skip)
Once the basic scaling is done, the next layer is what makes the build feel intentional:
- Rebalance proportions (so it doesn’t look “squished”)
- Adjust cut lists so waste stays low
- Sequence the build for your tools (not the designer’s shop)
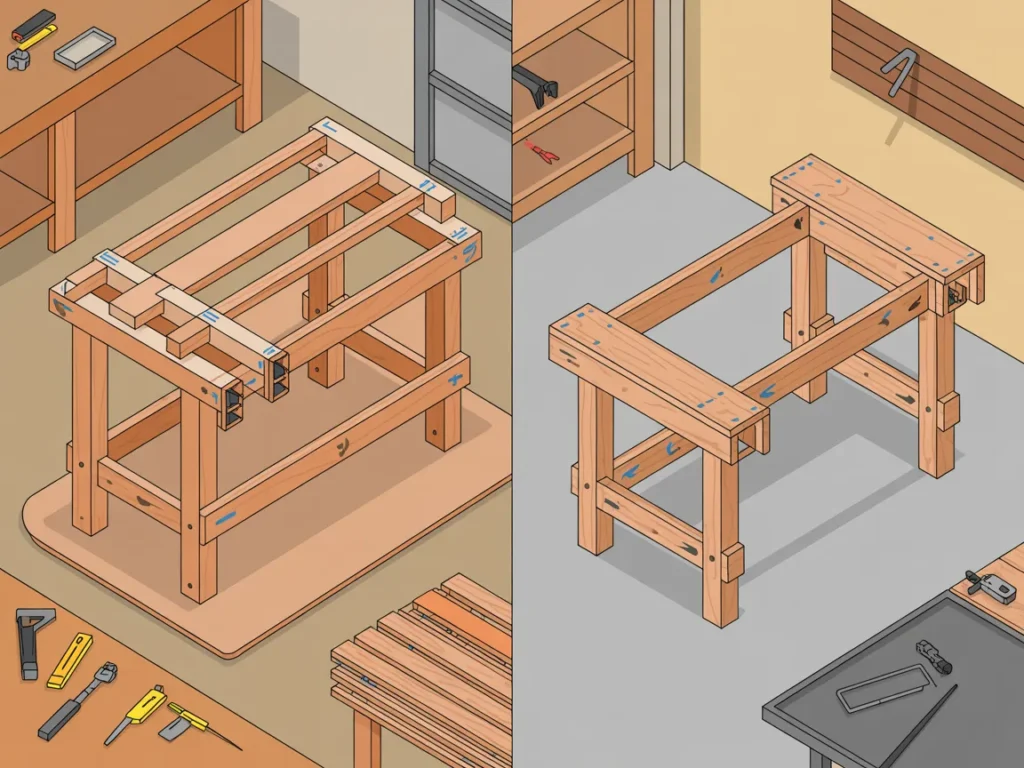
Example: A workbench plan assumes you can assemble a full base frame on a large table. In a small garage workshop, you build two end frames first, then connect them in place—same bench, different sequence.
Example: A cabinet plan uses a single large plywood back. In a tight space, you can split the back into two panels with a center stile—easier handling, similar strength.
Next: the step-by-step method to apply this to almost any plan.
The Step-by-Step Plan
Step 1: Measure your “true working box,” not your garage size
A lot of people measure wall-to-wall and wonder why nothing fits. Your real workspace is the area you can keep clear while building—plus safe tool clearance.
If you’re doing Small Garage Workshop? How to Modify Woodworking Plans to Fit Your Space (Without Starting Over), this is where you stop guessing and start designing to reality.
Checklist
- Measure the clear floor area you can reliably keep open
- Mark tool “no-go” zones (swing, travel, dust hose, cords)
- Note door tracks, steps, and low ceiling spots
- Decide your “long stock lane” (even if it’s temporary)
- Identify one flat assembly surface (even if it’s foldable)
Do this now: Tape your usable footprint on the floor and label it “build zone.”
Step 2: Choose your must-keep dimensions and your flexible dimensions
Every plan has a few dimensions that can change freely and a few that can’t (or shouldn’t). The easiest modifications come from shrinking the flexible ones first.
Checklist
- Identify the project’s job (storage, seating, work surface, display)
- List “must-keep” dimensions (height for comfort, opening size, shelf spacing)
- Mark “flex” dimensions (overall length, non-structural overhangs, decorative features)
- Preserve thickness where strength matters
- Keep joinery locations consistent when possible
Do this now: Write “must-keep” and “flex” next to every major dimension on your plan printout.
Step 3: Scale in one direction first, then reassess proportions
When space is tight, the instinct is to shrink everything at once. That’s how projects end up awkward, unstable, or hard to clamp.
Instead, modify in one direction—usually length—then check stability and proportions, then adjust width if needed.
Checklist
- Reduce only one major dimension first (length or width)
- Keep the base footprint stable (don’t create a tip hazard)
- Recalculate panel sizes and rail/stile lengths
- Re-check drawer/door clearances if applicable
- Confirm the new size still fits your build zone and tool lane
Do this now: Make one clean “Rev A” set of new overall dimensions before changing any cut list.
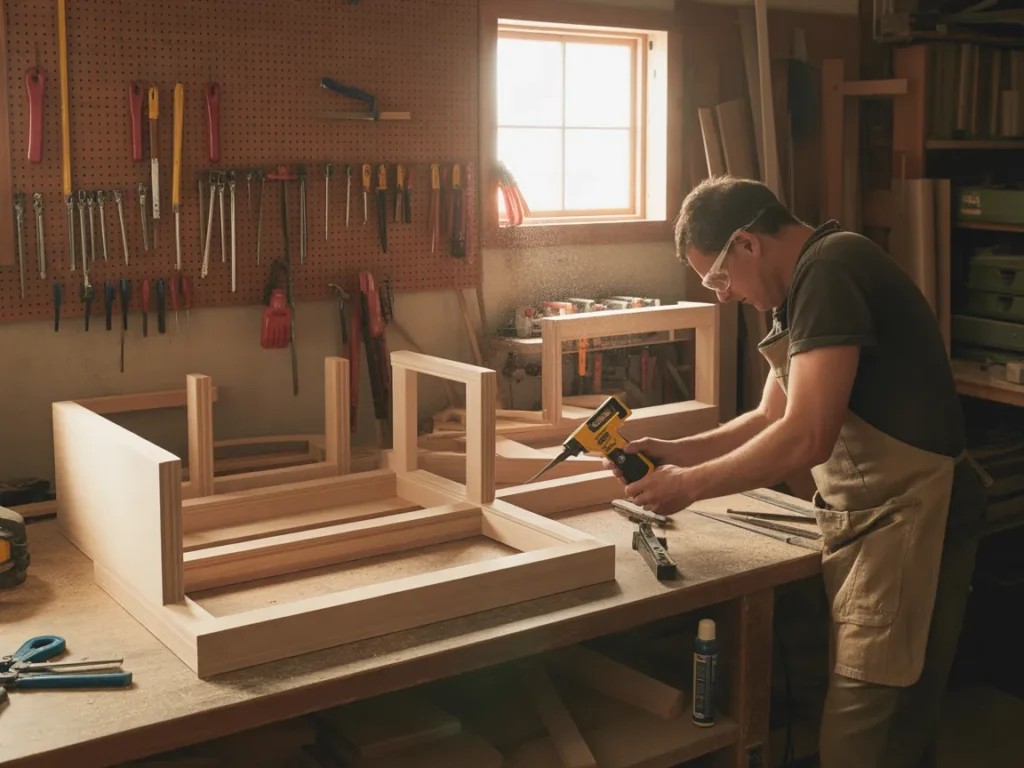
Step 4: Convert the design into manageable subassemblies
In a small garage workshop, the build sequence matters as much as the design. If the plan assumes you can assemble the entire carcass at once, you can still build it—just in smaller, smarter chunks.
This is the heart of Small Garage Workshop? How to Modify Woodworking Plans to Fit Your Space (Without Starting Over): same project, different workflow.
Checklist
- Break the project into modules (ends, base, top, face frame, drawers)
- Build symmetrical parts as pairs (left/right) to keep things square
- Dry-fit each subassembly on your available flat surface
- Plan clamping strategy before glue (cauls, blocks, alternate clamps)
- Leave “final trim to size” steps until late (sneak up on fit)
Do this now: Draw a quick build order with 5–8 subassemblies instead of one big assembly.
Step 5: Update the cut list and keep waste under control
Scaling a plan without updating the cut list is how you run short on material—or end up with a pile of offcuts that don’t help.
You don’t need fancy software. You need accuracy and a simple tracking system.
Checklist
- Rewrite the cut list with your revised dimensions
- Note grain direction and “show faces”
- Mark parts that can be cut slightly oversized for later trimming
- Group cuts by material type and thickness
- Keep a “verification” column: measured twice, cut once
Do this now: Rewrite the cut list as a fresh page—don’t scribble edits everywhere.
Step 6 (optional but powerful): Adapt the plan to your tool reality
Many plans assume a certain tool lineup. In a small garage workshop, you might have a compact table saw, a circular saw, a miter saw, or a router—but not the open space to run long boards safely.
Your goal is not perfection. It’s a safe, repeatable process.
Checklist
- Identify which cuts require big clearances (rips, long crosscuts, sheet breakdown)
- Substitute safer workflows (break down sheets first, then refine)
- Choose joinery you can execute cleanly with your tools
- Keep reference edges consistent (one straight edge per part)
- Prioritize accuracy on “stacked tolerances” (drawer openings, face frames)
Do this now: Circle any step in the plan that needs more clearance than you have—then rewrite that step to match your tools.
Next: the mistakes that quietly ruin modifications (and easy fixes).
Common Mistakes
Shrinking everything proportionally without checking structure
Why it happens: It feels logical—just scale the whole plan down.
Simple fix: Keep thickness and structural members consistent first; reduce length/width selectively.Changing joinery sizes without understanding what they do
Why it happens: Smaller project = smaller joints, right? Not always.
Simple fix: Maintain joinery depth/shoulders where strength depends on long grain contact.Forgetting about clamp access and glue-up space
Why it happens: Plans show the finished object, not the glue-up chaos.
Simple fix: Break into subassemblies and test clamp placement before you spread glue.Not recalculating the cut list and “winging it”
Why it happens: You’re eager to start cutting.
Simple fix: Rewrite the cut list cleanly and track revisions like “Rev A / Rev B.”Designing for the garage, not for the workflow
Why it happens: You fit the footprint but ignore tool lanes and staging.
Simple fix: Map one long-stock lane and one assembly zone—even if temporary.Making multiple changes at once and losing the thread
Why it happens: Space constraints trigger a cascade of edits.
Simple fix: Change one variable, re-check fit, then move to the next.
Next: how different approaches compare—so you can pick what fits your time and comfort level.
Options Comparison
Option 1: Modify the plan manually (paper + pencil)
Best for: DIY enthusiasts who like understanding every detail
Pros
- Full control over dimensions and sequence
- Helps you learn how plans “work”
- No special software required
Cons
- Easier to miss a dependency (doors, drawers, joinery offsets)
- Takes time to double-check cut lists
Option 2: Use simple sketching or layout tools (basic diagrams)
Best for: Visual thinkers who want clarity without complexity
Pros
- Faster than full drafting
- Helps you see subassemblies and clearances
- Great for planning build order
Cons
- Still requires careful cut-list updates
- Not always precise unless you’re disciplined
Option 3: Build a “fit test” mockup (cardboard/cheap wood)
Best for: Beginners who want confidence before committing
Pros
- Immediate feedback on size and ergonomics
- Reveals clearance problems early
- Reduces costly material mistakes
Cons
- Adds an extra step before the real build
- Doesn’t solve joinery planning by itself
Option 4: Choose plans designed to be modular and workshop-friendly
Best for: Workshop hobbyists who want fewer custom edits
Pros
- Modules are easier to build in tight spaces
- Often simplifies assembly and clamping
- Can adapt room-by-room (add later)
Cons
- You may not find the exact style you want immediately
- Still may require some resizing
Option 5: Use a large library of plans and pick the closest match to your space
Best for: Hobbyists who want options without reinventing designs
Pros
- Easier to find a plan that already fits your footprint
- Less resizing if you start closer to your constraints
- Variety helps you choose what matches your tools
Cons
- You still need to verify dimensions and workflow
- Too many options can slow decisions
Which option should you pick?
If you’re a Workshop Hobbyist working in a small garage, prioritize the approach that keeps momentum: minimal redesign, clear steps, and projects that fit your tool reality. If time is tight, start with plans that are already close to your ideal dimensions and only modify what’s necessary. If you enjoy tinkering, manual modifications can be satisfying—just keep your changes controlled and documented.

Next: a resource that can make the “find a plan that fits” part much simpler.
If your biggest bottleneck is not motivation—but finding plans that match your space and tools—having a large, organized set of woodworking plans can be useful.
One option many hobbyists explore is Ted’s Woodworking Plans, which presents a broad collection of woodworking projects and plan materials you can look through before deciding what to build.
Even if you don’t use any plan “as-is,” it can still help to see how different projects are laid out—so you’re not starting from a blank page every time you need something that fits a small garage workshop.
You’ll be able to see how it works, what’s included, and whether it fits you.
SEE THE FULL PRESENTATION HERE.Objection Handling FAQ
Plans feel overwhelming when I’m short on space—what should I focus on first?
Focus on the build zone, tool clearance, and subassemblies. Once you can stage and assemble safely, most projects become doable.
Is this approach beginner-friendly?
Yes—because you’re changing one variable at a time and rewriting the cut list cleanly. That’s simpler than “freestyling” modifications mid-build.
Do I need special tools to modify woodworking plans?
No special tools are required for the planning. For the build, the key is choosing joinery and cut methods that match what you already have space to use safely.
How long does it take to adapt a plan to a small garage workshop?
For many projects, the planning can be done in one focused session if you already know your usable footprint and must-keep dimensions.
What if I only have room for one work surface?
That’s common. Build in subassemblies, dry-fit often, and use your work surface for the steps that need flat reference (squaring, drawer fitting, face frames).
Will modifying a plan make the project weaker?
It can if you randomly shrink structural members or joinery. If you keep thickness and load-bearing parts consistent and only reduce flexible dimensions first, you’ll usually be fine.
I get stuck choosing a project that fits my space—any shortcut?
Start by choosing projects with smaller footprints or modular construction. Looking through a large variety of plans can also help you quickly find a “close fit” instead of redesigning.
What will I actually see in the Ted’s Woodworking Plans presentation?
You’ll see how the plan collection is presented and what kinds of woodworking projects and plan materials are included, so you can decide if it’s useful for your workshop.
Mini Summary + Action Plan
- Measure your true working box (build zone + tool clearance)
- Identify must-keep vs flex dimensions before editing anything
- Scale one direction first, then reassess stability and proportions
- Keep a clean Rev A / Rev B cut list so you don’t lose track
- Build with subassemblies so glue-ups and clamp access stay realistic
- Add the “next layer”: rebalance proportions and reduce waste in layouts
- Upgrade your workflow: adapt steps to your tools and space, not an ideal shop
Basics first, upgrades second—when you follow that order, modifying plans stops feeling like reinventing the whole project.
Next: wrap it up and choose your next step.
Conclusion
A small space doesn’t mean small projects—it just means you plan with intention.
When you use the Small Garage Workshop? How to Modify Woodworking Plans to Fit Your Space (Without Starting Over) approach, you stop fighting your garage and start building around it: tighter sequencing, smarter subassemblies, and dimensions that match what you can actually clamp, cut, and assemble.
If you want a straightforward way to browse a wide range of woodworking projects and see how the plan materials are presented—so you can pick something that fits your space (or adapt it without guesswork)—the next step is simply to watch/read the presentation first.
SEE THE FULL PRESENTATION HERE.